Oct 3 2013

Hey Gabe.

(In response to this blog.)

A couple years ago I launched my first board game. It was a success with Kickstarter and the critics, but not the marketplace. These are the lessons I learned from that first experience. It’s what I keep reminding myself as I test the next batch of prototypes.

This is what I’ve got to say, one first-time-and-out-the-other-side designer to you, in the middle of your first time. This isn’t the masterclass. It’s not the stuff that’ll make all the difference once you have the basics down. It is the basics. The stuff you want someone to tell you first.

The Most Important Thing

Simplify.

You’re a veteran of many games, and odds are, your instinct is to make a Gamer’s Game: Something rich and deep with layers of nuance that are revealed play after play. Games that anybody can master in five minutes rarely hold your interest.

The thing is, it’s really, really hard to write a game like that in a way that new players will get into. Especially coming at this with a background of computer games, where the mechanics are handled for you. And roleplaying games, where having a shelf of books with bonus mechanics to dive into when you’re ready is a plus. For board and card game, engaging with the mechanics is the play. If a player can load that ruleset into their head without confusion, they’ll enjoy their first play and come back for more.

So be merciless. Trim elements from your game until you find the minimal heart of that sparks the fun, with every other element set to the side. Once you’ve found that, you can start putting the trimmed elements back in, one at a time. You’ll see which ones give you the most bang for your buck, and which ones are the stumbling blocks for new players.

You can always make it more complex in an expansion. There will be game mechanics that you love, but that new players stumble on. Those can come back later, once your player has mastered the core game and they’re hungry for more. With your audience, you won’t even have to wait: You can bundle expansions as stretch rewards that your Kickstarter campaign is sure to hit.

Brace Yourself

Your game is already more complex than you know. The coming step – making your game ready to play without you there to teach it – is going to rub your nose in it. Be ready, ‘cause the next section of development can be a slog if you don’t force it to stay fun.

First off, writing everything down is going to point out every assumption you made about what the players already knew, and how much harder it is to explain things in a one-size-fits-all rulebook. The silver lining is, when you’re not there, the players don’t get to interrupt you for explaining things. You get to set the training down in Your Ideal Way.

Part two of why this step wants to be a slog is the criticism. Starting from “We couldn’t understand it” and working your way up to “There’s a contradiction on page 7”, this step is all about reacting to negative feedback. Not inherently fun.

Turns out, writing a game down well is nearly as much work as inventing the game in the first place.

Rules You Can Break

One you should, one you shouldn’t.

The Rulebook Should Take As Much Work As The Game

Or for you, maybe not.

You can hand this one off to a pro. Normally a new designer starting out would be stuck with this step, but you’ve already got the industry contacts that developer-publishers will line up to polish your game and get the publishing contract.

Taking critique on your writing is hard when it’s your game, your baby. But hand it off to another developer and it’s a job with problems to be solved. They don’t have your emotional investment, and they’ve leveled up from doing this many times before. Of course, they’ll want a cut. A big one. But you’ve got leverage to negotiate with and having someone else handle the steps going forward will free you up to get back to design.

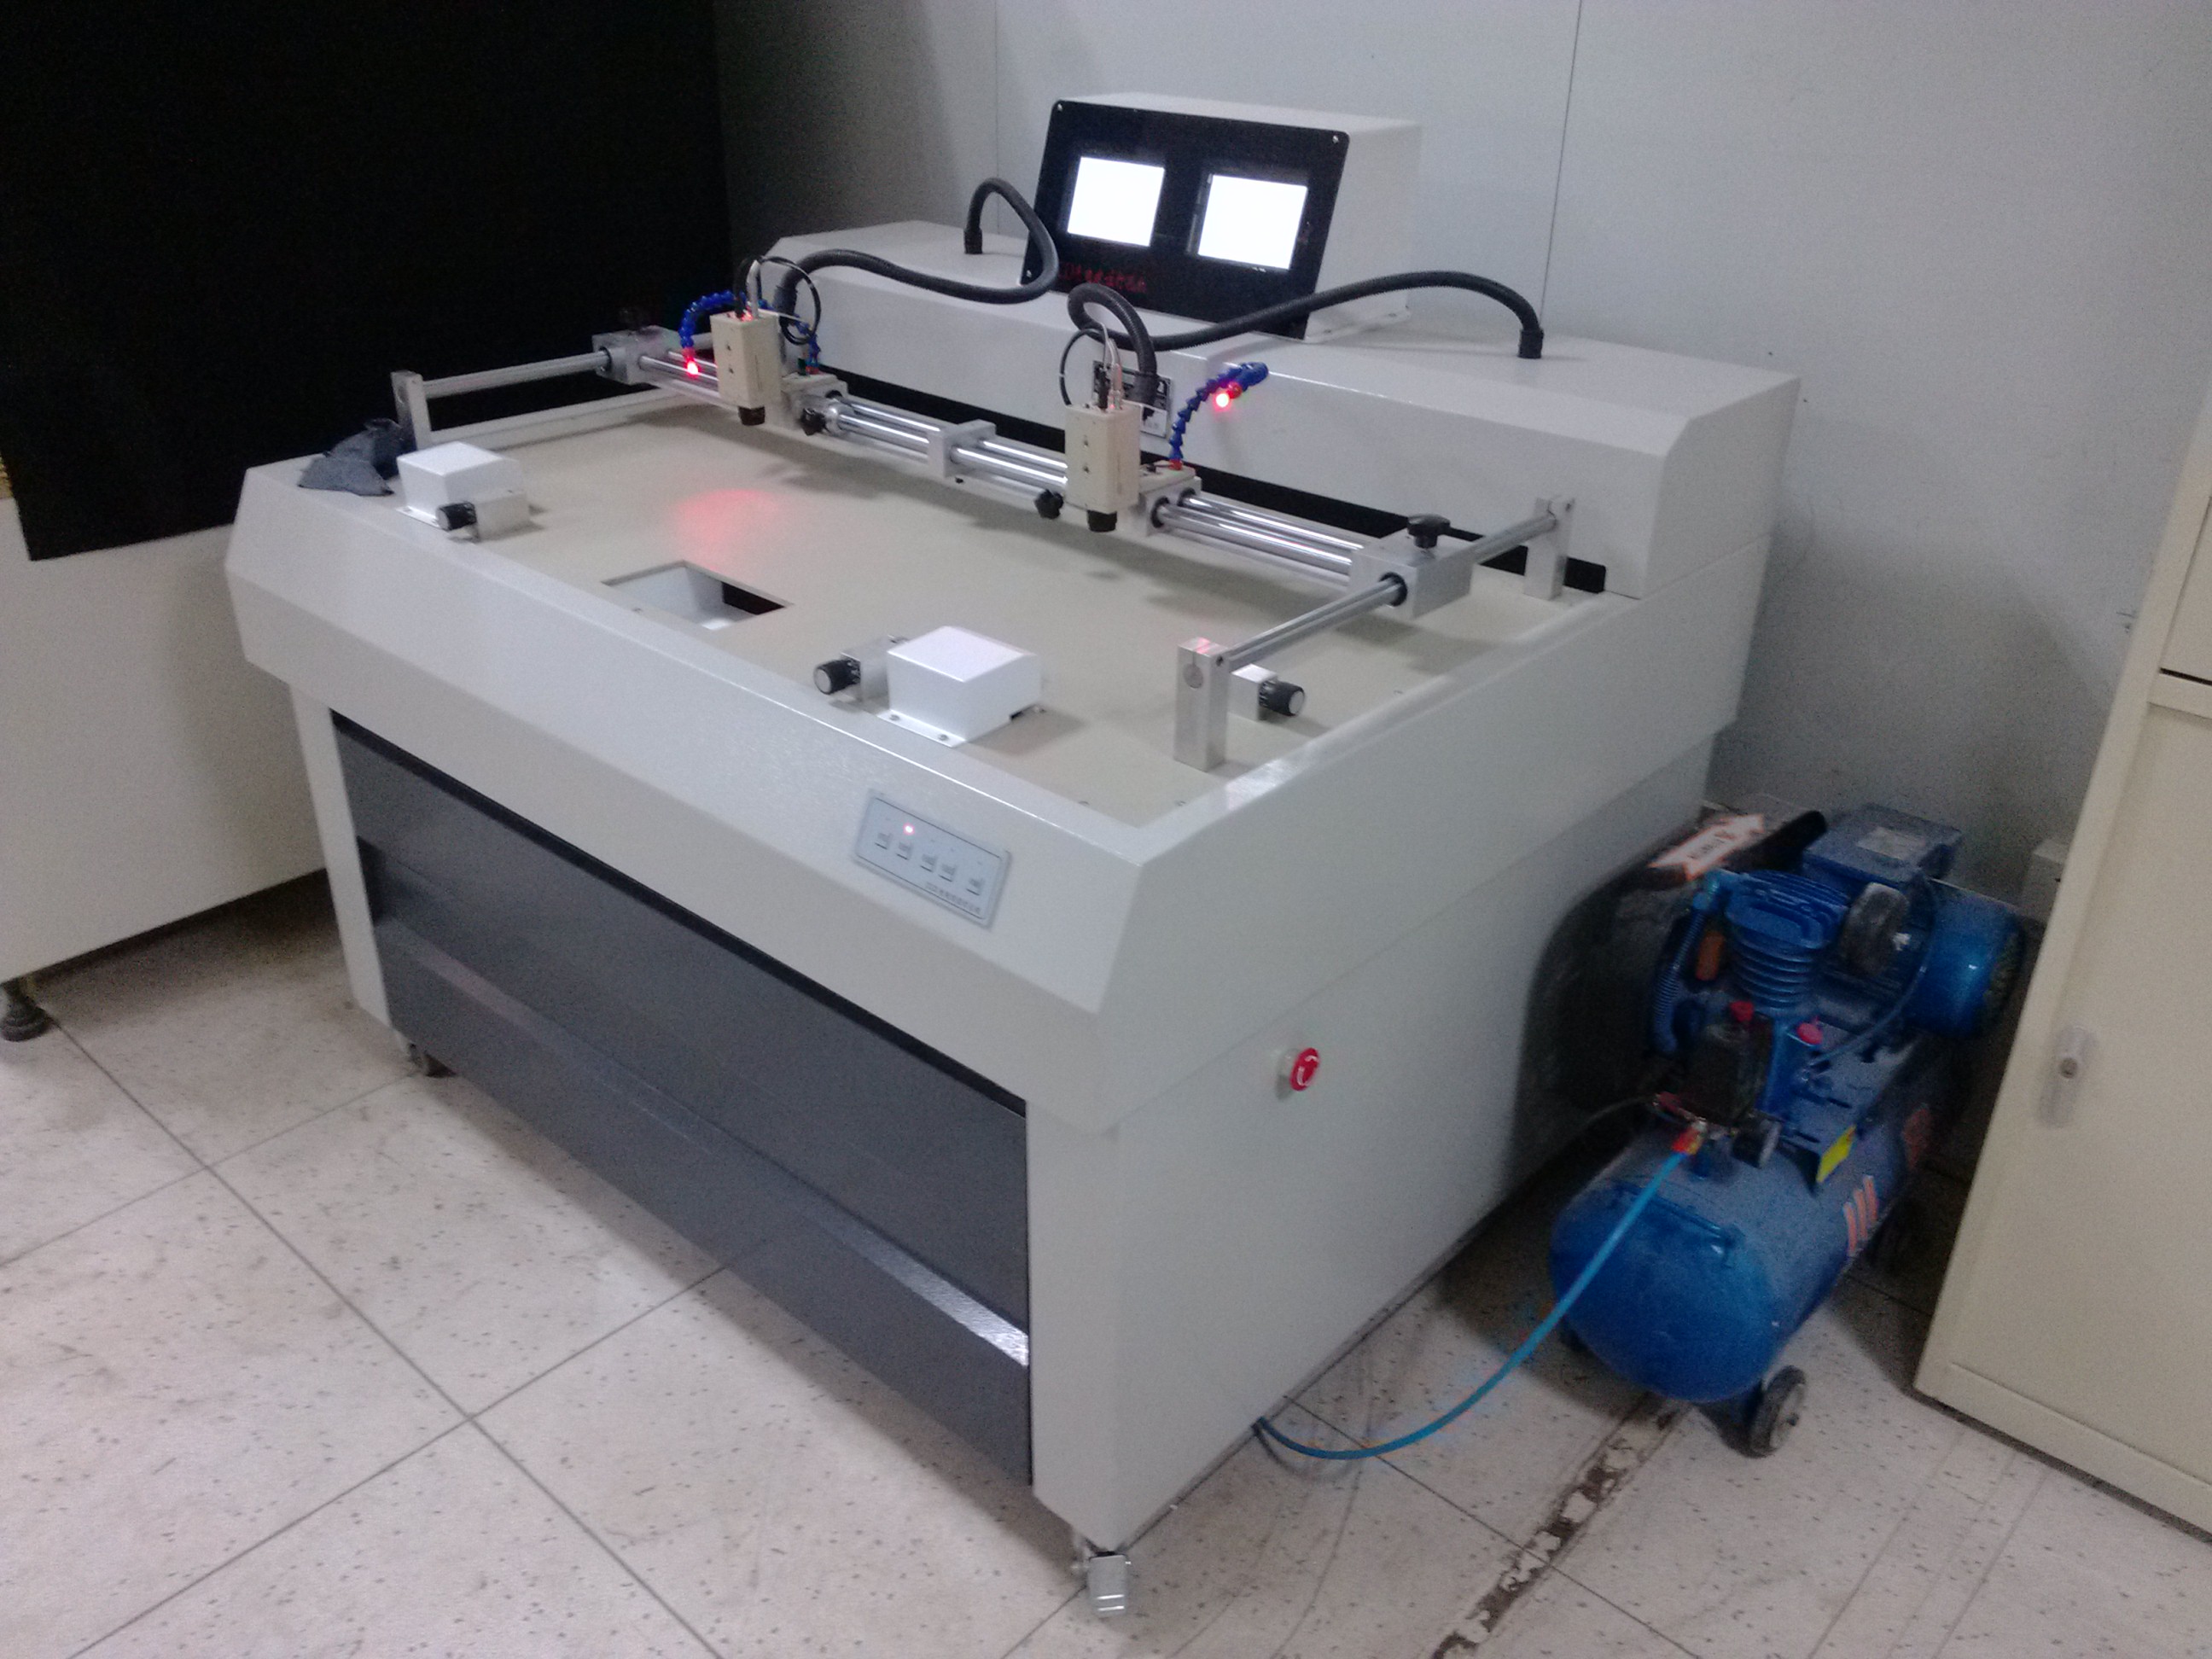
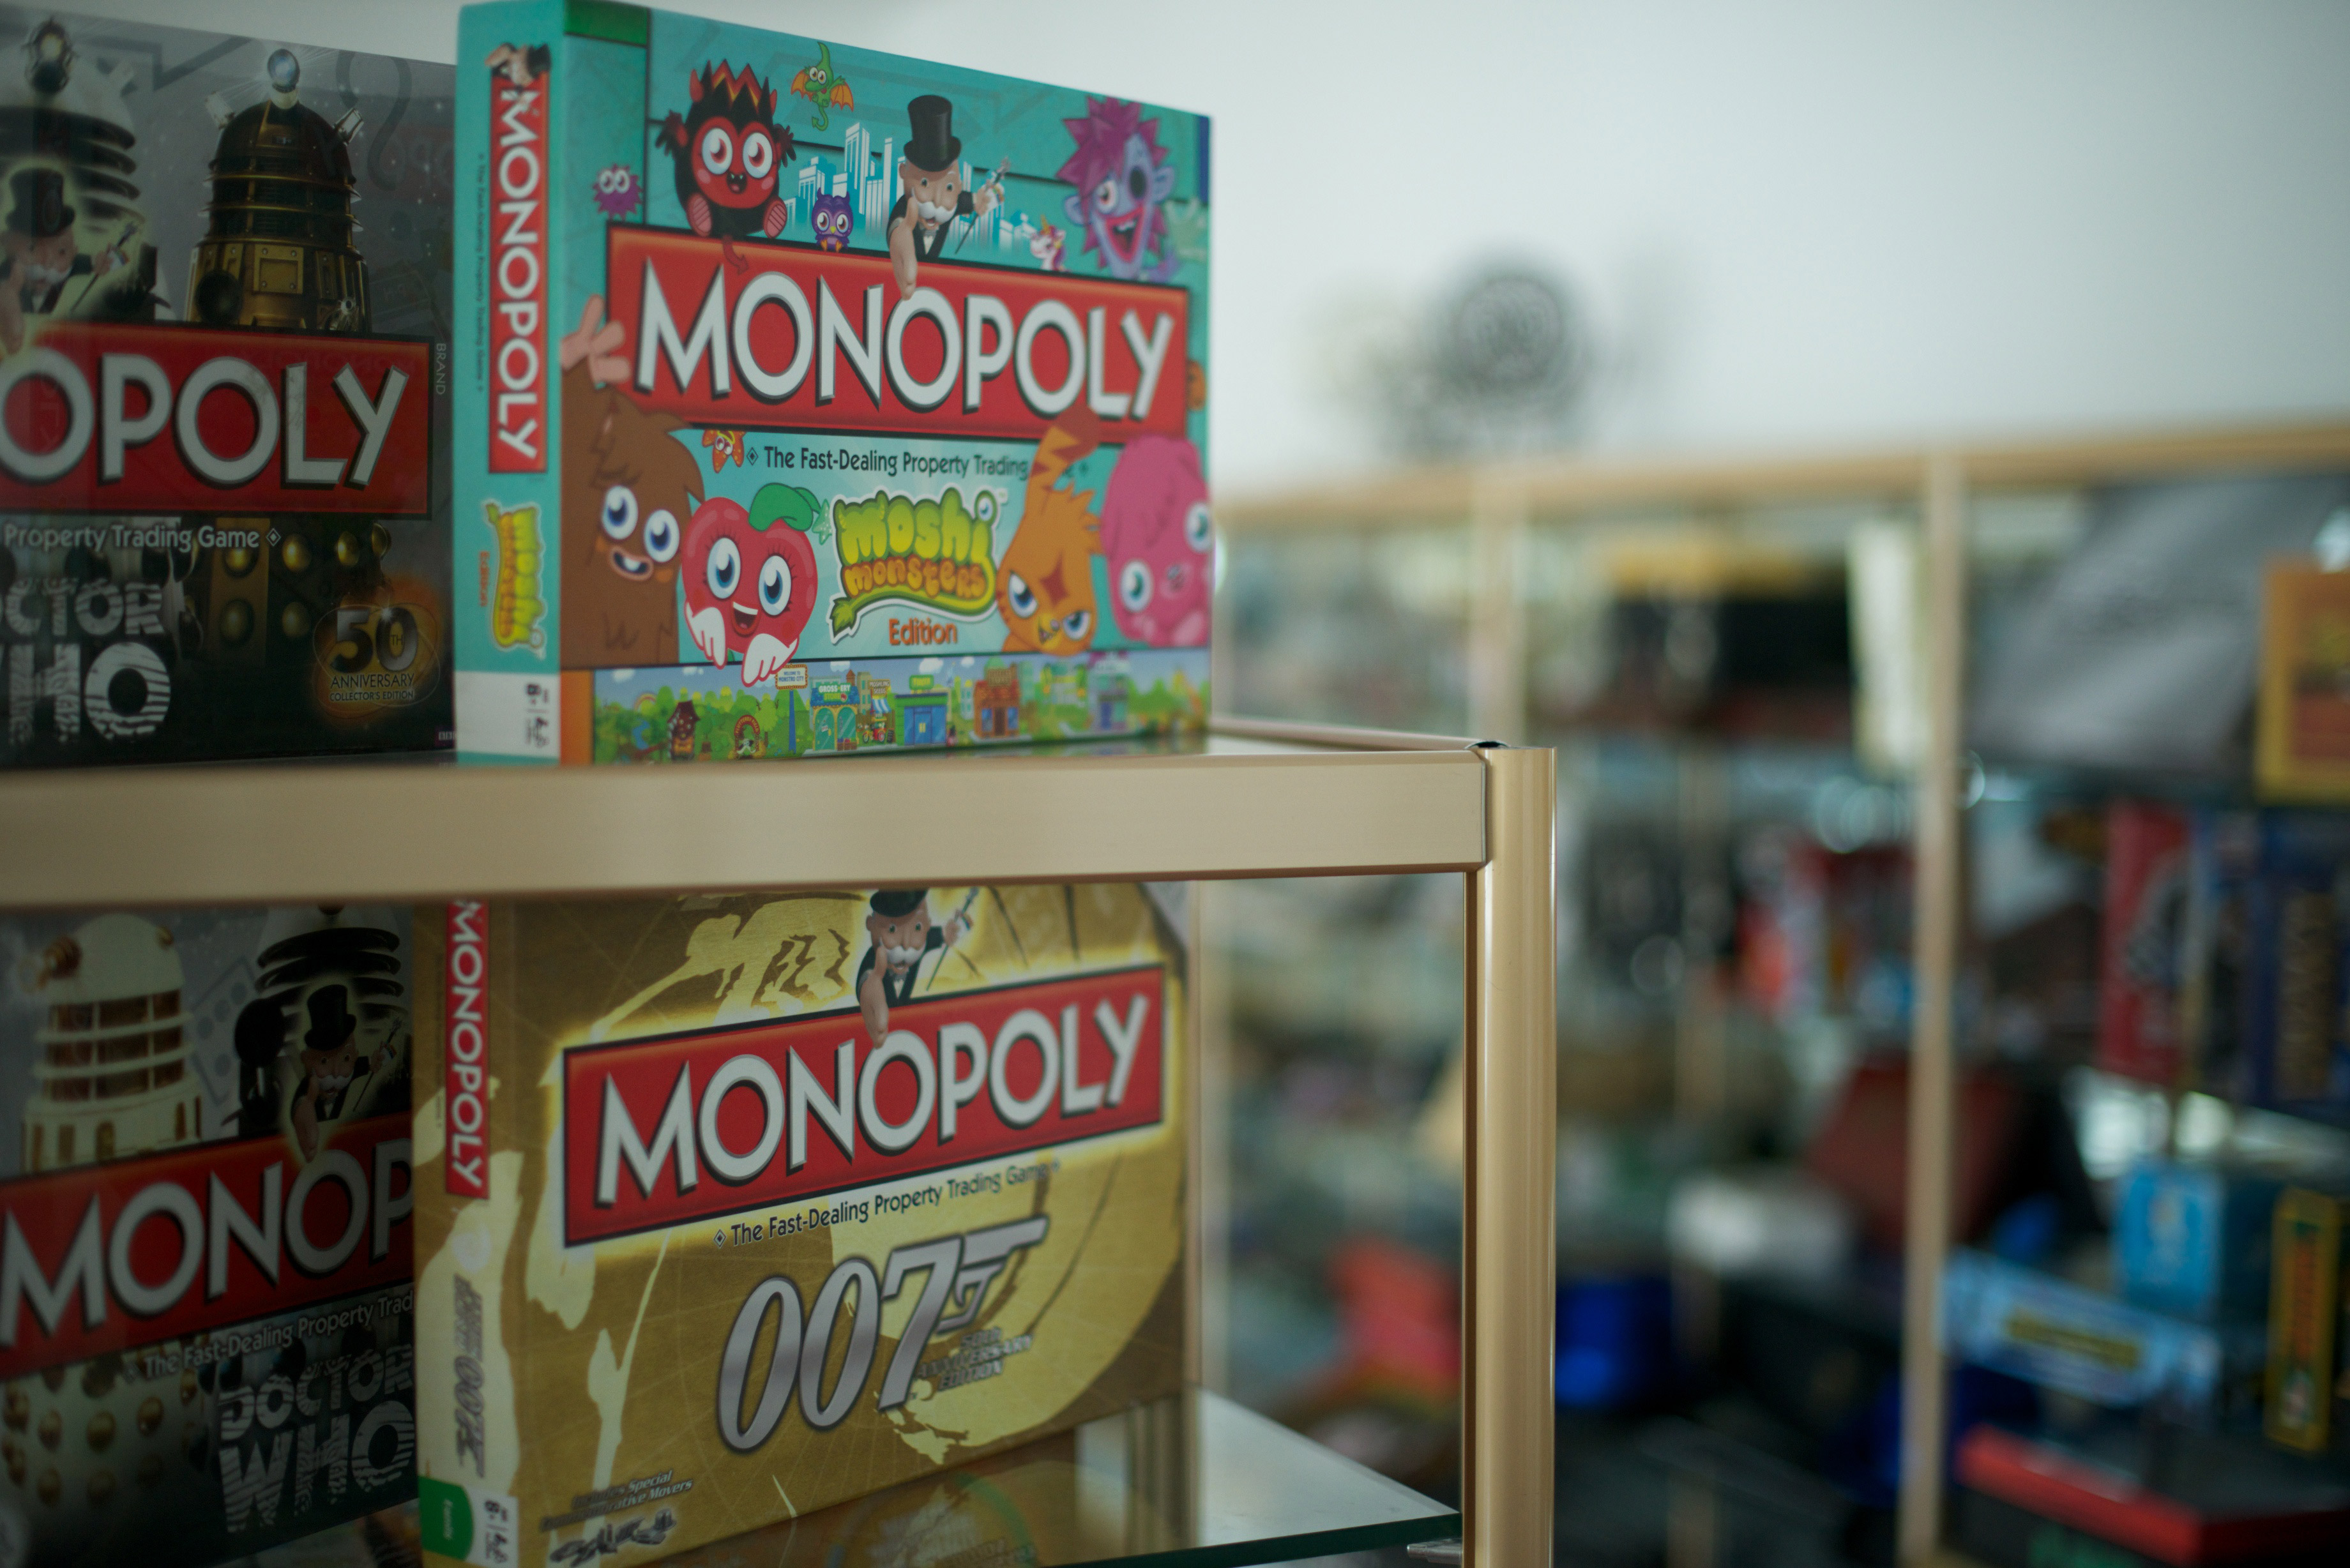
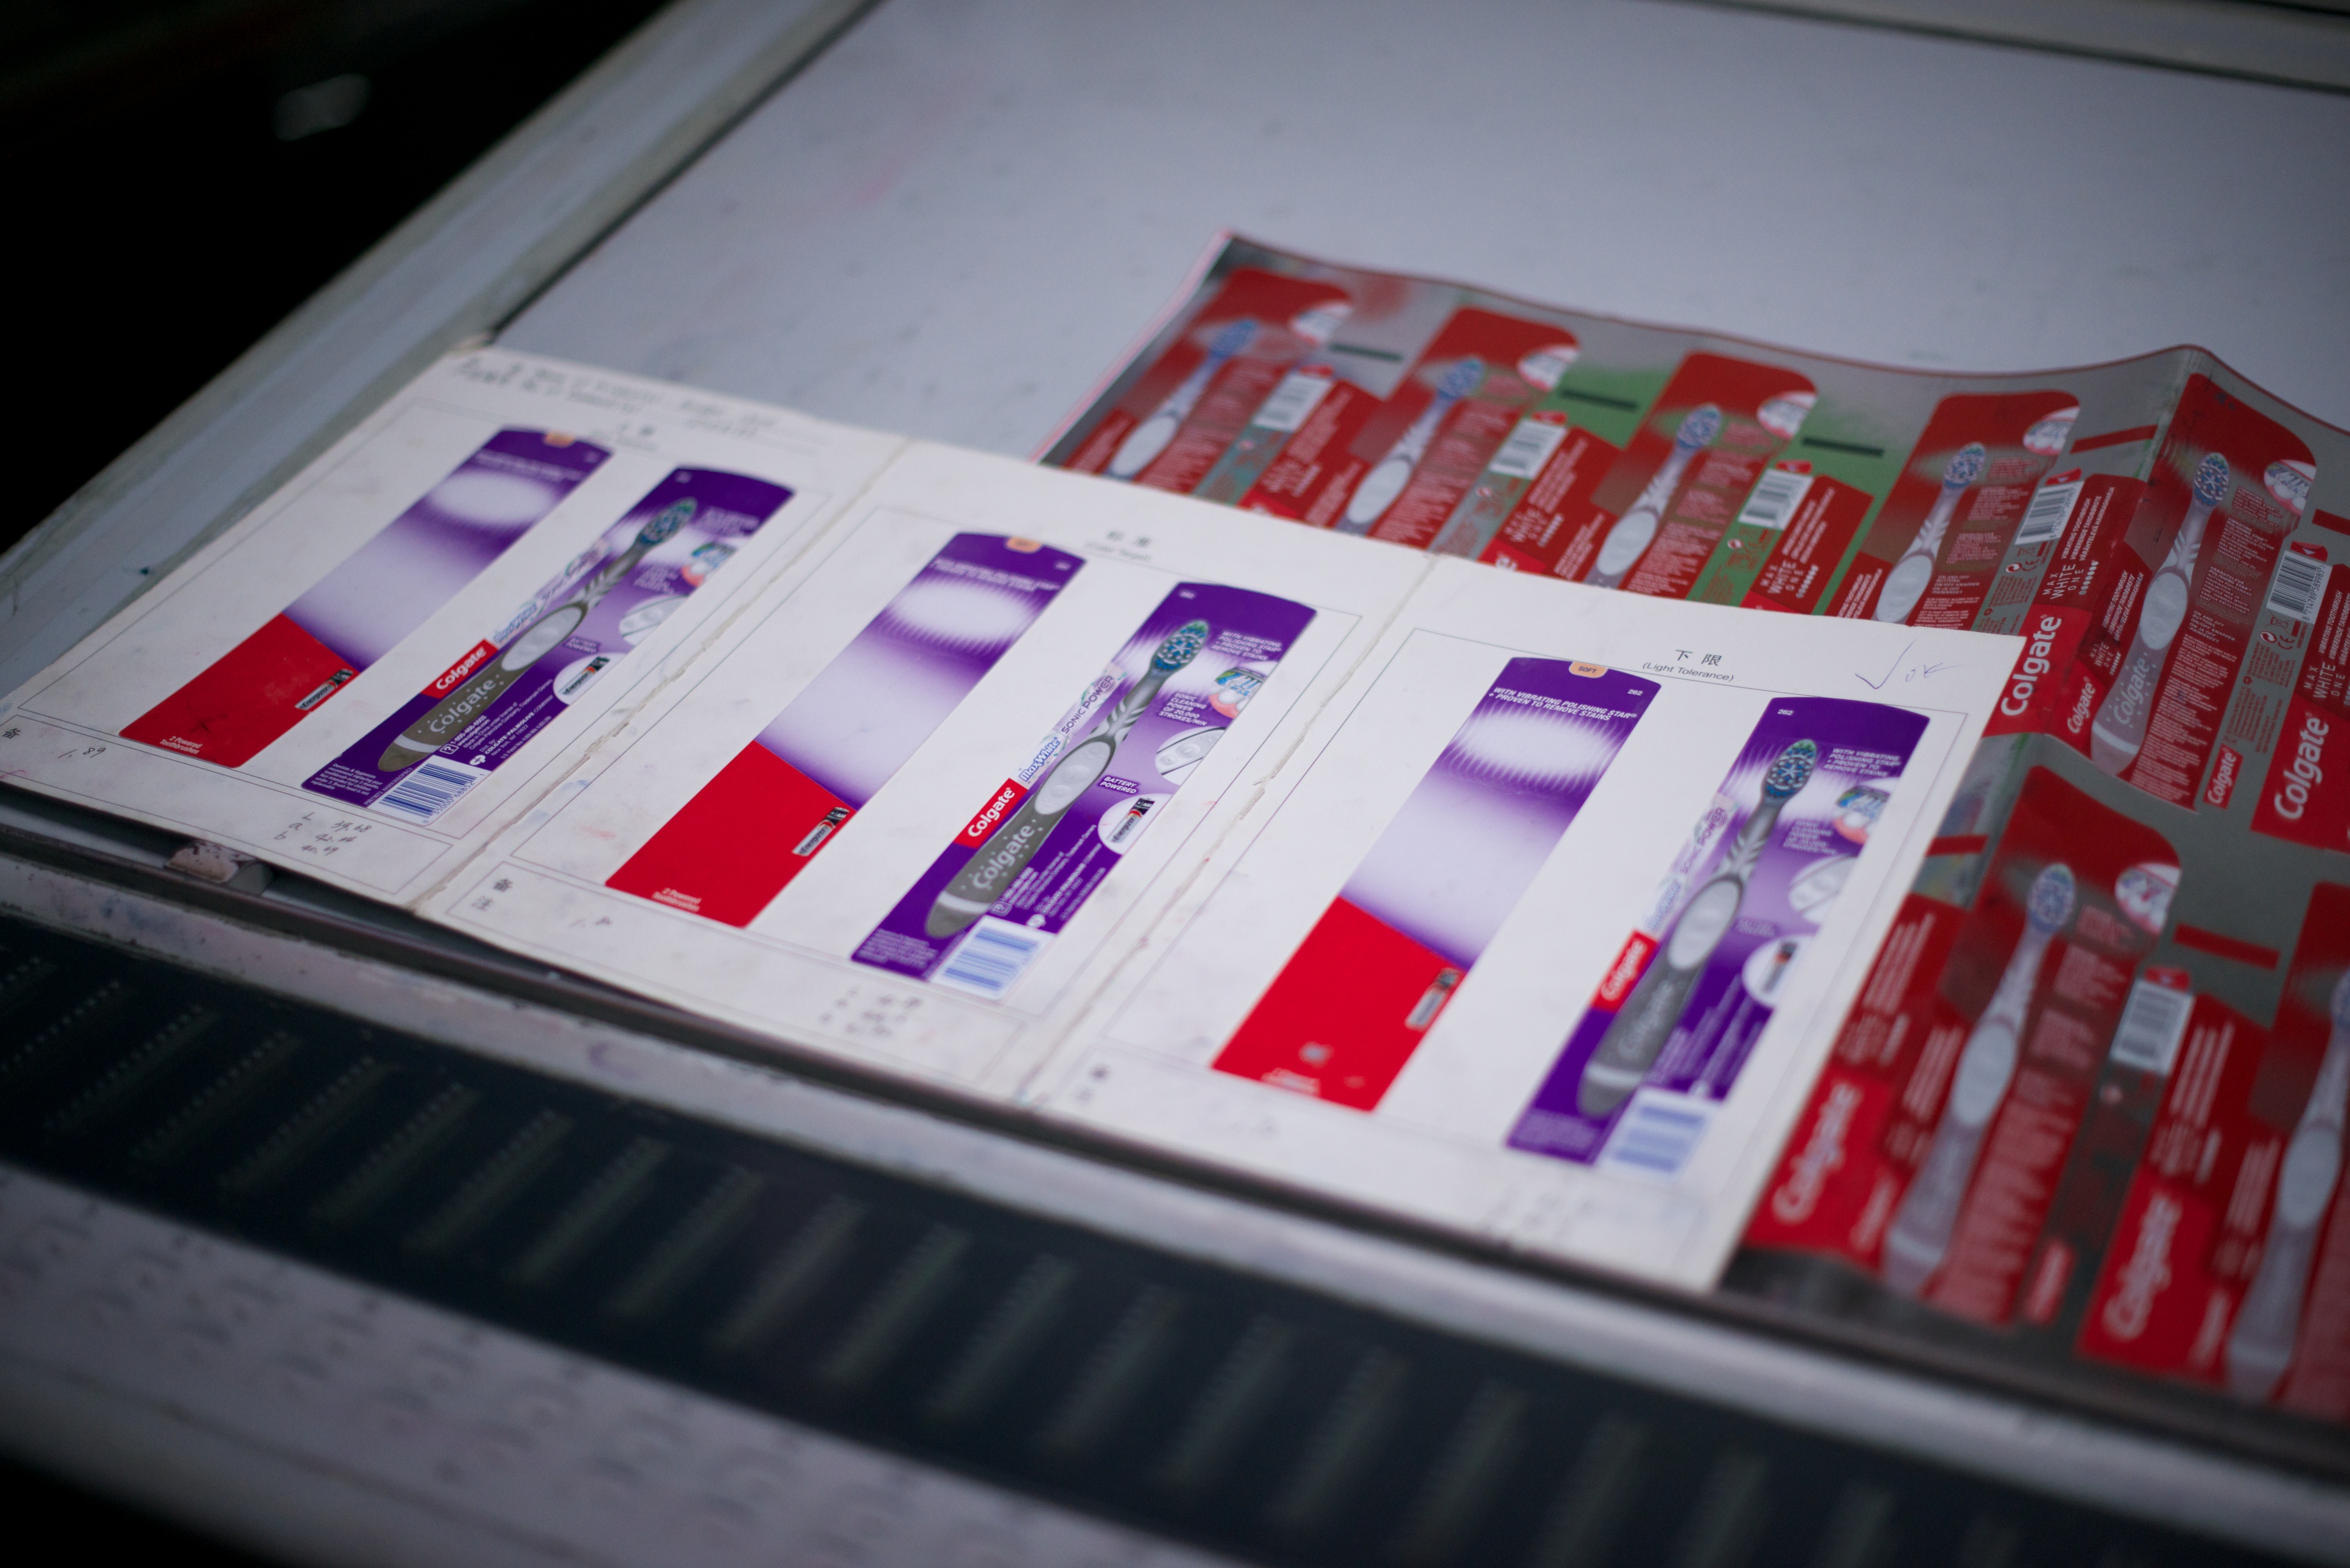
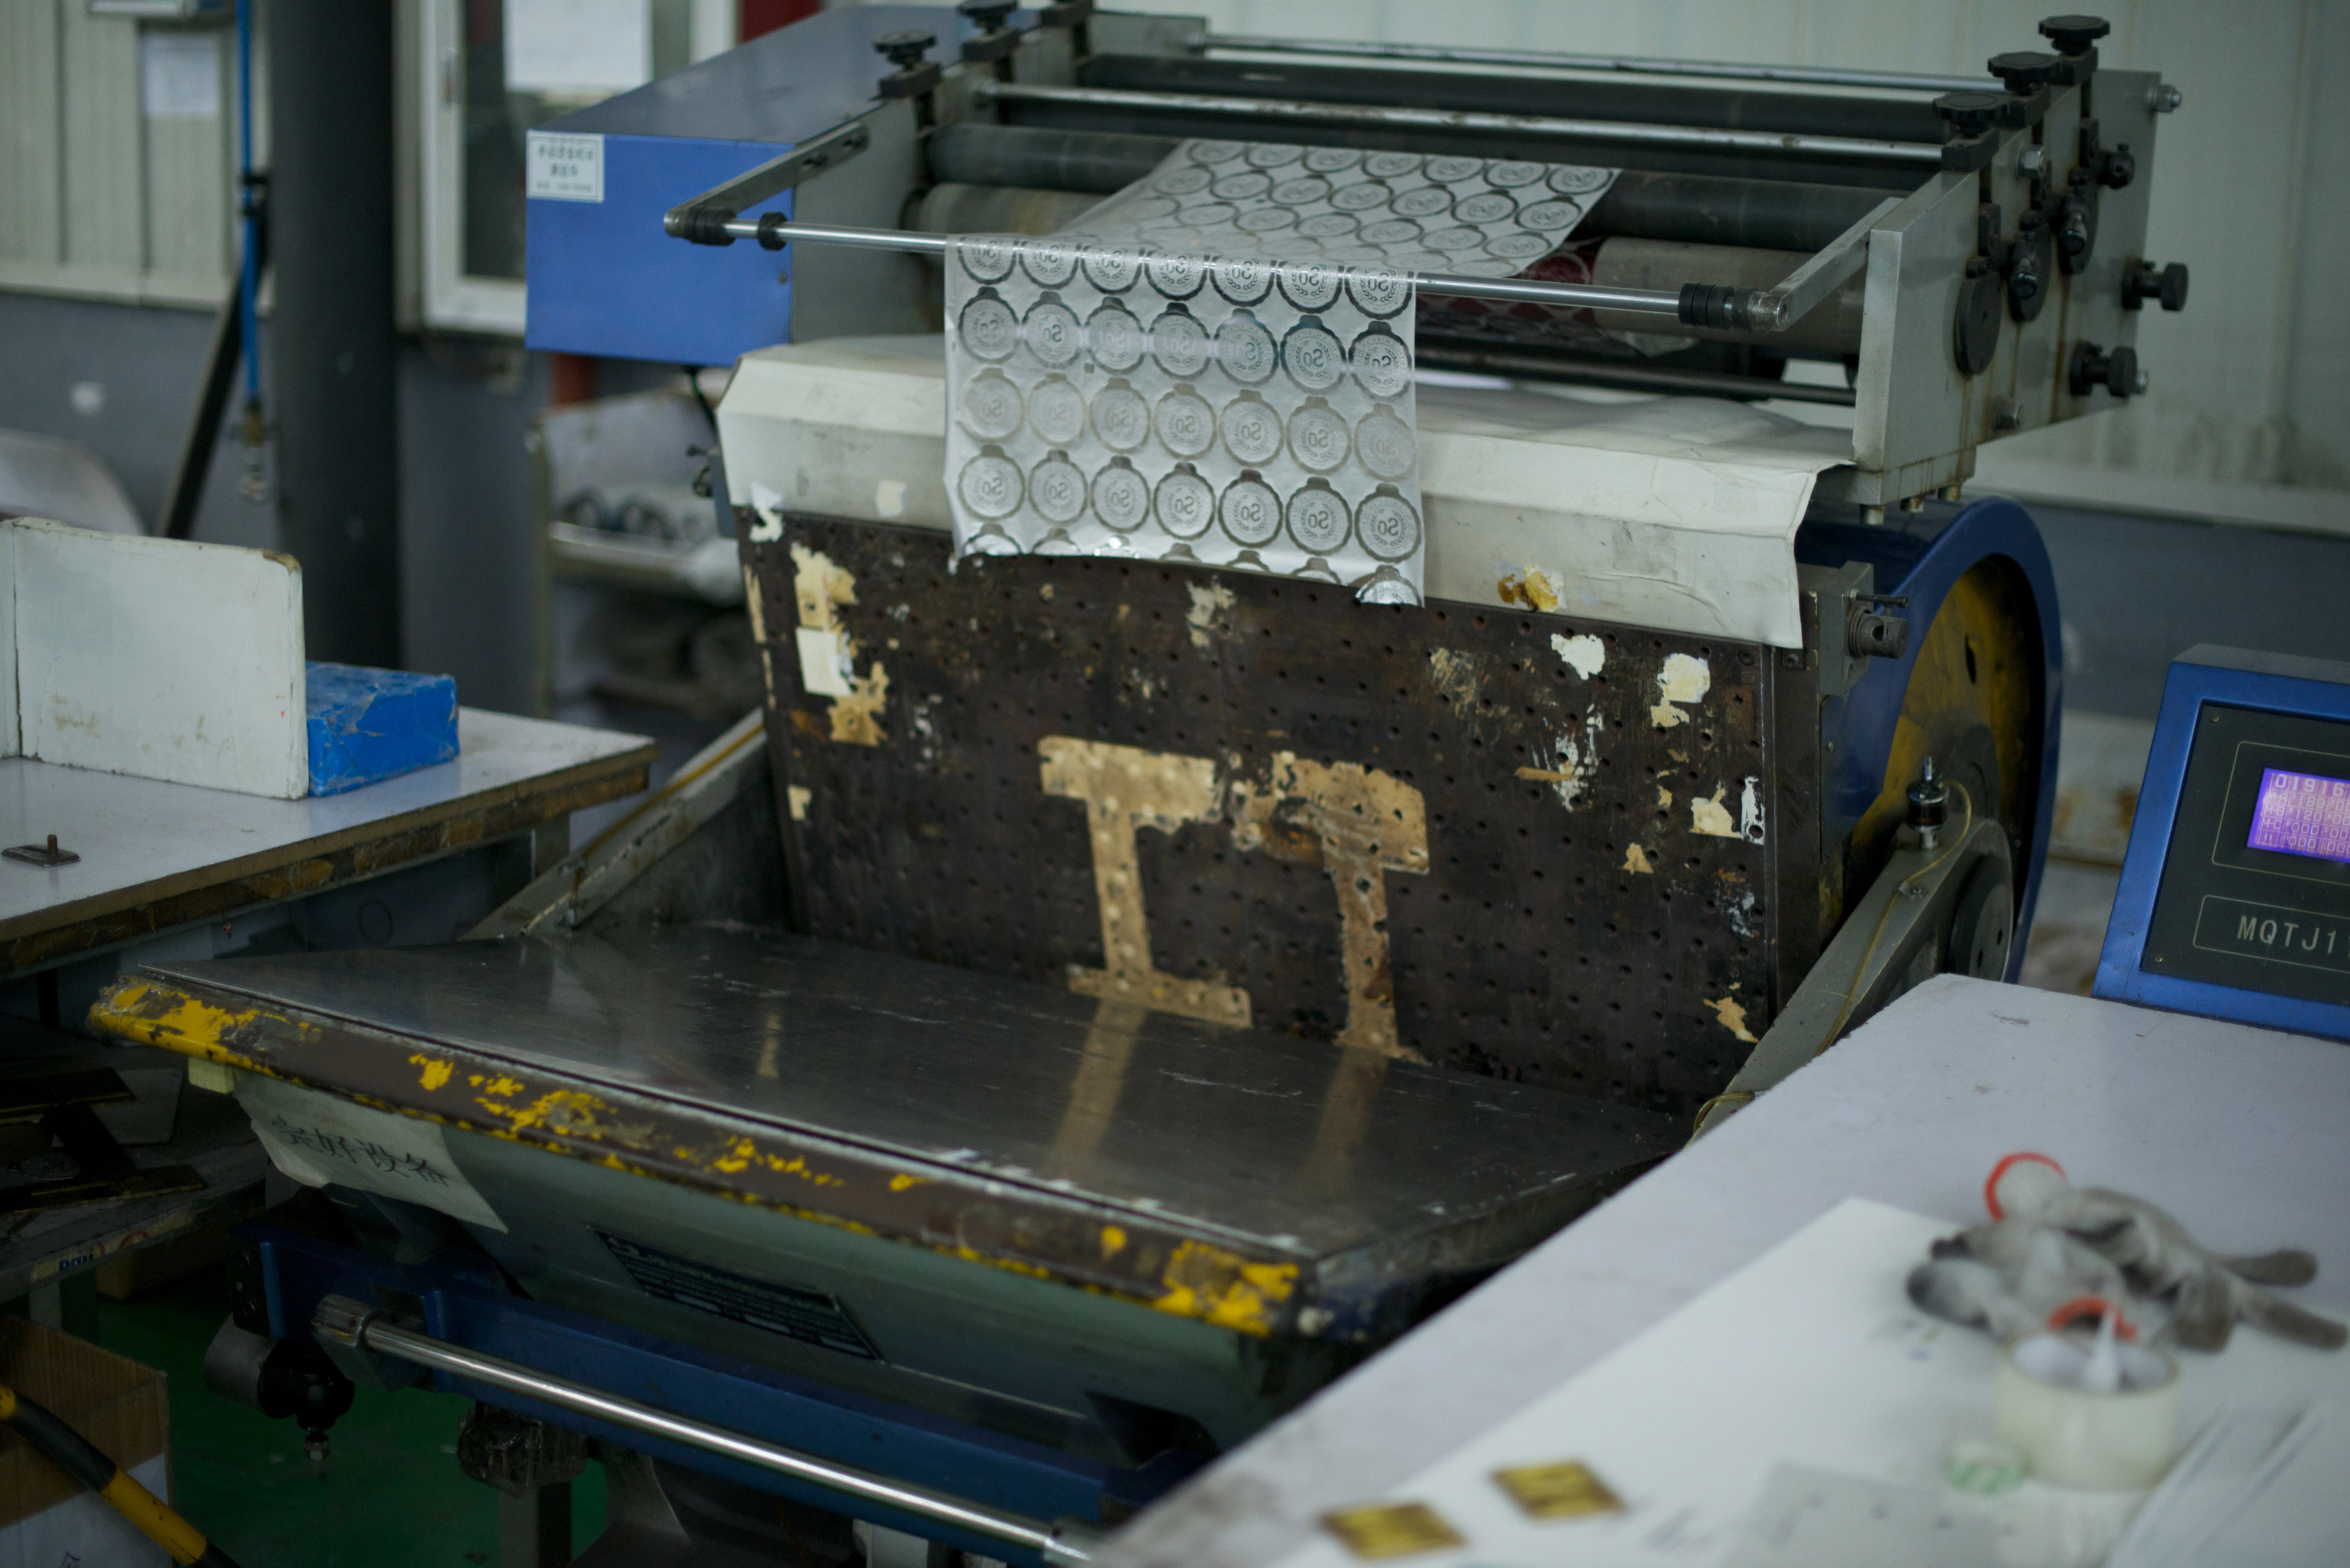
The Printing Cost Should Be 15-20% of the MSRP

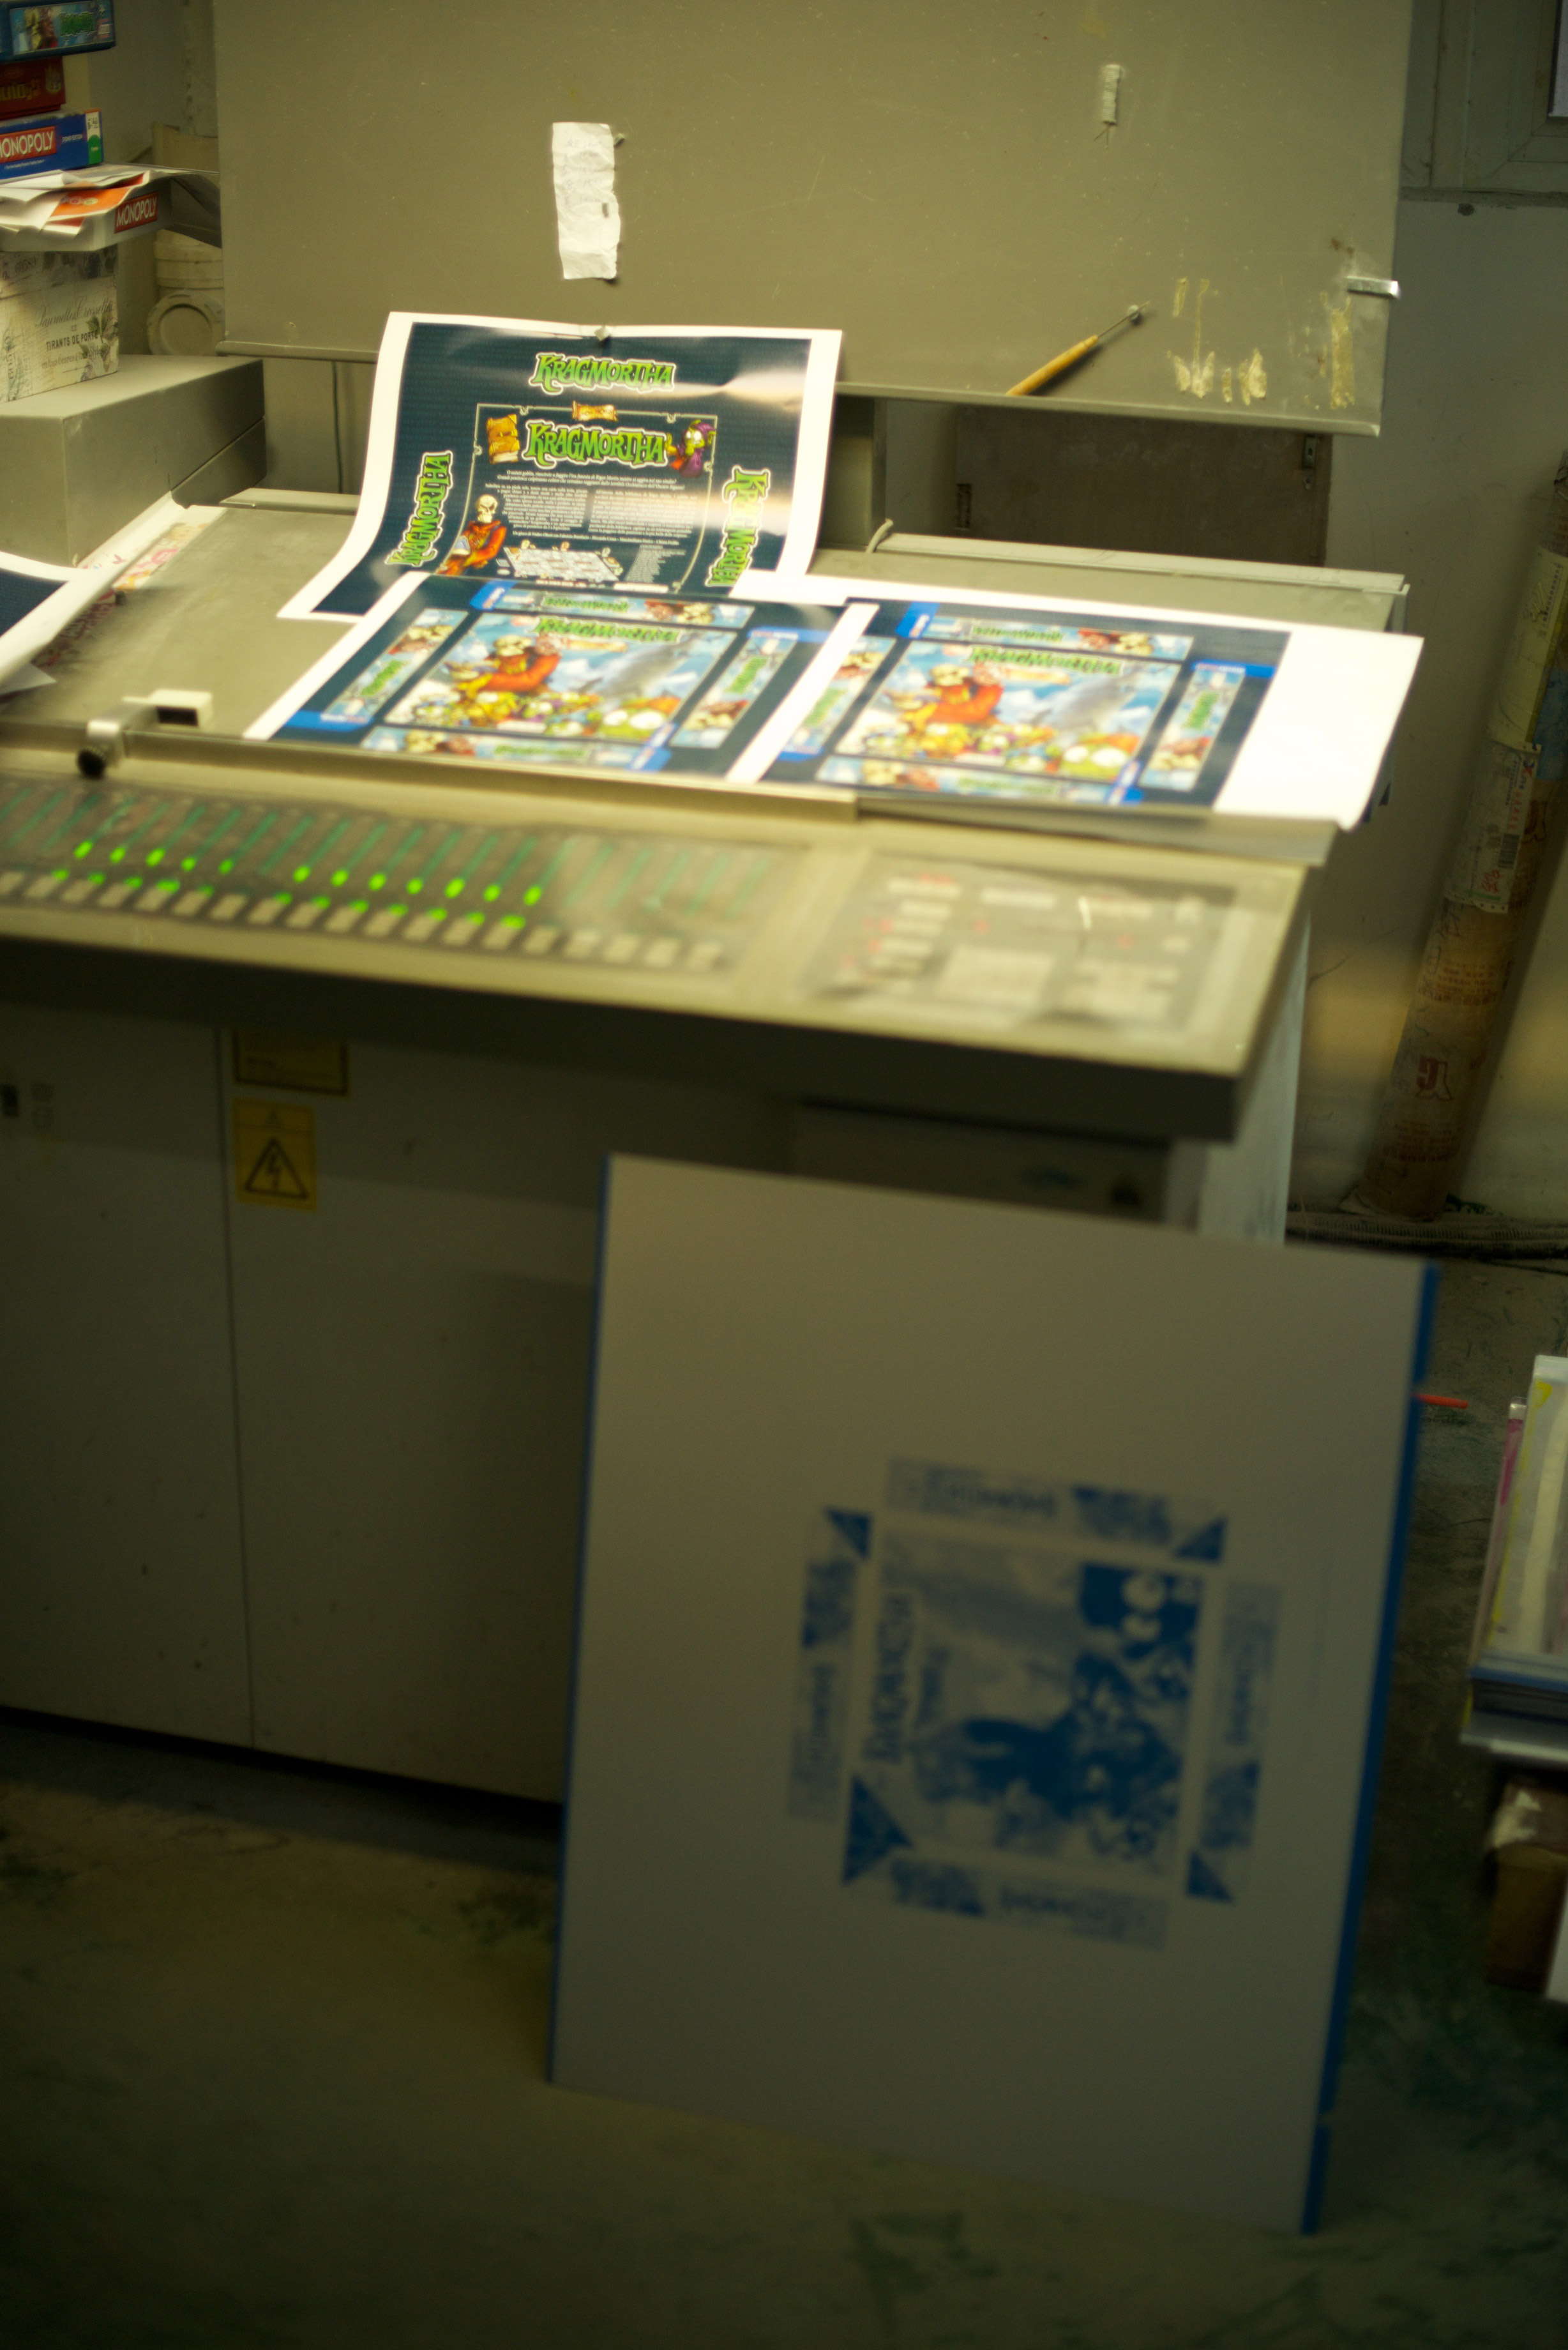
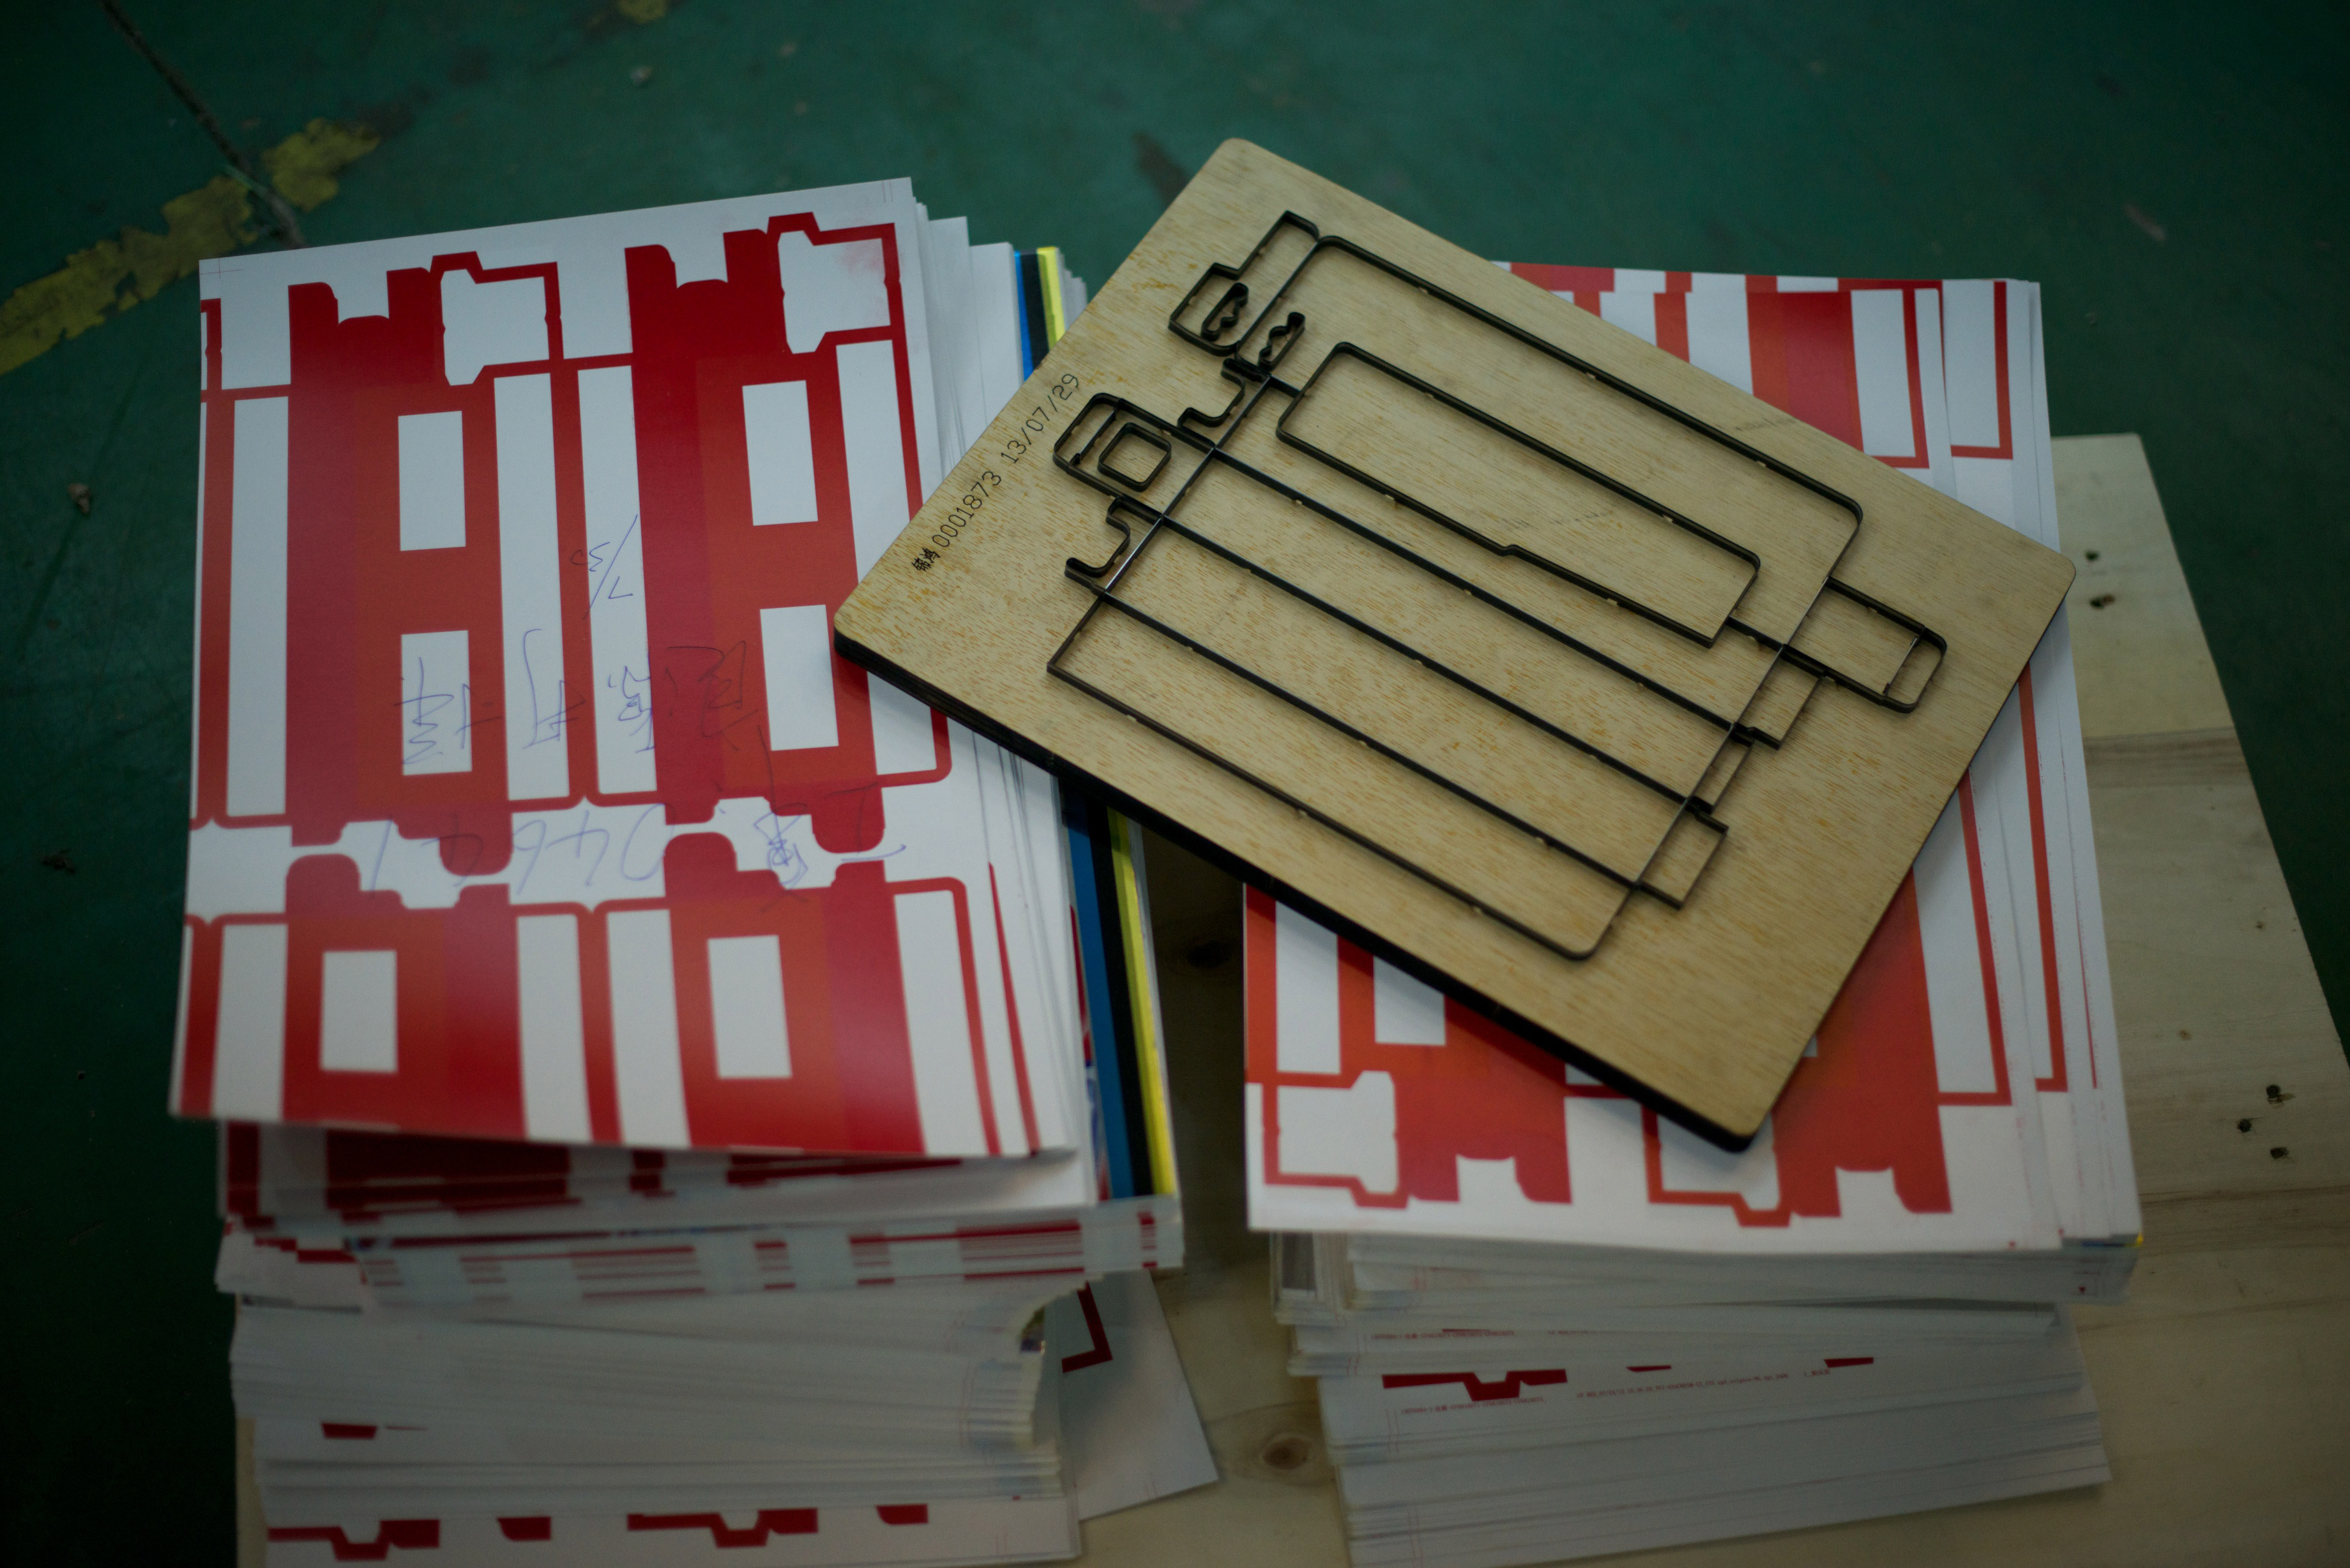
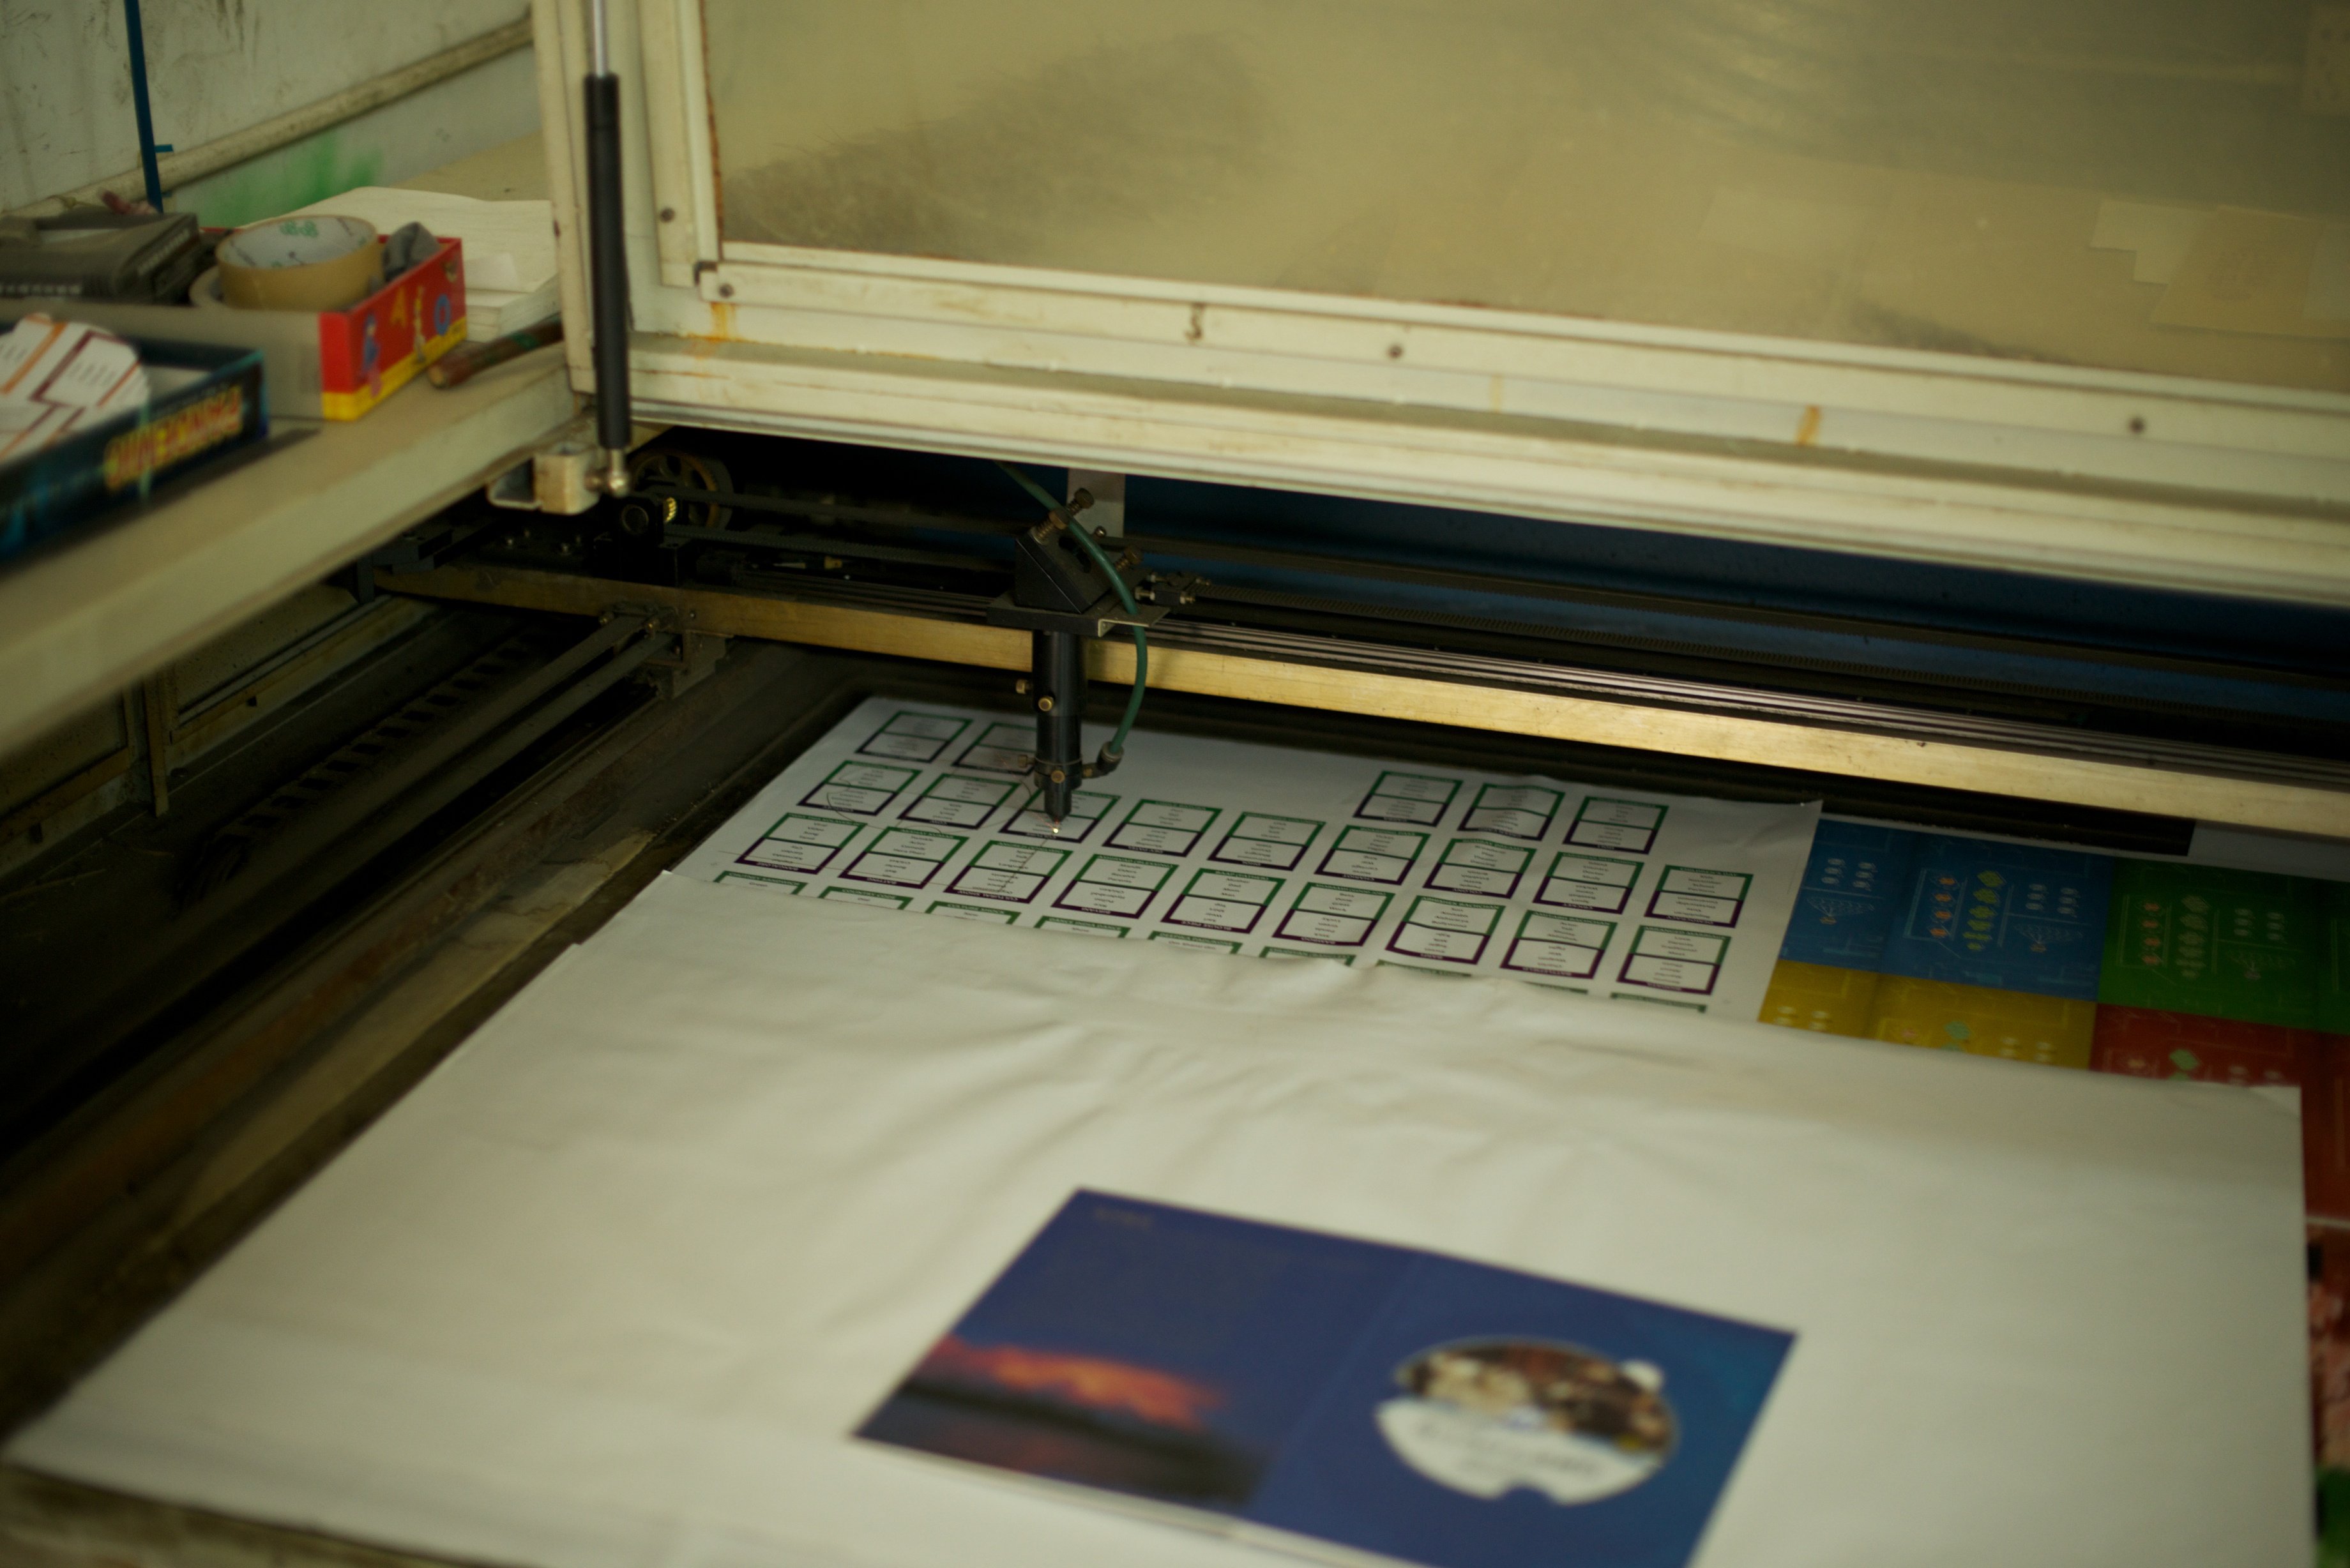
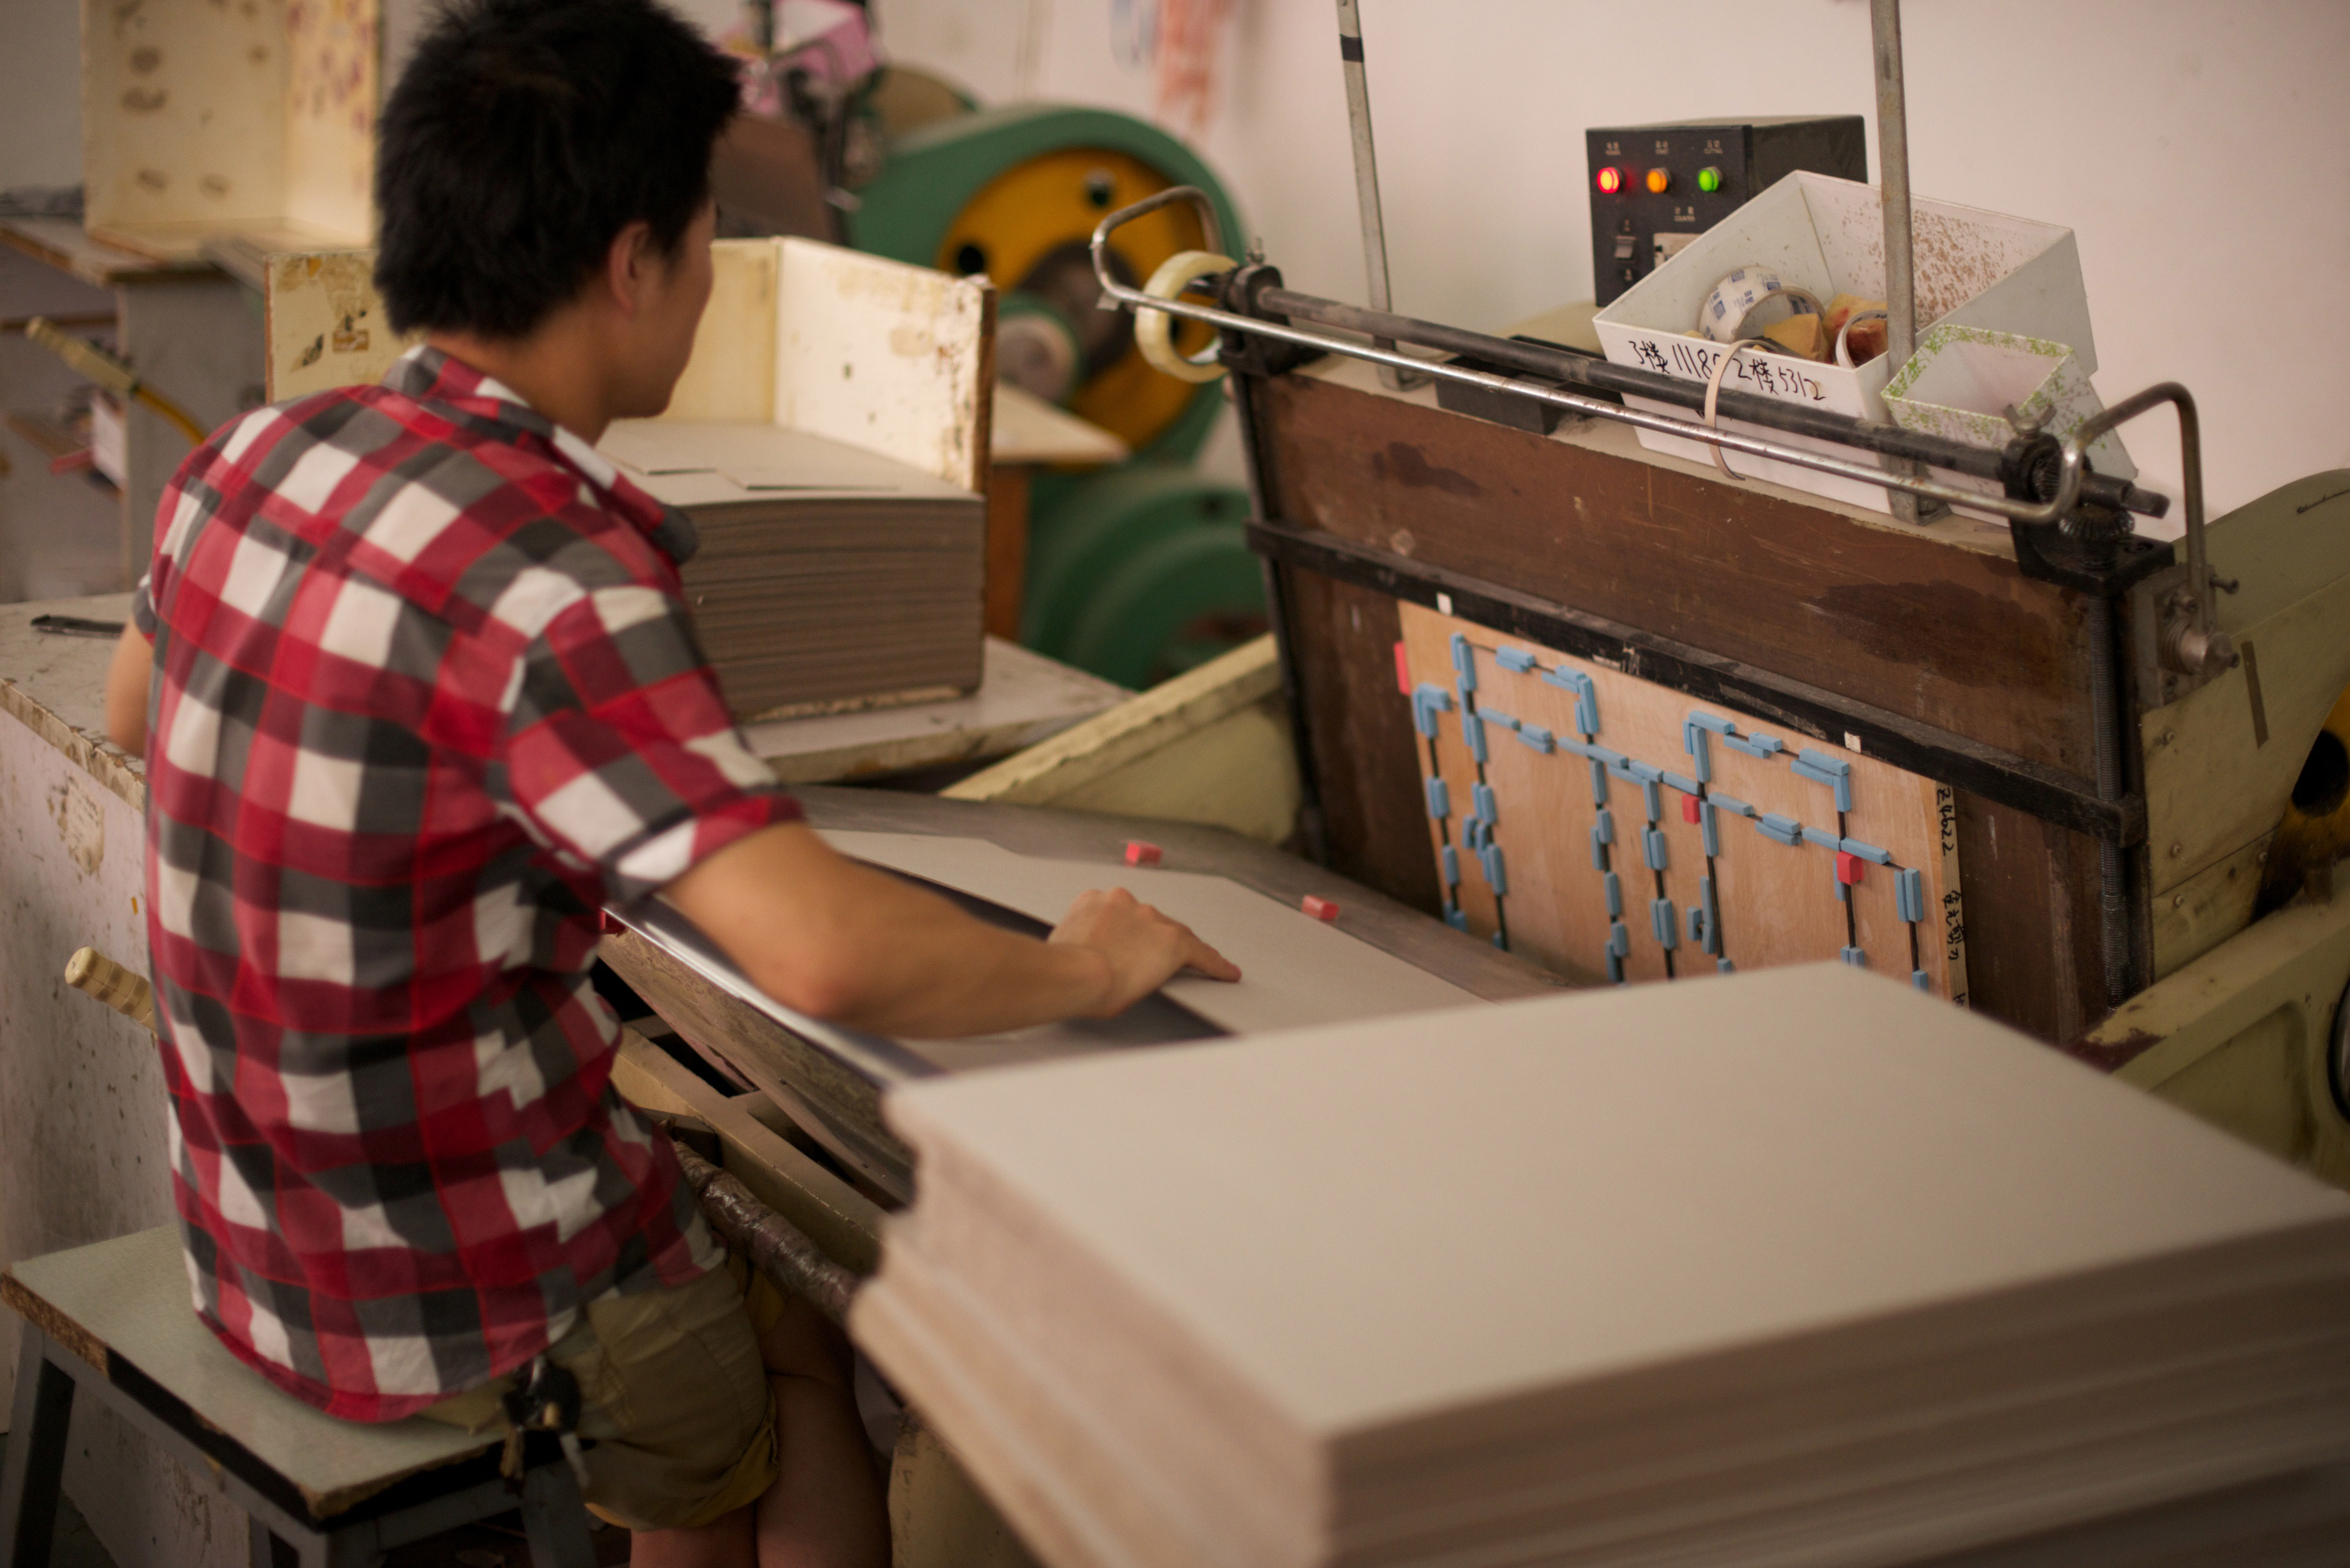
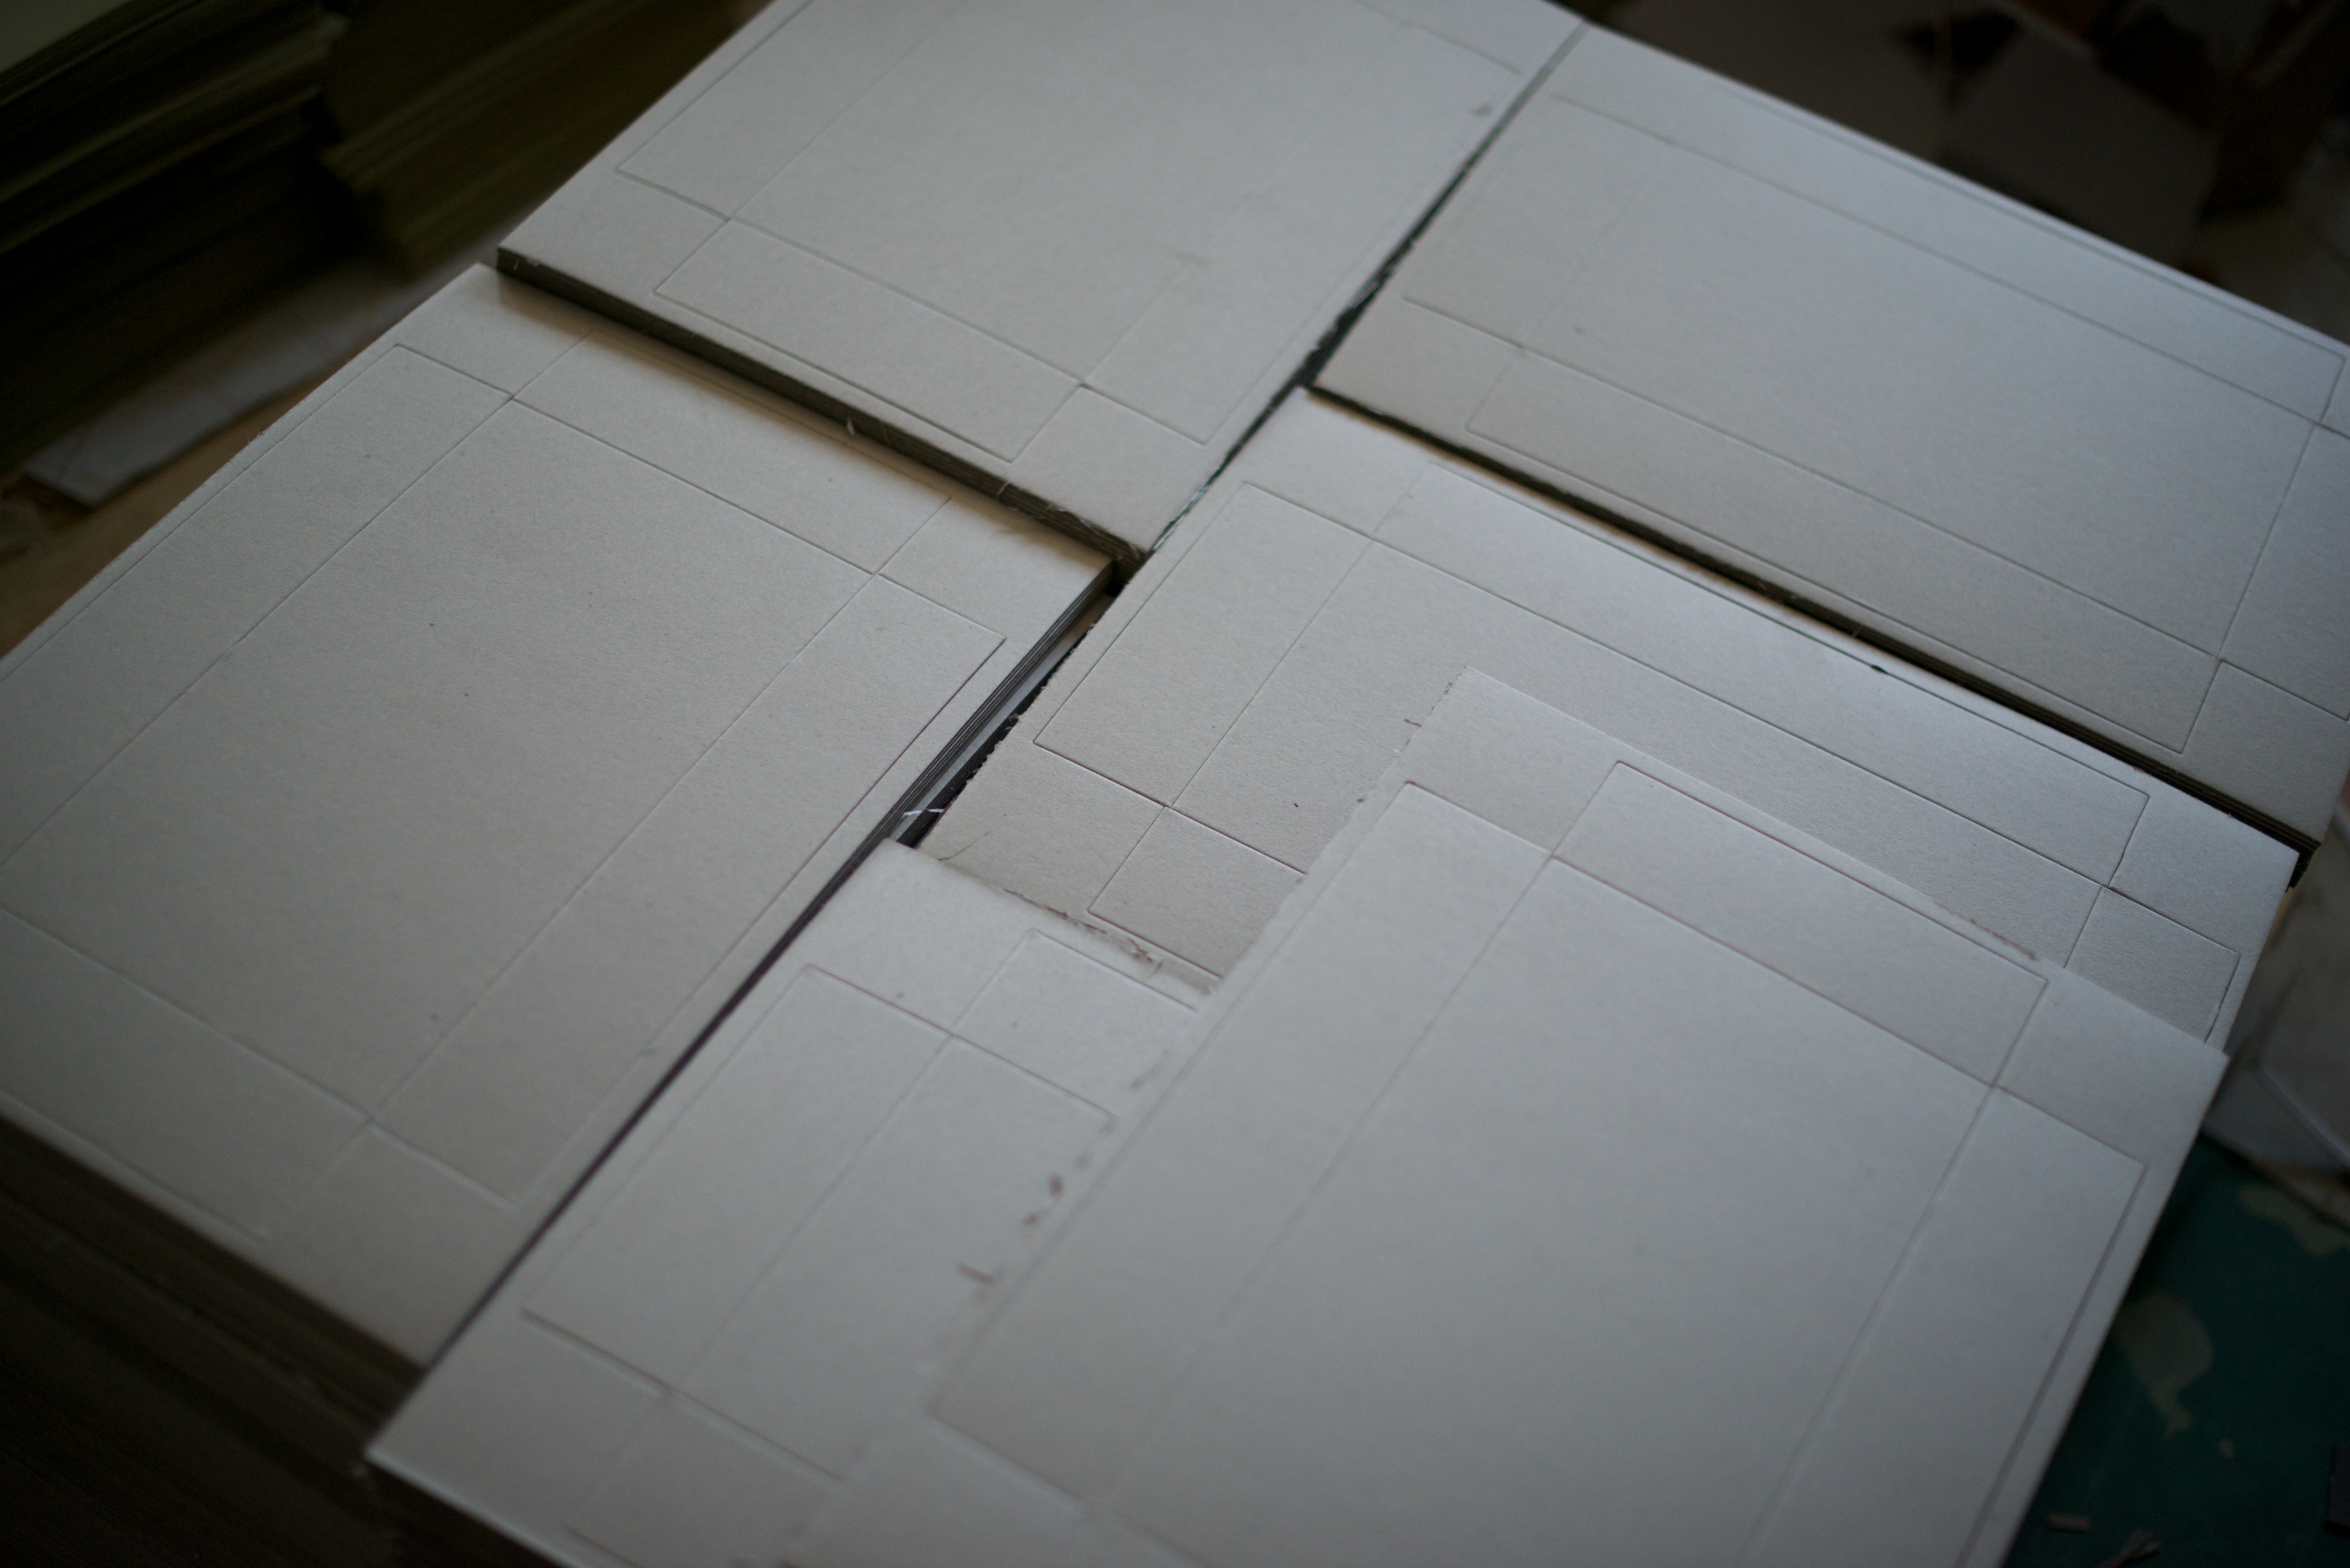
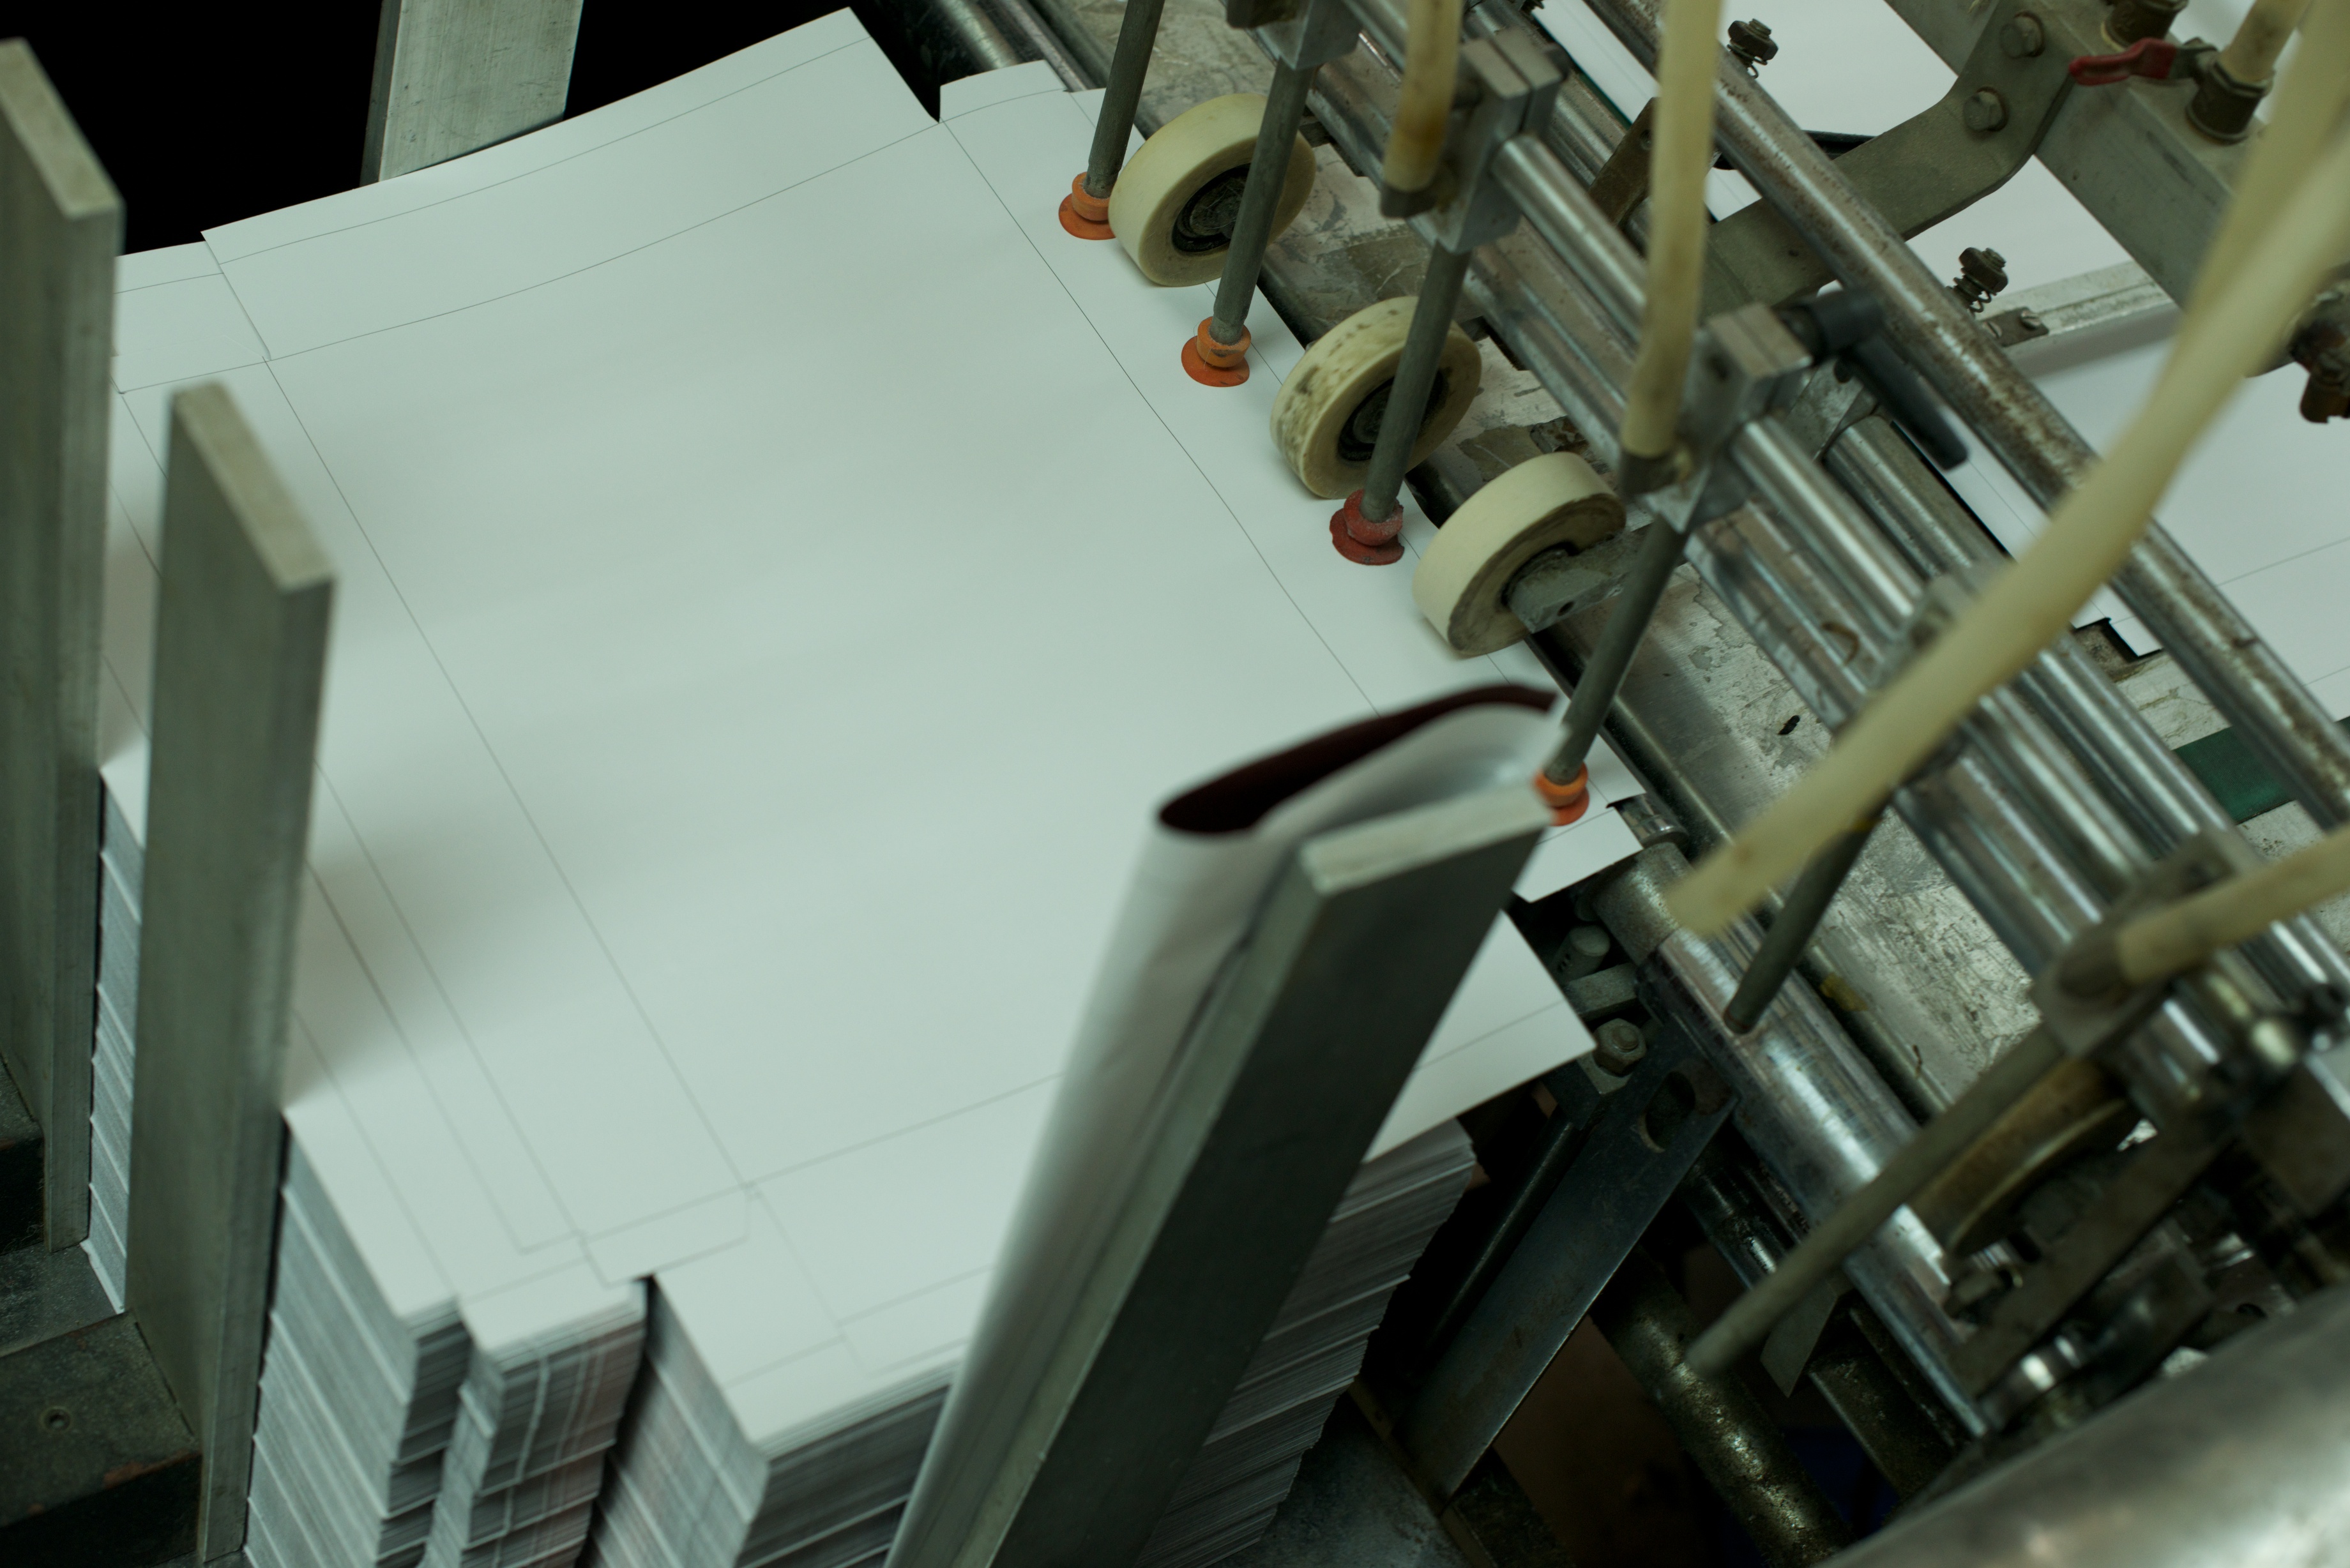
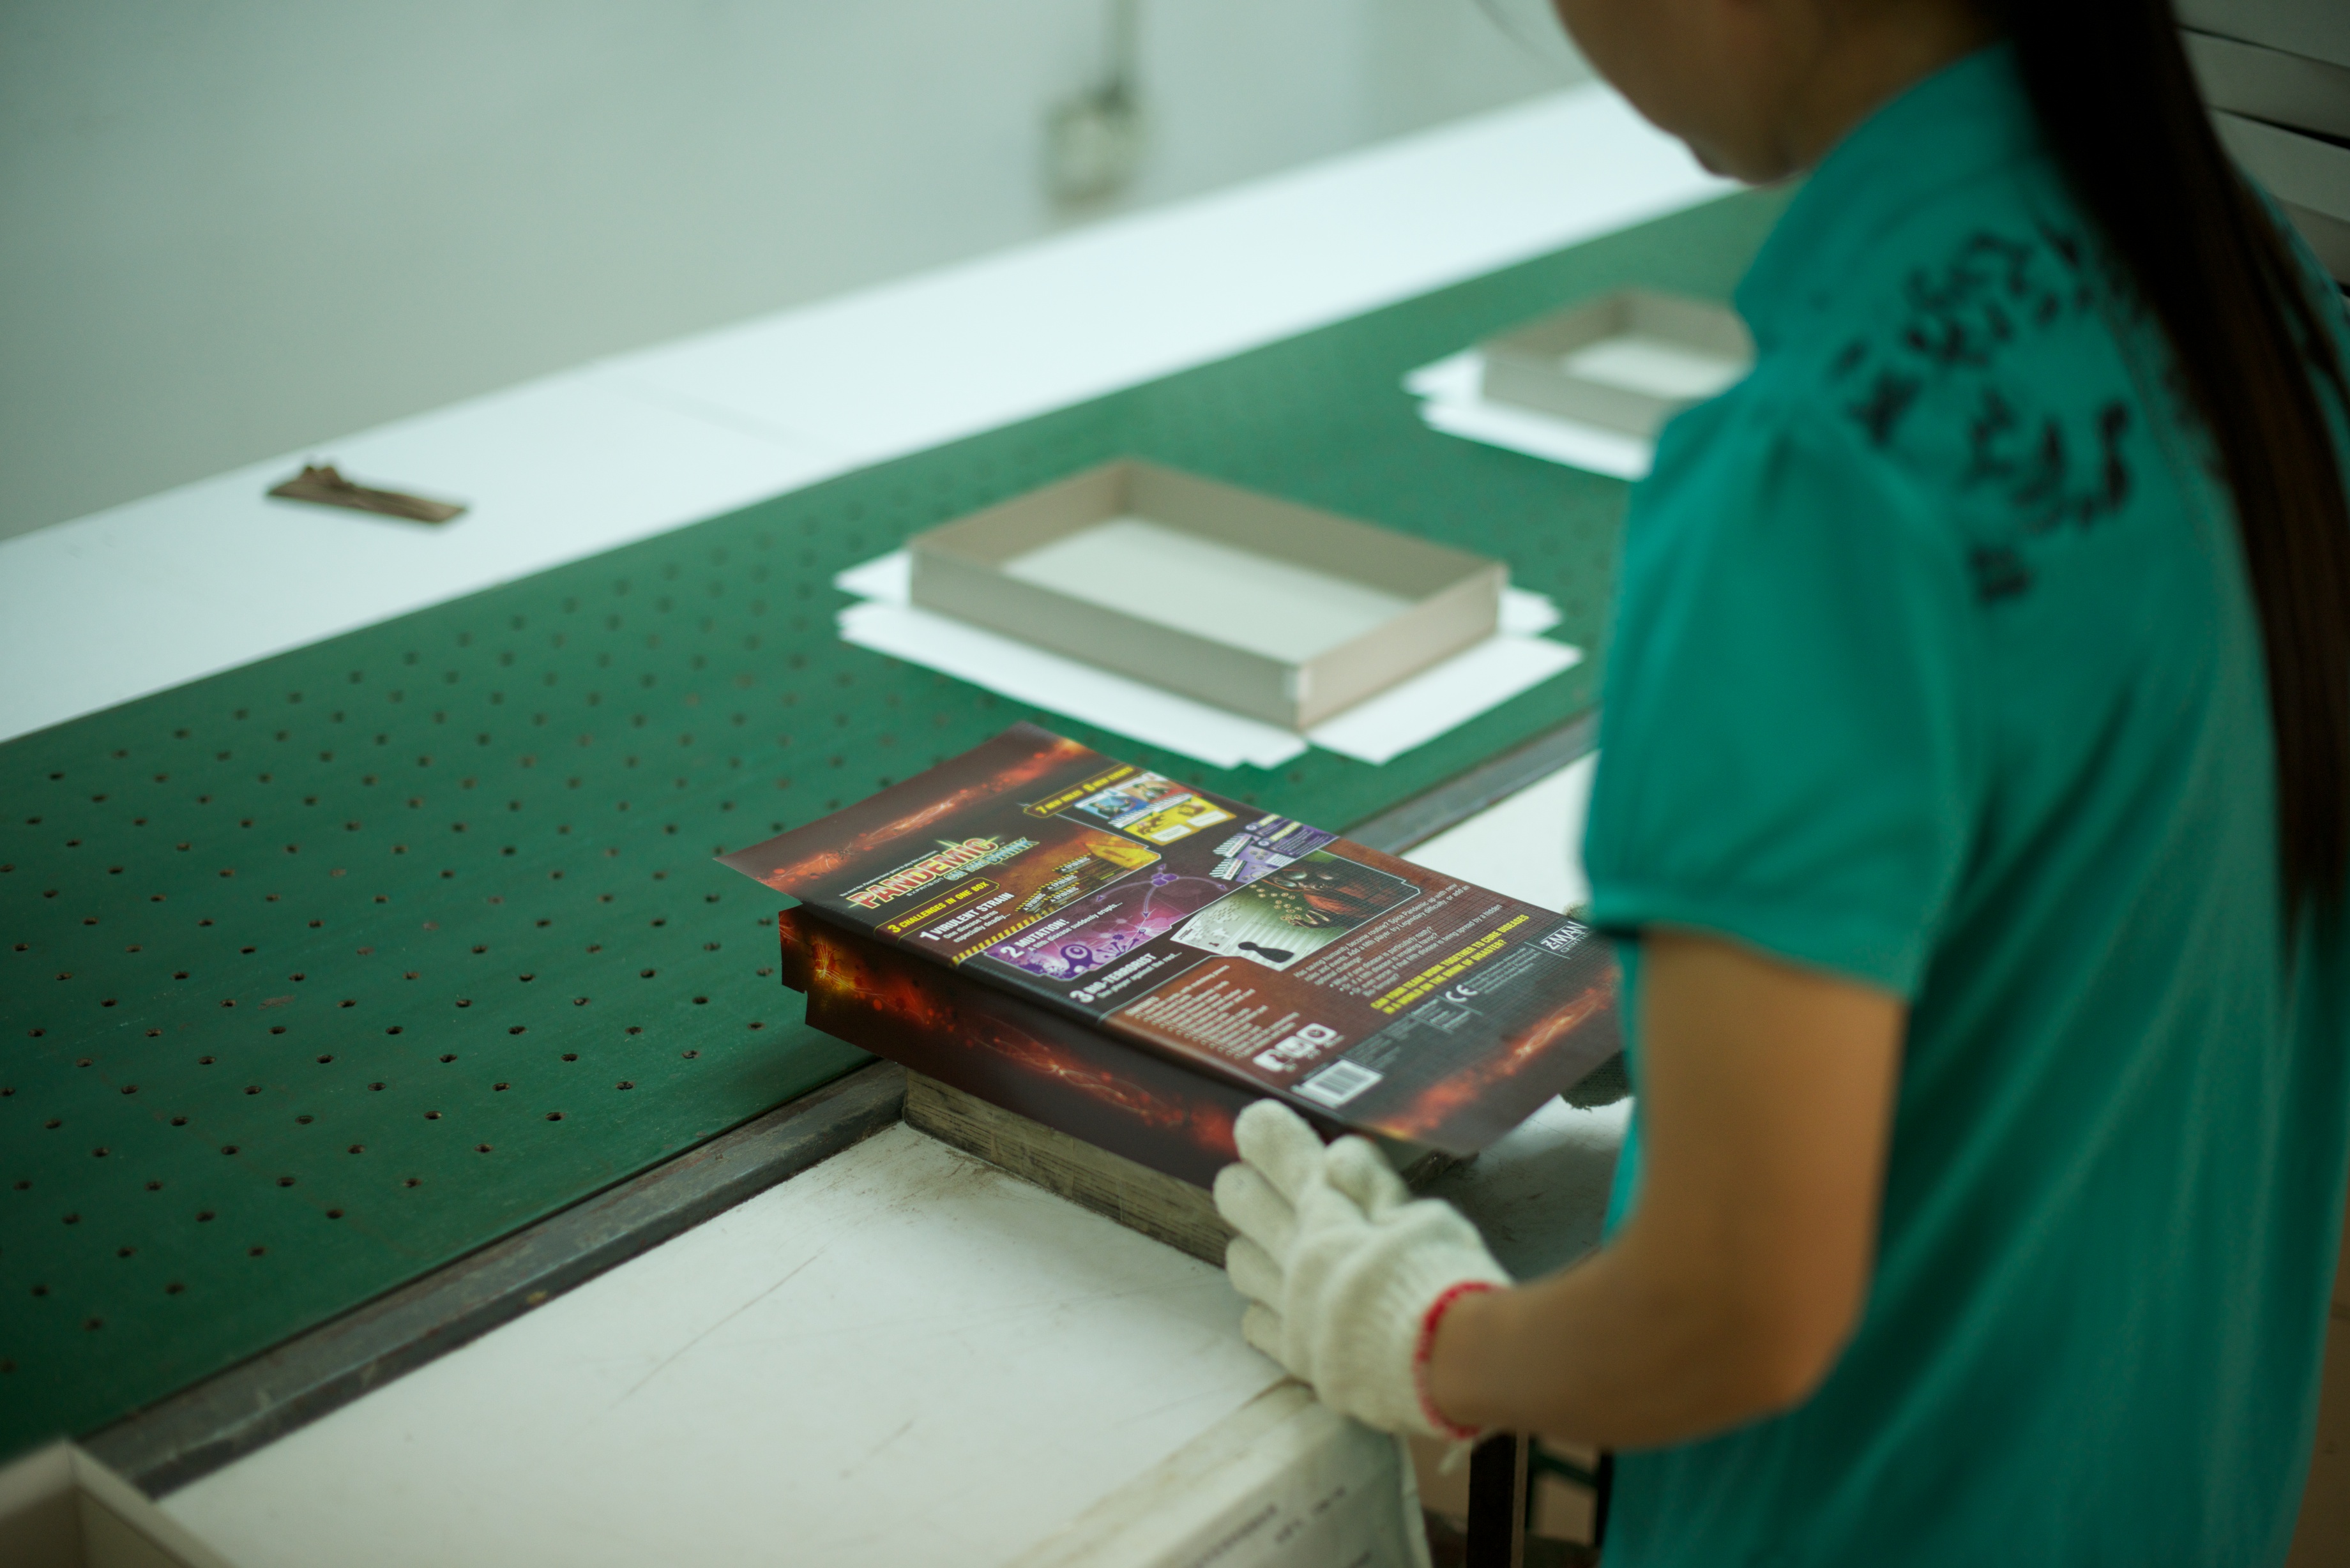
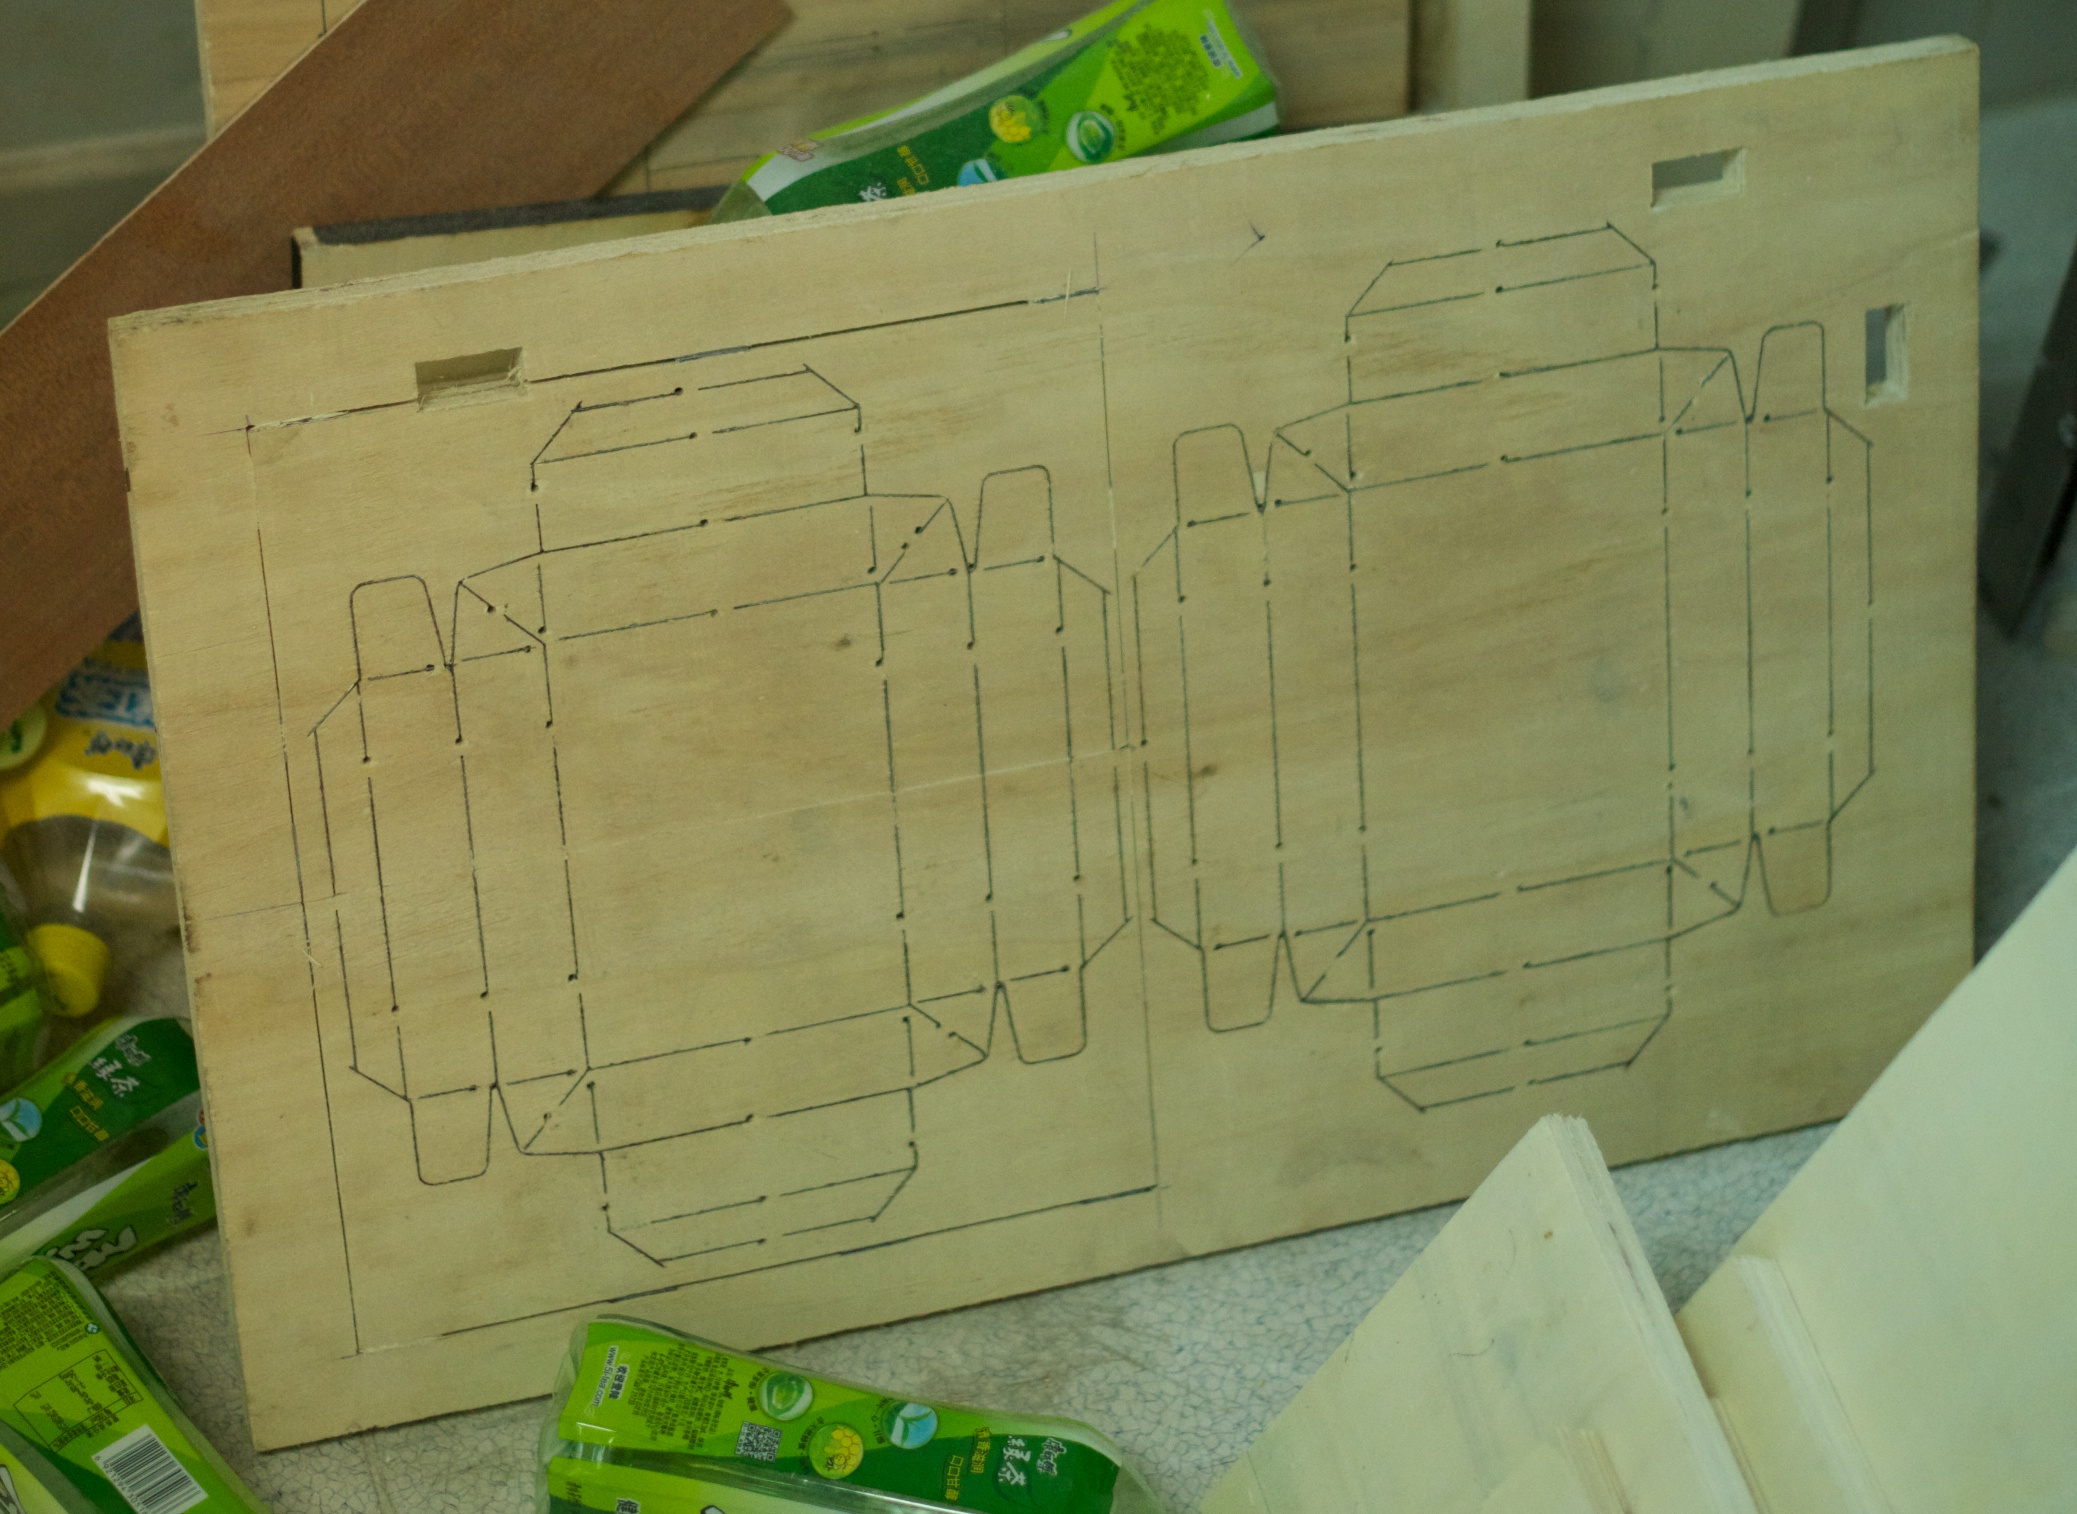
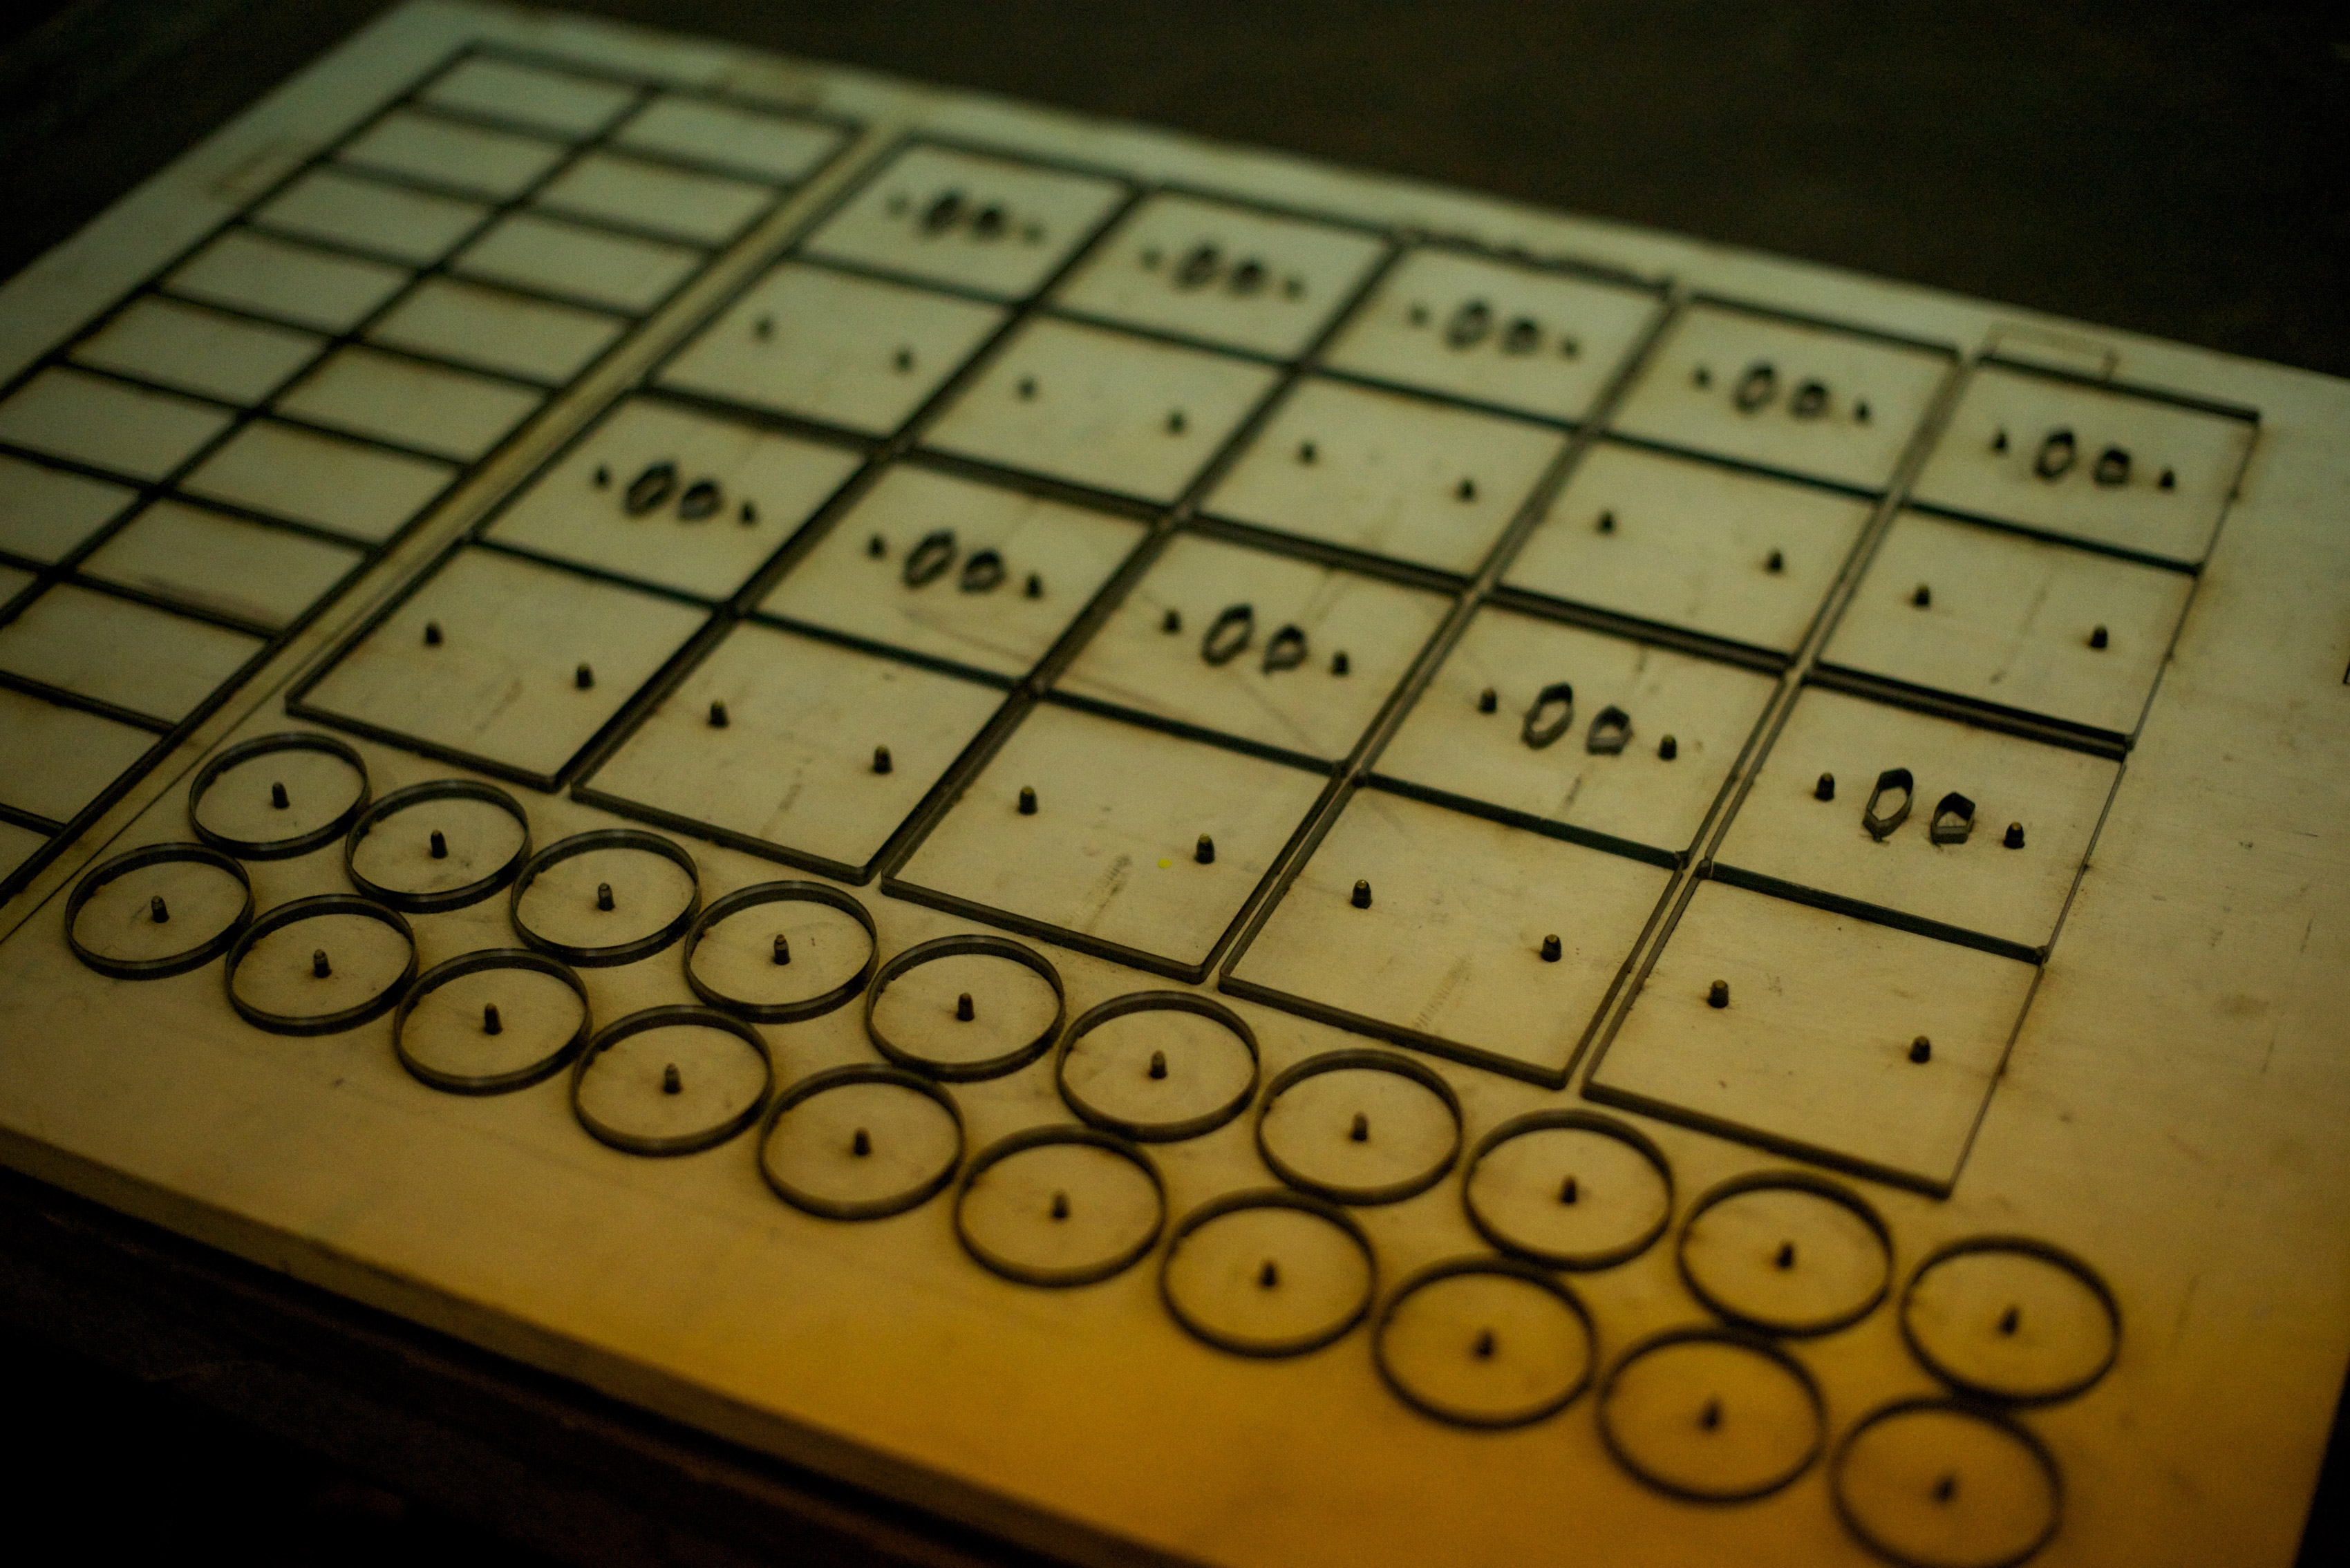
That’s the rule of thumb for the hobby game industry. There’s so much more to say about this, but that’s the short version. What you need to know as a designer is that every part adds up. Every card, every punchboard, every die-cut-pattern, every bit. Once you’ve written your own game, you might start to marvel at the economy of components that hit games are made with.

There’s a couple ways you can estimate the costs of your game.

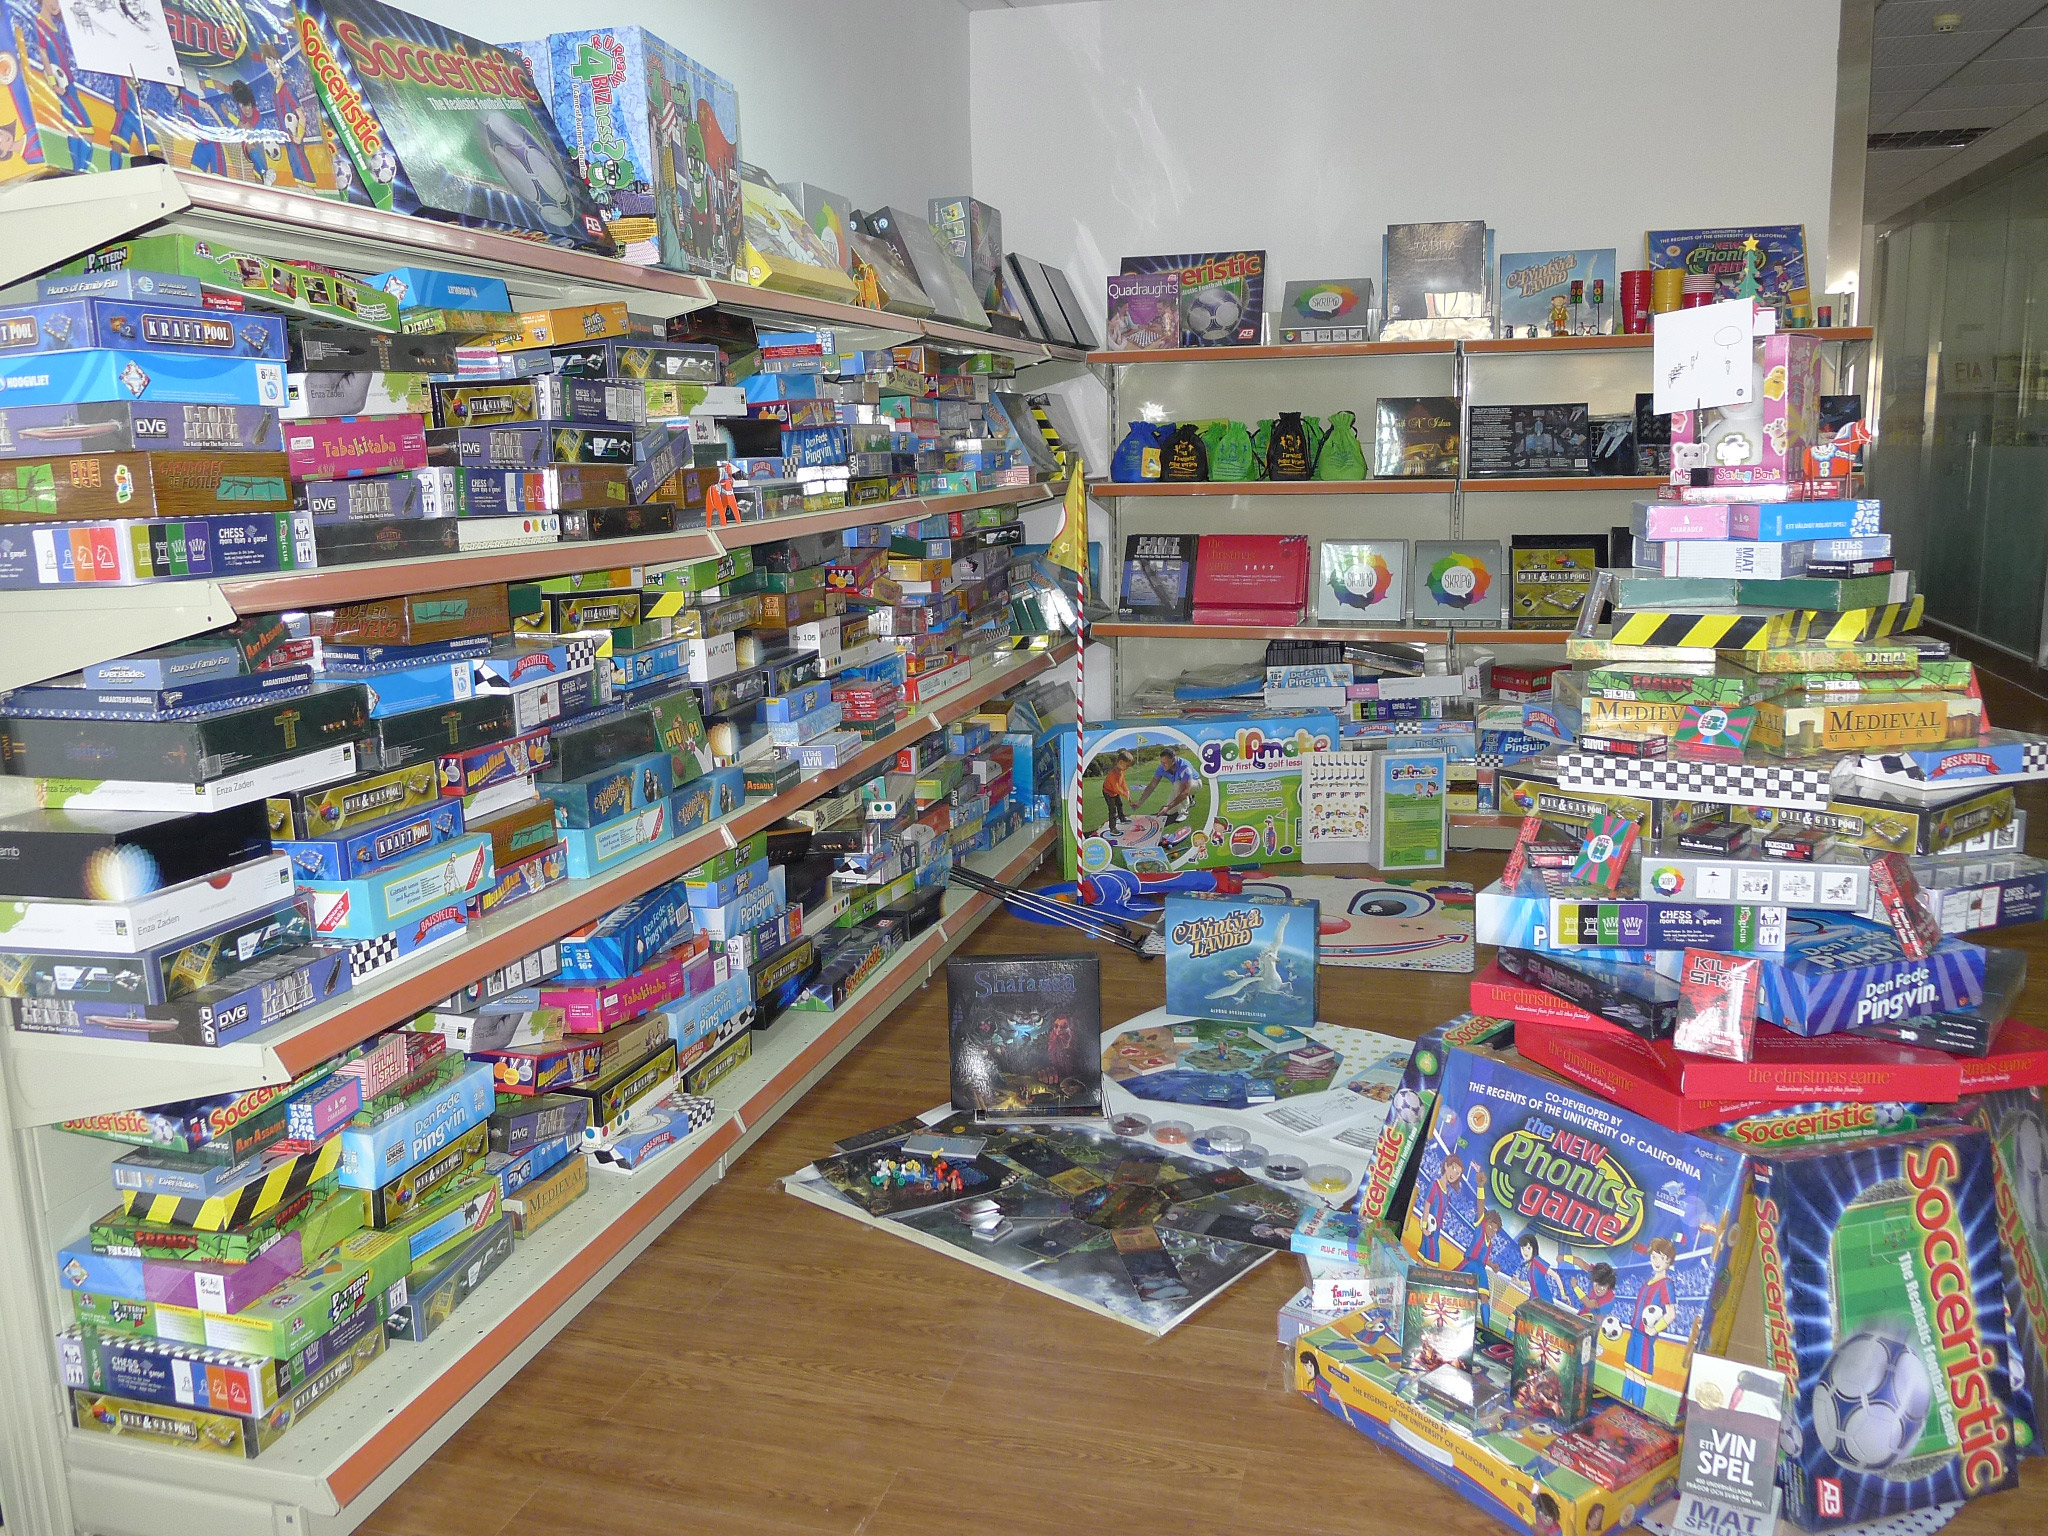
The first step, either way, is to figure out exactly what parts have to be made. Clear off a table. Unbox your prototype completely and set it into piles: board, cards, tokens, wooden/plastic parts. Write down that list. Remember the other parts that aren’t in your playtest kit yet: The rulebook and box liner. And the box.

Step two, version one: Find a game in your collection with nearly identical or slightly more components. Your MSRP will be about the same as its.

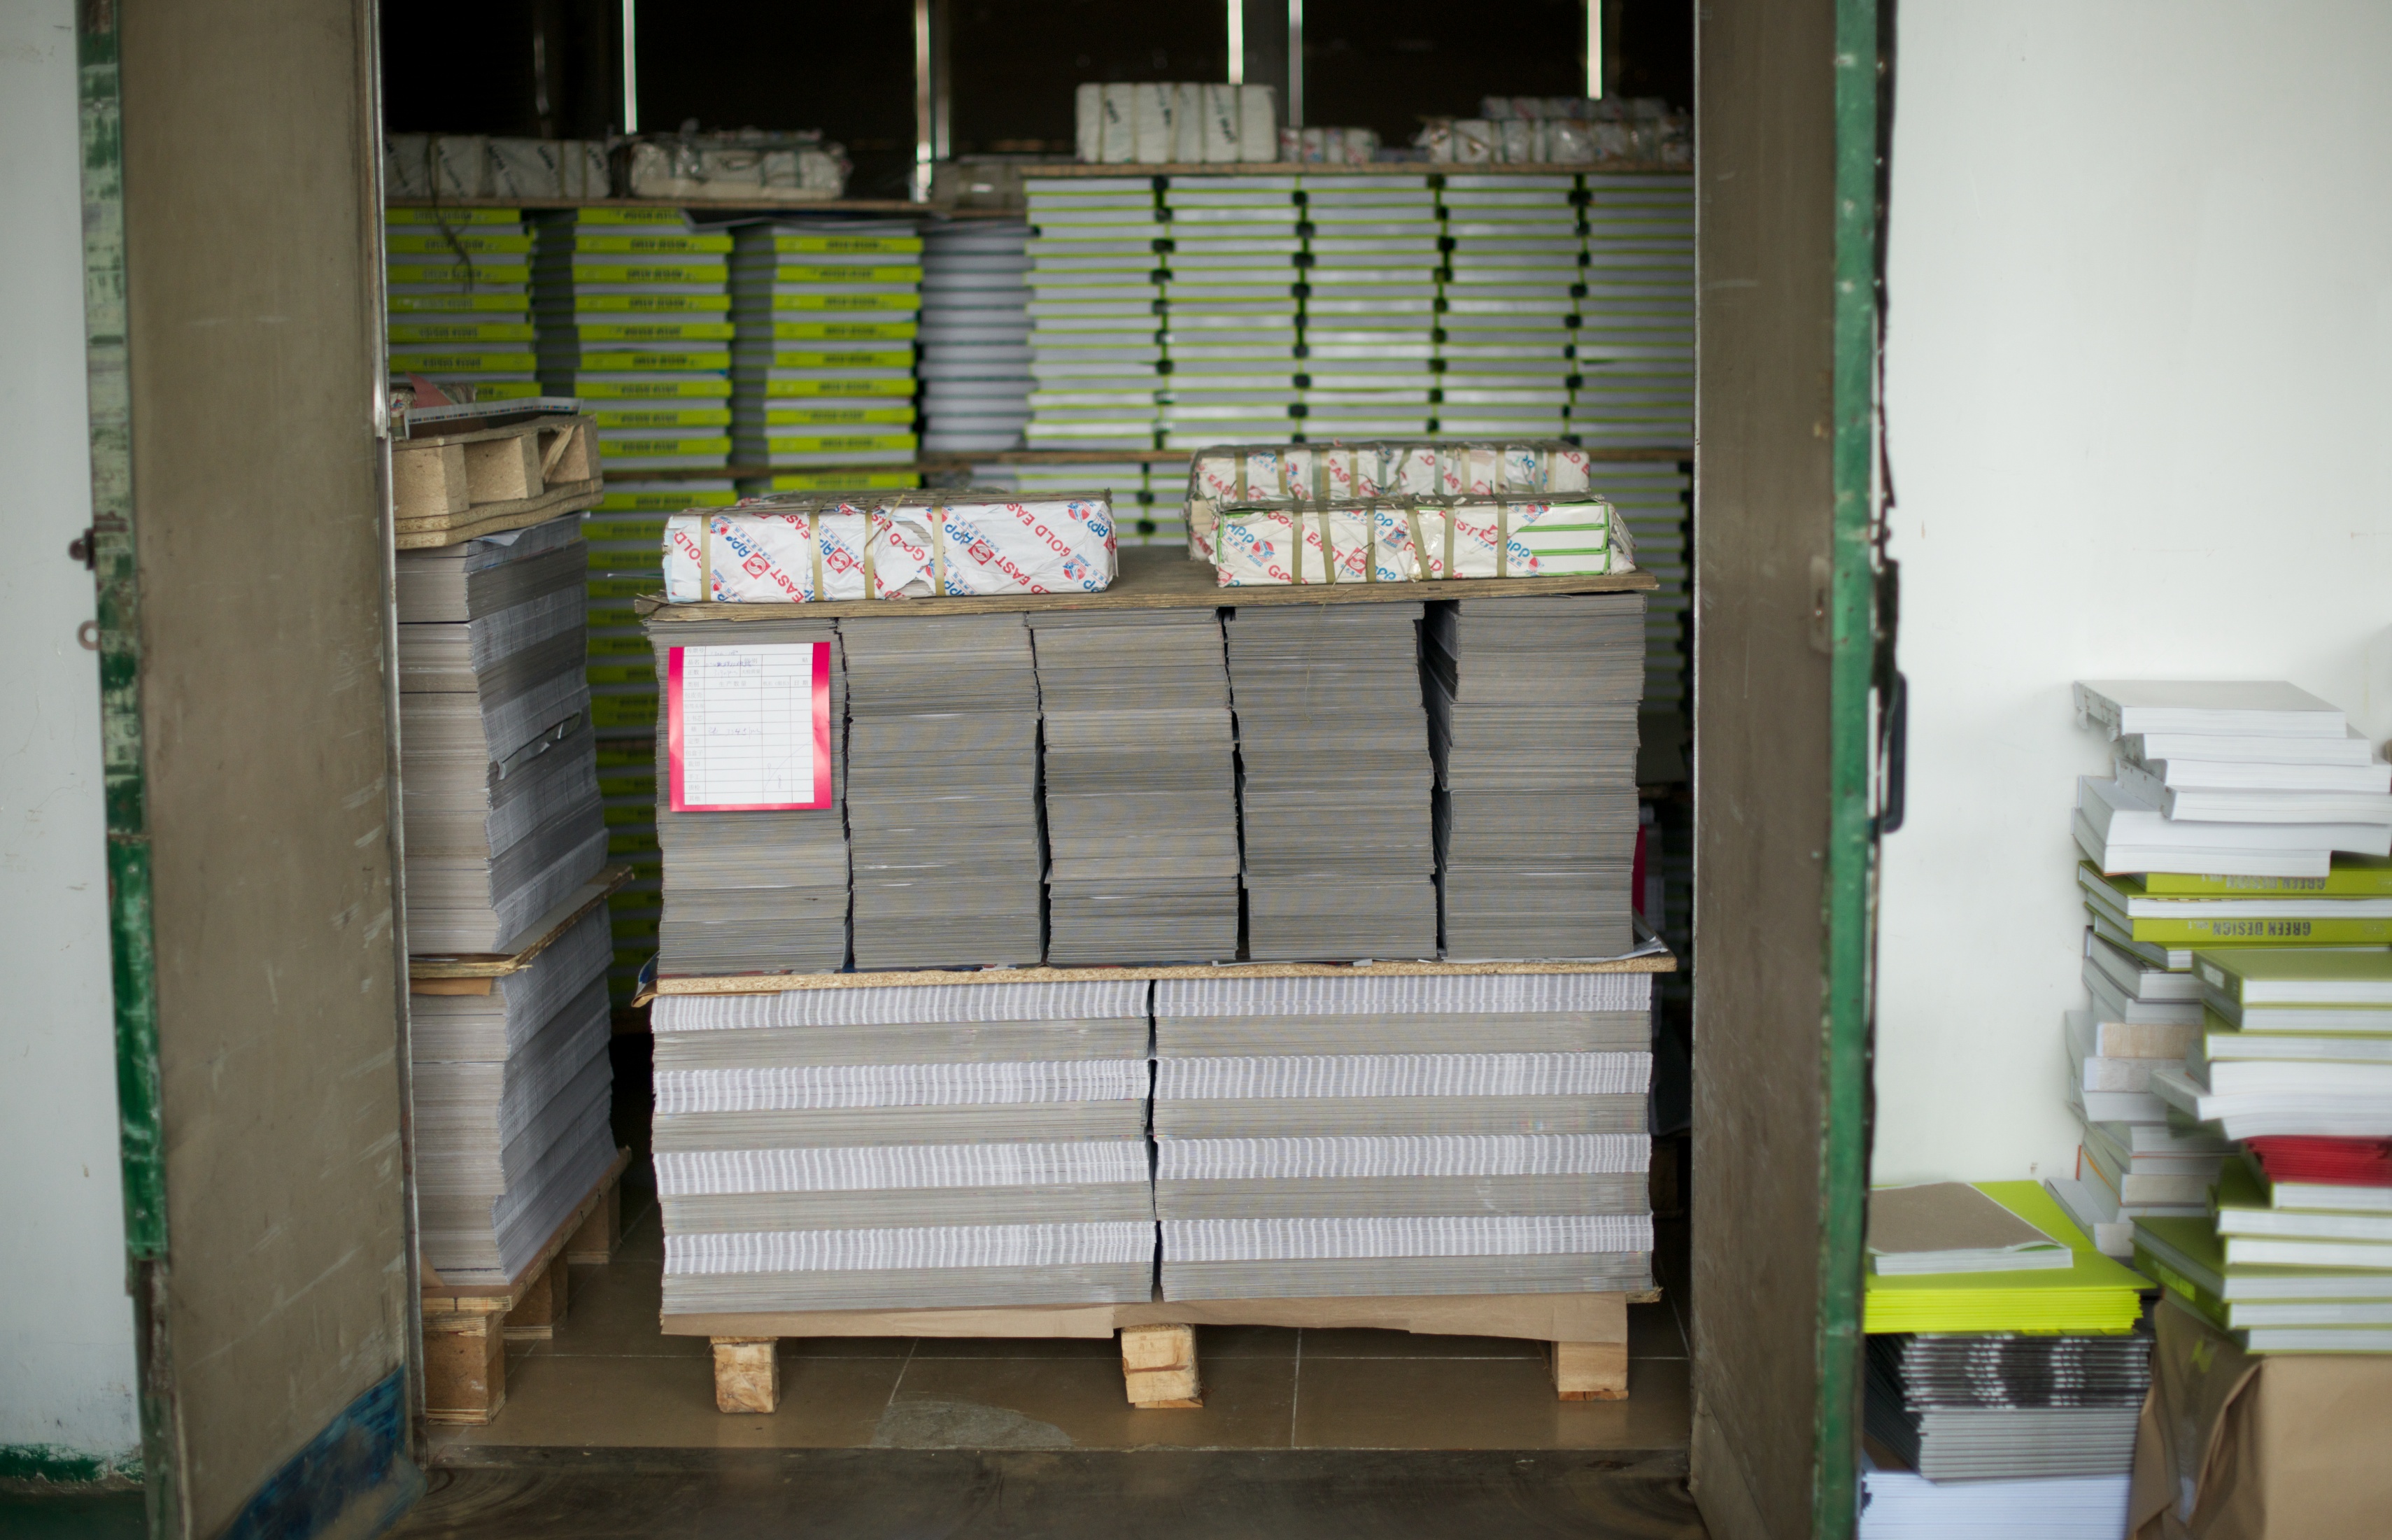
Step two, version two: Fire off a letter to a printer with your parts list, and ask for a quote request in two versions: 2,000 and 5,000 copies printed. 2,000 is a normal size first-print for a hobby game, to test market reception. 5,000 is a healthy size reprint for a game that the market has picked up.

For a first print quote request, I’d recommend Ludofact of Germany. They’re great about breaking the print quote down by parts, showing you what is adding to the cost of your game. And they’ve printed more than half the Spiel des Jahres winning games of the last 30 years: They’re proven veterans.

With a quote like that in hand, you can go back and take a second serious look at which parts of your game are the core, and what parts are delivering the most fun in the space remaining.

Now the 15-20% rule is one you can break: With your audience and the interest you’ve built blogging about this game for more than a year, your game should Kickstart strong enough to justify a 5,000+ copy print run immediately. That’ll lower your per-copy-cost below what a publisher could normally plan around.

Also, the 15-20% rule is built on the economics of selling publisher to distributor to brick&mortar merchant. (Optional extra step: Add “fulfillment house” in between publisher and distributor.) For your Kickstarted batch, you’re selling direct to the customer. Your leftover profit margin is much higher. You’ll be tempted to expand the game back to it’s full original version, with all the stuff you had to cut.

Don’t.

That margin is your bankroll for keeping your game in print, and adding stretch rewards for your backers. These bonus rewards can be expansions for later buyers, or convention giveaways, or other promo items. You’ve made it this far with the core game simple. Keep it simple! If you build the core game to the point that the economics only work with a 5,000 copy print run and direct-sales-to-buyers, then you’ll have a devil of a time keeping it in print after the KS campaign is done. You’ll also be no friend to the hobby stores that you’d like to carry your game. If your economics still work with 2,000 copy print runs, your bases are covered for most any future.

So that’s it: Tabletop Game Design for Publishing, the Going From Alpha To Beta, What I Wish Someone Had Told Me.

No, wait, one last rule. The most important one.

Keep having fun. As long as you’re still having fun, you’ll keep at it ‘til it’s right. As long as you keep having fun, you’ll take a 20 on your roll.

Keep up the good work.


Aug 19 2013

How Games Are Made: The Box

Let’s take a moment to really drill down, and explore what goes into making a single component of a board game: The box.

The box comes together from two major parts:

  1. The label, the part you see, that wraps around the outside. The label makes it pretty, and reinforces the shape.
  2. The greyboard structure, that gives it structure and strength.

Part 1: The Label

The label starts life as sheets of blank paper and tubs of ink. These are brought together by an offset printer.

The workhorse of the game printing industry is the Heidelberg Speedmaster printer. When it’s running at full clip, one of these will turn out between ten and twenty thousand sheets of paper into labels in an hour. One component, one side, for a starting print run of a game (2,000 copies) is the work of less than 10 minutes for one of these machines when it’s up to speed.

A 5-color offset print stack.

A 5-color offset printer.

Before that can happen, the master plates have to be printed. These are enamel-coated metal sheets that are loaded, one each, into the 4 or more stacks of the offset printer. Each one picks up the single color of ink that will be printed at that station of the printer: typically Cyan, Magenta, Yellow, and Black. If the printer has a fifth stack, it may be set aside for spot gloss, or a pantone shade.1

These master plates come out of a special printer that’s pretty much the same as your home desktop printer, except that it’s bigger than you, removes enamel from metal rather than printing ink, it’s loaded a single sheet (plate) at a time, and it runs very slowly. (Minutes per plate.) So actually, it’s not much like your home printer except that it takes its input straight from the computer. Typically there’s a room set aside for this printer, where a single graphic designer will be turning out master plates. They get the image you, the game publisher have sent them, and then split it into the 4 (or more) colors it will be printed in: Cyan, Magenta, Yellow, and Black. They then print one plate for each, and run those plates through a rinse to clean them up. The plates may then be punched with screw-holes that will hold them in place before use.

Computer To Plate: This rig is more advanced than most, with the printer feeding straight in to the rinser.

Computer To Plate: This rig is more advanced than most, with the printer feeding straight in to the rinser.

Everywhere the enamel remains on a plate, the offset printer will lay down ink. So if a spot is enameled on the cyan master plate, it will get cyan ink in that spot on the sheet. If a spot is green on the final sheet, it will be enameled on both the cyan master plate, and the yellow master sheet. (Remember kindergarden? Yellow and blue make green.) It will be bare metal on the master plate for magenta and black, so none of those inks will be applied.

A proofing station, showing both the finished prints, and one of the master plates below.

A proofing station, showing both the finished prints, and one of the master plates below. The blue areas on the master plate are the enamel.

Now when these sheets are loaded into the offset printer, odds are, the four (or more) plates aren’t lined up perfectly from stack to stack, and the yellow is printing a little to side of everything else. Or the whole thing is coming out too light or too dark. Or something’s a little squirrely with the cyan today, and this batch of magenta’s running a little dark, too. Or something else.

Any of a dozen things could need fine tuning. So between the time when the plates get loaded and the printer comes up to speed and churns out the X-thousand sheets for your game, the printmaster runs single sheets through, and checks the results on the other side. Digital tools may be used to check the colors. A magnifying glass or jeweler’s loupe is likely somewhere on the proofing table, for spotting alignment problems that elude the naked eye. The print company will have taken every step they can to reduce the number of tuning prints they need to do per job, since this setup time increases the cost of every job. Still, on a bad day where everything is going wrong, it might take more than 100 test prints to iron out all the issues before turning the printers up to speed. Usually they get it knocked out much faster than that.

Once all the fine tuning is locked in, a guy lugs giant stacks of paper from a pallet to the maw of the machine. In just a few minutes or hours, the entire job is done.

Labels, stacked up and ready to be cut for Eminent Domain boxes.

Labels, printed, stacked, and ready to be cut for Eminent Domain boxes.

Interlude: Die Cutting

Perhaps nothing is so universal to the modern board game as die cutting. You’d be hard pressed to find a game that didn’t include any die-cut parts, whether they were tokens, tiles, or the box we’re talking about now. For boardgame boxes, both the label and the greyboard will be die-cut.

A die, shown atop the print it will cut. This die hasn't yet had the padding installed around it that will prevent prints from getting caught in it.

A die, shown atop the print it will cut. This die hasn’t yet had the padding installed around it that will prevent prints from getting caught in it.

In die-cutting, typically, a plywood sheet will hold blades in place: The complete set of blades that will make all the punches through that sheet of greyboard or paper. If you have a hex-shaped token on your punchboard, you’ll have a blade bent into that same hex shape on the die. Typically, the blades are surrounded by padding, so that cut material won’t get stuck in them.

The board being cut is protected by a spare sheet from another game print, keeping the soot from blowing back onto the wood as the laser burns the grooves.

Many companies will contract out the die creation to an offsite specialist, but some do it in-house. In this picture, a CNC laser cutter burns grooves into a plywood board that the die blades will then be pressed into. The plywood is protected by a leftover sheet from another game’s printing, so the soot from the laser-burn doesn’t blow back onto it. Laser cutting offers precision down to a thousandth of an inch for going from computer blueprint to actual cuts in the board that will hold the blades.

The finished die will be loaded into a machine that slams it into sheet after sheet of material to be cut. For print runs up to a few thousand, a one-man operated machine is typical. This thing looks a bit like pac-man rolled up onto his back. Pac-mans jaws regularly open and close. Each time the jaws open, the worker pulls out the last sheet cut and drops the next sheet into place. Each opening and closing of the jaws takes a little over a second, letting a single worker cut a couple thousand of sheets in an hour.

A typical one-man die-cut station.

A typical one-man die-cut station.

Larger jobs may demand larger, faster machines that can chew through tens of thousands of sheets in an hour. These machines are the size of a delivery truck and like most big machines take more workers and time in the setup. Then once everything is all locked in and the results are coming out correctly, the machine converts piles of material into product at a pace no human could match. Unless you have a very successful game (One that is being reprinted in batches of more than 5,000) your game isn’t likely going through one of these.

This monster die-cut machine can stamp through 10 sheets of cardstock a second.

This monster die-cut machine can stamp through 10 sheets of cardstock a second.

Of course, the one-man pac-man munchers have setup, too. The worker will secure the die to one side at the start of a job, and tape raised guides against the other side to drop the sheet-to-be-cut into. For printed materials, the position of the guides or plate will be tweaked to line the print up with the die.  At the end of the job, the die is taken out, the guides removed, and the faces scraped down to remove any leftover tape from the guides.

Part 2: The Greyboard

The greyboard (or chipboard, as we usually call it on this side of the pond) is what gives the box its strength and structure.

The greyboard first gets die cut. A single cutting step punches through the outline of the box and scores the folds where the greyboard will be bent up to form the box’s sides. From here, we get different levels of automation. For the rest of this article, we’ll look at one of the more manual processes. Conversely, I’ve seen fully automated assembly lines that took up a small room and did all the following steps with little to no human intervention.

Greyboard sheets die-cut as box tops.

Greyboard sheets die-cut as box tops.

The punched sheets of greyboard, a few thousand to a pallet, go to a worker at a cornering machine. Here the worker folds the sides of the box up and the machine applies a tape2 to each corner, holding it up in place. After spinning the box to each of its four corners for the machine, the worker sets the box atop a stack, reaches down pick up the next unfolded sheet, and repeats.

The cornering machine.

Cornering the boxes.

Part 3: Putting It Together

We’ve reached the final assembly line. At one end, we have a stack of cut labels, face down. These are picked up one at a time, and run between rollers that applies glue to the (unprinted) top side.

At the start of the line, suction cup arms pick up the top label of the stack (face down) and move it to the rollers that will coat the top side with glue and carry it to the assembly line.

Suction cup arms pick up the top label of the stack and start it on its path to glue, greyboard, and glory.

The label then rolls on a conveyor belt past a worker who has the stack of greyboard box forms from the cornering machine. She carefully places a box at the center of label as the belt carries it past.

Putting it all together: The first woman on the line places the greyboard box atop the label.

The first woman on the line places the greyboard box atop the label.

The box then comes to the attention of the next lass on the line, who picks it up, and flips it over onto a post that will hold its shape. She folds down the side flaps, including folding the excess ends of the sheet over the lip to the inside, and the overlapping bits at the corner. In an ideal world, this happens in two quick motions, as she runs one hand down each side to press the label down to the box side, bending it at the corner and folding the inside up on the return stroke: Once for the two sides of the box, and the second motion for the top & bottom sides. She flips the box back onto the assembly line.

Tucking the side-label corners before folding down the top and bottom sides.

Tucking the side-label corners before folding down the top and bottom sides.

The third worker picks up the box and drops it into a machine that holds the box with a block the same size as the inside. Plates come in from the four sides as the machine presses the bottom against a plate at the same time. The box is held in this way, pressed from five sides at once, for a few seconds, ensuring that the glue has made good contact with all surfaces. Then the plates pull away, the worker retrieves the finished the box from the holder, and puts it on a stack.

And that’s how a box top or bottom is made. Repeat for the other side. Then put it on an assembly line where a belt carries it past workers who will drop in the other finished parts: the punchboards, cubes, meeples, dice, decks, and whatever else is in your game. Drop the top of the box on that, weigh it to be sure nothing was missed, stack it on a pallet and send that pallet to the shrink-wrap machine.

And that’s where games come from, from the view of one part: the box.

Notes

This process is an agglomeration of the box-making processes I saw at the five different factories I saw in touring Shanghai, Ningbo, and Shenzhen China in the summer of 2013. No single factory used this exact process: Each had their own variation. This version illustrates just how many steps go into making a single component, and shed light on which steps might be the same between boxmaking and other steps in game making; making the game board and punchboards of tokens have much in common with boxmaking.

This fully automated line removes manual labor from the last half of the boxmaking process.

This fully automated line removes manual labor from the last half of the boxmaking process.

Thanks

I’d like to thank the four printers, and the workers there, who were so open and informative in how our games are made:

For more about each of these companies and their particular strengths, click on the links above.

Similarly, I’d like to thank the game companies who gave permission for their games, pictured under construction above, be used in this report. They are:

  • Tasty Minstrel (Eminent Domain)
  • Z-Man (Pandemic)
  • Stratelibri (Kragmortha)

Aug 14 2013

Factory Tour: WinGo

WinGo is a printer specializing in board games in Huizhou, China. Starting as a general printing company in 1992, they transitioned to a board game focus in 2003.

Leon, Prez of WinGo.

Leon, Prez of WinGo.


The company is headed by Leon. He works alongside a half dozen graphic designers and businessfolk in the corporate offices, tidying up game graphics for printing and making sure the numbers work. The location of this building gives WinGo one of its advantages that Leon is happy to sell to customers: Lodged in an office building otherwise full of import-export firms, WinGo has an easier time than most slipping a dozen games onto a pallet to here or there without paying an arm and a leg for the privilege. If you want to ship just a few games to Europe, just a few to Australia, and so on when your print run is done, WinGo has stronger connections than most to make the economics of small-batch shipping less painful than it would otherwise be.
Finished games in WinGo's showroom.

Finished games in WinGo’s showroom.


Across town, the magic happens in a two story factory building. On the first floor big-box printing happens: Packaging for large screen TVs and the like. Most of this part isn’t game printing, but the die cutters live here, as do some of the card finishing machines.

Heading up to the second floor, we saw the serious business of game making: The offset printer, boxworks, lamination machines, and the wing of hand-work tables.

The games WinGo was working on while I was there were card-heavy, so I took the chance to document the card creation process while it was all laid out between a couple different games.

Cards start their life as poster-sized sheets of cardstock, (i.e. extra-heavy paper) that goes through an offset printer the same as labels and rulebooks. It gets printed on both sides. With a typical sized sheet and typical sized cards, you can fit two poker decks worth of cards to a sheet: 10 columns by 11 rows. A couple slots may be set aside for printer’s guides, for something like 108 cards to the sheet at the end of the day.

A stack of cardstock at the head of the offset printer. Each of these sheets will be printed both sides, and then cut into a 108-card deck.

A stack of cardstock at the head of the offset printer. Each of these sheets will be printed both sides, and then cut into a 108-card deck.

If the cards are going to receive a special finish, like a linen finish or poker-oil coating, this happens while they’re still in uncut sheets.

A worker feeds printed sheets into this machine, that gives them a poker-oil finish so the cards will slide over each other smoothly during play.

Giving card sheets a poker-oil finish, which increases their gloss and helps them slide over each other smoothly during play.

If cards are being made by double cutting, which is what most non-card-specialists have the tools to do in-house, the sheet of cardstock then gets sliced into strips and rows.

Still held into sheets by uncut tabs, the cardstock sheets are separated into strips then piles by a worker, by hand.

Still held into sheets by uncut tabs, the cardstock sheets are separated into strips then piles by a worker, by hand.

The piled up stacks of cards, still square-cornered and larger than the final size, are loaded onto a double-cutter. Here they get pushed through a hefty bladed window that lets only of the center of the card through. The outer border of the card is left behind on the other side of the double cutter, where a second blade cuts it in half so it can fall away or be scooped out by the worker running the press.

Finished cards emerging through the window of the double-cutter.

Finished cards emerging through the window of the double-cutter.

Another step of the process WinGo showed me in more detail than I’d seen previously was the die-(cut)-tooling. Off to one side of the factory, WinGo had a die-cutting workshop, were a single engineer stood in meditation over a print plan, figuring out how he was going to tackle this one. He didn’t seem to mind as I swept around the room, grabbing photos of each step of the die-tooling process.

The board that the die blades will be fitted into. This one is set up to make all the cuts and scores that will prep a sheet to be folded up into a pair of box lids.

The board that the die blades will be fitted into. This one is set up to make all the cuts and scores that will prep a sheet to be folded up into a pair of box lids.

The die blades are clipped from long strips down to the precise length needed to go into the board.

The die blades are clipped from long strips down to the precise length needed to go into the board.

Hand tools are used to bend the die blades into shape for the boards.

Hand tools are used to bend the die blades into shape for the boards.

One finished die, with all blades installed in the board. Padding will be installed around the blades to keep the cut parts from lodging in the die, but otherwise this one's ready to get installed in a die-press and start stamping out punchboards for someone's game.

One finished die, with all blades installed in the board. Padding will be installed around the blades to keep the cut parts from lodging in the die, but otherwise this one’s ready to get installed in a die-press and start stamping out punchboards for someone’s game.

In Summary, Strengths I Saw in WinGo:

  • WinGo’s offering to take over more of the work of game distribution, getting small batches of your game to remote corners of the world bears exploration. Kickstarter has opened the need to get small batches out of a printing to remote locations in the world, and WinGo wants you to know they can help with that.
  • Back at the corporate offices I saw WinGo graphic designers doing parts layout pre-press for customers. If you’d rather be hands-off in how your punchboards and parts fit together, WinGo has demonstrated a willingness to take this part of the work off your hands.

Things to pay extra attention to when dealing with with WinGo:

  • One thing that publishers stressed when I was going into these tours was that they wanted to hear about game drying and curing. Did this factory or that factory have a drying room? There are persistent horror stories running around among publishers whose products warp after printing. More grisly are the tales of whole batches of moldy games after the floods a few years back. So I had to grill Leon a bit when he said that he didn’t have a drying room. At all. Didn’t need one. Leon insists that game warping isn’t about drying and curing, it’s about the quality of your greyboard stock and your glue selection when laminating the labels onto the boards.

Notes from WinGo:


I offered every printer the chance to comment on or correct their review before it was released. Leon had this to say:

  • Regarding our corporate offices. It’s for not easily in touch with shipping company only. Firstly, this head office ( including marketing, showroom, Quality inspection, product development, art design) can work independently. It’s a help for management including quality control. independent of office can driving our team focusing on board game development & production etc all around the board game.

    And it’s providing by local government free of charge. They are encourage company like WinGo to doing well business on their scope then can pay more tax. Sorry for misunderstand on this point!

  • Regarding game component drying. Sorry for confused here. That material quality & glue are very important to keep the playing board or other component won’t warping / moldy. But I have mentioned all gray board material from raw-material supplier was dry up before delivery to WinGo. The raw-material supplier’s drying room & equipment are more professional than a simple drying room with some heaters inside.

    And then WinGo just cut it and laminating the surface printed paper on outside of the gray board. This technology are more reliable than final component put into drying room then keep 7-12days. It will have other chemical reaction appear. We used same method before but this is not scientific method. I guess we had delivered more than two million games to global market. So far, this problem are under control!

  • Leon also noted that he hadn’t shown the Computer to Plate printing during the tour, and provided the photos below, of that part of the factory.
Step 1 of Computer to Plate printing, the plate printer itself.

Step 1 of Computer to Plate printing, the plate printer itself.

Step 2 of CTP printing: The Rinse & Dry machine.

Step 2 of CTP printing: The Rinse & Dry machine.

Step 3 of CTP printing: Punching the plates with mounting holds to hold them in place during printing.

Step 3 of CTP printing: Punching the plates with mounting holds to hold them in place during printing.

Leon also requested that this picture of his showroom be included.

Leon also requested that this picture of his showroom be included.

P.S. Looking for a job?


Like most Chinese printers I toured, WinGo had ambition to overtake Panda. Leon had identified North American & native English representation as one of the keys to Panda’s success, and he’s looking for a U.S.-based representative for his company now.


Aug 14 2013

Shanghai Magicraft – Tour Report Pull Note

By request of the business, I’ve pulled the report on Shanghai Magicraft’s factory from the tour reports. There wasn’t anything scandalous in it. The owner just said that he’d rather have a report on his new facilities after he expanded his business.


Aug 12 2013

Panda – Factory Tour

Panda Game Manufacturing of Shenzhen, China has earned a place as the go-to printer of the Kickstarter publishing community. With a winning combination of a eurogame-level focus on quality going into pre-press, and native English speakers in their Vancouver corporate office acting as the go-betweens to the factory in Shenzhen, they’ve carved out a place for themselves that’s made them the up and coming big printer alongside eurogame old-guard Ludofact of Germany.

My guides to the Panda Games factory in Shenzhen: Sunshine, John, and Cherry.

My guides to the Panda Games factory in Shenzhen: Sunshine, John, and Cherry.

Starting in Panda’s showroom, I was first impressed by how many of the games I’d played and loved had been printed there. It’s an impression that would be repeated as I was lead about their printing floors, seeing time and again games that I had enjoyed in reprint, and new games from Kickstarter campaigns that I’d gotten excited by and backed. And then there was my first game, “Lyssan” on the showroom shelves, which they’d printed just the year before.

Labels, stacked up and ready to be cut for Eminent Domain boxes.

Printed box labels, stacked up and ready to be cut for Eminent Domain: Escalation.

At one of the hand-work tables, workers stack up components for Dice Hate Me's "Compounded".

At one of the hand-work tables, workers stack up components for Dice Hate Me’s “Compounded”.

Panda, founded in 2007, grew out of the Shenzhen Bofung Printing Group. Bofung dates back to the early 1980’s. In just 6 years, Panda has already expanded to supply a majority of their parent company’s work. The key to Panda’s success may come down to two things: Native English speakers at the corporate offices in Vancouver who make dealing with Panda easy for publishers. That, and a focus on quality. Panda starts with the assumption that you want to print your game at a quality level to equal or surpassing the expectations of the eurogame market.

Like other large boardgame printers I toured, Panda works with greyboard and does offset printing directly. They’ll make your boxes, punchboards, and rulebooks in-house. (I’m told they also do card decks in house, but missed it when we toured.1) For wooden components, and plastics, they’ll be your liaisons. Panda sources from factories that they’ve built up relationships with over the many games they’ve made previously, getting you meeples, dice, and other components to meet your expectations.

The heart of the operation, the workhorse of the game printing industry, a 5-color Heidleberg Speedmaster offset printer. One of these will turns out thousands of printed sheets per hour, once the proofing is done and the settings are tuned and locked in.

The heart of the operation, the workhorse of the game printing industry: A 5-color Heidelberg Speedmaster offset printer. One of these will turns out thousands of printed sheets per hour, once the proofing is done and the settings are tuned and locked in.

For extreme spot highlights, Panda has a part robot, part manual screen printer. The workers position each sheet, and a single button press activates the robot to lower the screen, print the gloss, and release the results. The second worker then clears the space for the next, and does a quick quality check before putting the sheet on the UV-curing conveyor.

For extreme spot highlights, Panda has a part robot, part manual screen printer. The workers position each sheet, and a single button press activates the robot to lower the screen, print the gloss, and release the results. The second worker then clears the space for the next, and does a quick quality check before putting the sheet on the UV-curing conveyor.

foo

Panda’s printing facilities include full support for hardbacks in-house. This bookbinding machine will stitch and glue together multiple signatures into a codex. Deluxe RPG books, anyone?

For a more typical boardgame rulebook, this machine will fold and staple bind single signatures.

For a more typical boardgame rulebook, this machine will fold and staple-bind single signatures.

One extra step of the game-making process Panda did in-house that I hadn’t yet seen elsewhere is making their own dies, for die-cutting the boxes and punchboards. I had to spend a few minutes nerding out over their laser, which cut the grooves for the blades of the die to be slotted into. A laser table is a great tech for this purpose: A CNC laser cutter will take in a computer file and produce cuts down to a precision of a thousandth of an inch, just how they were in the file, in the board that holds the die blades. These then act as a guide & structure for the blades that stamp out a game’s punchboards of tokens, or the box tops and bottoms themselves, before they’re folded up. Making a die is a one-off job for each pattern of punchboards in a game, and lasers excel at high-precision one-off jobs.

The board being cut is protected by a spare sheet from another game print, keeping the soot from blowing back onto the wood as the laser burns the grooves.

The board being cut is protected by a spare sheet from another game print, keeping the soot from blowing back onto the wood as the laser burns the grooves.

Another place Panda shines is their attention to details that matter to game publishers. Where other large factories I toured might have only a single room set aside to drying print jobs, and that room might even be empty in the summer heat, Panda had multiple rooms set aside to drying and those rooms were in use. Panda’s been around this rodeo many times now, and they know that the final detail of drying the game parts can be there difference between a game whose boards warp a few days after opening and one that stays beautiful.

Drying Room #2, packed to the gills.

Drying Room #2, packed to the gills.


Panda’s Strengths, in summary:

  • Games focus: Panda does games, and they’ve been doing it with an intense focus for the last six years.
  • Native English speakers: Panda’s corporate offices are in Vancouver, their factories are in Shenzhen. Michael and the rest of the Vancouver team will be your liaisons in the printing process, and will spare you much of the confusion of dealing with non-native English speakers.
  • A focus on quality: Panda starts with the assumption you want to make a game to the quality level of the eurogame market, not the big-box store mass-market or cheaper. Dealing with Panda, you’ll spend less time than with other printers going over your quality expectations and component selection. If you’re a new publisher and are asking for advice on component selection, they’ll be advising you based on the assumption that you’re looking to make a beautiful product, and not cutting corners.

Things to take extra care with when printing with Panda:

  • When deadlines loom and tense eMails are exchanged between printer and publisher, the folks at Panda will often fall back on reminding you of their reputation for quality, and assure you that if they let mistakes through, they wouldn’t have kept that reputation. And much of the time, they’re right and you’re worried over nothing. But you still have to hold up your end of the bargain. Inspect each thing that comes back from them to make sure it meets your specifications, and don’t be shy about sending back the polite “this doesn’t look like what I sent you” letters when you have to. I’ve compared notes with many other Kickstarter-based publishers, and everyone I asked agreed on this point: We love Panda, but sometimes you’ve got to keep hounding them to make sure they deliver the product as specified, even when they want to fall back on their reputation. At the end of the day, Panda will make a beautiful game for you. But as proud as they are of their quality controls, you still have to do your due diligence.
  • If you’re paying attention, you may notice hints of growing pains when printing with Panda. These guys are slammed with work, especially around the middle of the year: the months before the convention season before the holiday season. This, combined with their careful pre-press process means they need a few weeks longer lead-times for pre-press art approval than other printers. They can also command a higher price than most of their Chinese competitors, and have slightly larger minimum batch sizes: 1,500 rather than the 1,000 other large printers require.

Closing notes from Panda

Each printer got a chance to offer corrections and responses before these reviews are published. Michael@Panda made these notes on the review:

  • “We have expanded our team to include two full-time account managers located in Indianapolis, USA. This will greatly increase our service levels, response time, and should allow designers and publishers more opportunities to meet us face to face (Vancouver was a little too far from the action). This location was ideal to us as it is in the EST time zone and within close proximity to large gaming events such as Origins and Gencon.
    We also added a pre-press lead as well as another project manager to our team so our pre-production process is becoming faster and more streamlined. The kickstarter explosion of the past 18 months took us a little by surprise and we have been working hard to expand our team so that we can continue to provide the level of service that our clients expect of us.”
  • The original text said that Panda contracted out deck making, rather than doing it in house. Michael informs me that Panda is now doing decks in their own factory. The text of the article has been amended to this. I’ll have to bug Cherry and John to show me the deck cutting machinery next time I’m there.
Signs of success: Panda has grown to the point where they have one of these die-cut monster machines alongside the single-worker die cut stations that most games are cut with. If you've got an especially huge job, your game might be cut out on this machine, which can stamp through many thousand sheets in an hour.

Signs of success: Panda has grown to the point where they have one of these die-cut monster machines alongside the single-worker die-cut stations that most games are cut with. If you’ve got an especially huge job, your game might be cut out on this behemoth.


Aug 7 2013

Ningbo Lijia: Factory Tour

Ningbo Lijia does the printing for a few games you might have heard of: Monopoly. Twister. Recently, they’ve been making overtures to publishers of Kickstarted games and Eurogames.

A quick aside, about the name:

Ningbo Lijia is “Lijia” for short. Ningbo’s the name of the city they’re located in. “Lijia” is their proper name. This is how placenames go in Chinese: You zoom in, from the broadest to the most specific. So saying “Ningbo Lijia” in Mandarin makes sense the same way saying “Honda of Brooklyn” would in English.

If you’ve published before, you might have Lijia parts in your game without knowing it. Several other publishers turn to Lijia to do their plastics, meeples, custom dice, and more exotic components.

Meeples.

Meeples.

Dice, shaker cups, and other plastics.

Dice, shaker cups, and other plastics.

From what I’ve seen – and short hours forced us to cut our tour short, so I can’t speak to all of Lijia’s qualities – this is Lijia’s big strength. They’ve been asked to make any number of exotic game parts before. Large plastic boards, metal tins, rubberized play mats, and stranger things.

Here's Melinda showing one of those unusual game bits: a rubberized mat. You'll likely end up talking to Melinda. She has the best English of the crew I met at Lijia.

Here’s Melinda showing one of those unusual game bits: a rubberized mat. You’ll likely end up talking to Melinda. She has the best English of the crew I met at Lijia.

Like I said, the tour was on the brief side. My hostel was hard to find, but the driver they sent to pick me up persisted and eventually found me. We met at their new corporate HQ – Lijia just moved their office workers out of the factory recently. There was a tea ceremony where the first cup was poured over a frog idol to bless our fortunes together.

Somewhere in the middle of that, I got to see their showroom of games they’ve made. It’s an extensive display.

One small corner of a large showroom.

One small corner of a large showroom.

From there, we toured the first of three workshops: The paper workshop. Here, Lijia keeps their own 5-color offset printer, the heart of their printing operations. There’s a variety of die cutting machines, one laminator, and numerous hand-work tables that follow from the work the main offset printer starts.

The heart of Lijia's print operations: A 5-color offset print stack.

The heart of Lijia’s print operations: A 5-color offset print stack.

Prints being proofed. Below, you can see one of the 5 master plates that applied one color. Getting these to all line up is a big part of getting the print right.

Prints being proofed. Below, you can see one of the 5 master plates that applied one color. Getting these to all line up is a big part of getting the print right.


Lijia's lamination machine.

Lijia’s lamination machine.


There are two whole workshops I didn’t get to see on account of short hours with Lijia: The woodworks and the plastics workshop. Boo. Most game factories don’t even have those sections, outsourcing their production needs to others. Lijia is usual for having them in-house. Unfortunately, no report on those, ’cause I never got to see them.

An Overview of Lijia’s Strengths:

  • Capacity: Lijia routinely turns out hundreds of thousands of copies of mass-market games.
  • Component manufacture in house: Pretty much all game companies do final assembly in house. Many do printing in-house, too. But doing plastics and wood in-house is unusual. This, and the long list of stranger things Lijia has sourced for game publishers might be their biggest strength.

In Working With Lijia, I would Take Extra Time On:

  • Talking with them about quality expectations, component by component. I’m a big fan of the Eurogames look. Lijia does the bulk of their business in mass market games, like Monopoly, Twister, and others. These games are more optimized for low cost. I’d take time to talk with Lijia component by component, making sure we were on the same page making a games at a quality level that’s going to look right at Essen Spieltage, rather than a game that can be priced for big box stores.

Jul 31 2013

Longpack – Factory Tour

Longpack is a big printing company, with roots in the packaging and book printing business. Now they want to move into games. They point to the expertise, hardware and the contacts they’ve built doing print contracts for the biggest companies in the world as proof that they can handle your next game.

My tour guides at Longpack were Ning Pan and Charles Kong. Ning is a company higher-up, enthusiastic to get Long into board game printing. Charles was a recent transfer to the company from Shanghai General Motors. He was enthusiastic for the chance to bring his industrial design experience to bear on making injection-molded plastic parts for games.

Charles and Ning

Charles and Ning

Longpack has been in business since 1999, with a focus on packaging and book printing. They say they’ve been watching the success of Panda for the last 4 or 5 years, and want a piece of that action. They’re coming from a similar background (growing out of an established printing company), giving them many of the same strengths, starting up.

The tour starts in their Computer-To-Plate printing room, where the metal master plates for their offset printers are made. Mostly, this room looks like every other CTP rig I’ve seen so far. One change hints at the added efficiency needed for Longpack’s CTP to keep up with the rest of their sprawling factory complex: They’ve rigged a feed between the plate printer and the rinsing machine. The graphic designer doesn’t have to leave her desk to move the plate from one machine to the other.

Computer To Plate: The Print & Rinse line

Computer To Plate: The Print & Rinse line

Printing master plates, hot off the CTP press and stacked up ready for use.

Printing plates, hot off the CTP press and stacked up ready for use.

From there, we step out into a half-football-field sized room of offset-printing stacks. Walking through here, you see boxes being made for products you’ve actually used. I saw brands of toothpaste I’d brushed with, breakfast cereals I’d eaten, and more. Longpack regularly turns out hundreds of thousands of cardboard boxes for the largest companies in the world.

Also, their printers include longer rigs than the industry-standard 4-color printers. Their biggest rig is a 6+1 tower printer. So it could do 6-color printing for especially vibrant tones. Then the +1 station could add spot gloss. Or you could use it to add a pantone shade, if you had a color that had to match your brand perfectly.

The 6+1 monster offset printer.

The 6+1 monster offset printer.

Print proofing with a three-up: The two sides show the lightest and darkest prints that are within tolerance. The one in the middle is juuust right.

Print proofing with a three-up: The two sides show the lightest and darkest prints that are within tolerance. The one in the middle is juuust right.

Longpack uses digital tools to check that colors are being printed within tolerances.

Longpack uses digital tools to check that colors are being printed within tolerances.

Come out the other side of the print floor, and you arrive in a room of assorted machines to do specialized tasks at a rate of thousands of boxes per hour. They had a couple different truck-sized die-cut machines that could keep up with the rate their offset printers turned out boxes. Another machine for folding together and glueing boxes at a similar pace. A little manual foil-embossing machine nestled between those two.

A foil stamping machine.

A foil stamping machine.

Actually, most of these machines other than the printers WOULDN’T be used in board game production: They’re specced to work (very quickly) on thinner grades of cardstock than the 2mm chipboard most boardgame boxes, boards and punchboards are made from. To see the machines that are going to turn out your laminated chipboard components, you take a drive to Longpack’s boxmaking workshop.

This monster die-cut machine can stamp through 10 sheets of cardstock a second.

This monster die-cut machine stamps through 10 sheets of cardstock a second.

Racks of stored dies for cutting.

Racks of stored dies for cutting.

A die, shown atop the print it will cut.

A die, shown atop the print it will cut.

But it’s good knowing that the machines are there. If you wanted to do something exotic with your box inserts, anything from having a printed insert to a cellophane window, they’ve likely got the tool for the job. Longpack’s wide variety of specialized packaging machines should make it possible to really stretch the bounds of game inserts and packaging, if you’ve got the budget and the will to go that extra mile.

The boxmaking workshop might be of the highest interest to game manufacturers. This is where Longpack die-cuts, laminates, and folds chipboard. In other words, this is where your game boxes and your punch-boards of tokens are made. The machines here are heavier duty. They don’t run nearly as fast as the 6,000 die-cut-an-hour monsters back in the packaging workshop, but they’ve got the force needed to do their job on the 2mm chipboard that’s industry standard for game boxes and tokens.

Chipboard box tops, die cut, ready to pop out, fold, glue, and label.

Die-cut chipboard box tops, ready to pop out, fold, glue, and label.

Side note: What we call “chipboard” in the industry, Chinese printers call “greyboard”. I find their name more descriptive, actually. Anybody else want to swap to the Chinese term for this one?

The bindery is the third of Longpack’s workshops, allowing them to turn out staple-folded booklets (like most boardgame rulebooks) up to hardback books. When I point out that they can do hardback books, as a board game publisher, that means to you that they have the tools and expertise in house for the folding game board itself. The techniques and tools for a hardback book cover and a folding game board are essentially the same.

Handback faces, like a game board, get labels glued atop greyboard sheets. Here we see a screen printer being used to put a thin, controlled layer of glue onto the second face of a handback.

Handback faces, like a game board, get labels glued atop greyboard sheets. Here we see a screen printer being used to put a thin, controlled layer of glue onto the second face of a handback.

After glue-down, the hardbacks are run between rollers, giving the label a final squeeze onto the glue & greyboard, and removing any bubbles.

After glue-down, the hardbacks are run between rollers, giving the label a final squeeze onto the glue & greyboard, and removing any bubbles.

Stacks of pages go into one side of this machine, folded & staple-bound booklets come out the other side. This is the machine that's going to make your boardgame's rulebook.

Stacks of pages go into one side of this machine. Folded & staple-bound booklets come out the other side. This is the machine that’s going to make your boardgame’s rulebook.

A lamination machine in the bindery.

A laminating machine in the bindery.

Longpack keeps many lamination options on hand, from gloss to matte.

Longpack keeps many lamination options on hand, from gloss to matte.

Upstairs from the main bindery floor and its monster machines is a floor set aside for manual labor, with multiple assembly lines. Ning points out that this is where they’d do the final assembly of a board game. Like other printers’ assembly lines I’ve seen, it’s basically a table with a rolling belt on it that carries the work past. For game assembly, that would mean a worker at each station with shelves full of each component to put in the box. One person might toss in the bag of dice as the game rolls past, another the punchboards, and so on. A scale at the end of the table serves as a quick sanity check to make sure nothing was left out.

Assembly lines on the Manual Work floor of the bindery.

Assembly lines on the manual work floor of the bindery.

There have been smaller manual-work tables near the big machines in every other workshop. Sooner or later, a customer will ask for something that Longpack doesn’t have a schoolbus-sized machine to do at 10-copies-a-second. For that eventuality, there are tables scattered here and there, one for every few big machines, each with a few workers around them.

A table for hand work. This time it's glue hardbacks to codexes, for a non-standard book size.

A table for hand work. This time it’s gluing codexes into hardbacks, for a non-standard book size.

So that’s the impressive range of what Longpack can do in-house: Boxes, inserts, staple-bound rulebooks, game boards, punchboards of tokens, final assembly and shrink-wrap. Looking at just what this factory complex can and can’t do without shopping parts of the job out is a reminder of the demands that game publishers put on our printers. Even with three giant “workshops” of highly specialized machines, Longpack still will need to shop out many parts of a game printing job: Injection molded plastic parts, vacuum-formed plastic liner trays, dice, wooden bits and meeples. Even something as close to their business as cutting decks of cards they’d send to an outside shop. When we send in the specs for a game with more than a few parts, we’re nearly always actually getting the work of a few different factories.

Overview: Strengths I saw in Longpack:

  • Longpack is coming from an extensive background in printing, with the ability to do a wide variety of parts in-house.
  • They’re big, with presses that will turn out thousands of prints in an hour, yet they’re hungry enough to get into this business to accept order sizes as low as 1,000 copies.

Things I’d give extra attention to in dealing with them:

  • Drying: Longpack showed me a single drying room, slightly higher tech than ones I’d seen at smaller game presses, for their entire campus. And that’s a big campus. I asked them if they had more, and if one room could service all their drying needs during the rainy season (June/July). They shrugged off the question a bit, saying that most jobs only needed a few hours in the drying room, and that if they needed to they could turn other rooms into drying rooms or even get additional space for drying by working out a deal with other printers in town. If your game is going to print near the rainy season, I’d make sure to include guarantees on drying time in the contract, to make sure that it gets the attention it deserves.

    Longpack's drying room, with a standing dehydrator and heat lamps.

    Longpack’s drying room, with a standing dehydrator and heat lamps.

  • They’re well positioned to get into this business, but they’re really new, and China doesn’t really have a boardgame playing culture, outside the HKSAR. Concepts and terms that you assume any boardgame player (and certainly a boardgame factory) would know, they’re just now learning. I had the pleasure of introducing them to the idea of a ‘meeple’. The idea of mass manufacturing painted 2D wooden game pieces as a standard component was new to them. While these guys have their process and quality control for printing to cardboard down, if you’re reading this soon after I write it, (July 2013) you may find gaps in their knowledge of some components common to the boardgames industry.


You read all the way past the footnotes? Have a bonus picture. This is a sample of an embossed label, ready to be glued down to packaging inside the boxmaking workshop. Another 3D effect they had on display in the bindery was stamping into the greyboard, leaving the impression of a seal under a cloth cover.

You read all the way past the footnotes? Have a bonus picture. This is a sample of an embossed label, ready to be glued down to packaging inside the boxmaking workshop. Another 3D effect they had on display in the bindery was stamping into the greyboard, leaving the impression of a seal under a cloth cover. Click on the picture for a higher resolution view to appreciate the detail.

Edited: 28MAY15: Updated link to Longpack’s new website.


Jun 10 2013

3D Printing for Games, Part 2

Part 2a: Alternatives to FDM : The Formlabs Form 1

When the patents ran out on FDM-style 3D printing, there was a rush of little companies and hobbyists that moved into the space. They brought the costs down fast, and they’ve been competing and cooperating ever since to improve the technology.

But FDM isn’t the only 3D printing technique out there, and some of the alternatives have some real advantages. However, most of the other 3D printing techniques are out of reach for the average game designer. Most of these techniques are still under patent protection, and available only as machines costing in the neighborhood of $100,000. Or they have been picked up by a much smaller section of the hobby market and aren’t as well developed in the open source community: It’ll take far more dedication and expertise to put one together on the cheap.

There are two 3D printing developments that hold great promise for board game prototyping that you should have an eye on:

1) Formlabs soon-to-arrive Form 1 printer, which uses SLA (Stereolithography) rather than FDM techniques, and is expected to be available for ~3,300$ in August of this year.

The Formlabs printer looks very promising, though with only videos of prototypes to judge from, it’s all speculation at this point. In theory (and from the videos), their new, affordable SLA style printer should open up higher resolution, more reliable 3D printing to the masses. It’ll still be slow, use expensive materials to print, and require some (less?) hand-work after the print to clean up. But SLA can produce smooth models where FDM leaves lines, sometimes gaps, on the model that are visible to the naked eye.

I’m also keeping an eye on Formlabs to see if they make it at all. After the close of the Kickstarter campaign that funded their first line of printers, they got slapped with a lawsuit from the 600 pound gorilla of the 3D printing industry: 3D Systems.

3D Systems claims that Formlabs made use of some of their not-yet-expired patents in making the Form1 printer. I’m not in a position to judge the merits of that claim, but I do make strong objection to one thing 3D Systems did in pursuing the suit. They not only sued Formlabs, but Kickstarter as well. That’s just evil. Attacking a company that has enabled so much progress is already an immoral move. Holding them responsible for evaluating the Intellectual Property standing of anyone who applies to run a crowdfunding campaign could kill the whole industry, if a judge lets it happen.

Will Formlabs survive their lawsuit from 3D Systems? Is there any merit to it, or is it just an attempt to stifle an up-and-coming competitor that charges 1/30th the price for a printer that 3D Systems does? I’ll be keeping my eyes on the case for the answers to those questions.

Part 2b: Alternatives to FDM : Shapeways.com

Shapeways is a 3D printing shop that will print most any 3D technique for you, for the right price. You don’t have to worry about the technical details. You just upload a model, choose your material from a list, and pay a pretty penny. Some weeks later, the completed print shows up in the mail.

Shapeways is available now. They’ve been in the industry for years, in fact. They make 3D printing as painless as it can be, as long as you don’t mind paying one-off prices for high-tech products. (Read: Not Cheap.) And as long as you don’t mind your print job being in a couple-week-deep queue before it gets printed, and then taking a few days more in the mail.

They can print in plastic, metal, or more exotic materials. You don’t need to know anything about 3D printing to use them. You just upload a model file and give them your credit card number, and you’re off.

As ouch-not-cheap as Shapeways is, the price is fair. We’re dealing with new technologies and one-off jobs here. Their cost in skilled labor and keeping up with technology is nothing to deride. And if you want to go it yourself with your own home printer after seeing their prices, calculate the break-even price on how much you’d have to print to make it worthwhile. Include the cost of your time, the cost of the plastic (which is surprisingly expensive) and the cost of your time to learn and maintain the printer. These are bleeding-edge devices that require some TLC to keep in working order. You may find that Shapeways is a better deal than they look at first glance.

Part 2c: Alternatives to FDM : The Fringe of the 3D Printing World

There are MANY other ways to print in 3D.

You can have a bed of powdered material, and then harden it into the shape you want, one layer at a time countless ways:

… you can harden a bed of metal by welding (actually, sintering) it together with a laser. This technique is called “SLS” (Selective Laser Sintering) and it’s a much beloved technique among high-tech artists. The cost per piece keeps it out of the hands of most of the rest of us.

…. you can harden a bed of concrete or plaster of paris by simply wetting it in the desired shape. One hobbyist at this years Make: Hardware Innovation Workshop was showing off a 3D printer made on this design using a hacked inkjet cartridge to deliver the water on target!

… you can have a 3D printer lay down epoxy onto a bed of powdered stone to create faux-granite. The D-Shape printer proposes to do this at the scale of whole buildings: You’d assemble the printer atop the foundation of a new house. A week or two later, drain off the leftover powdered stone leaving the walls, stairways, and electrical conduits of a building standing at the center, ready to be wired, windowed, and finished.

… you can fuse sugar into a solid model with a heat gun; essentially an industrial strength hair dryer. The “CandyFab” does this. Or you can do a similar technique in glass: One artist at last year’s Burning Man used sunlight, redirected and concentrated with mirrors and lenses, to melt sand into primitive glass 3D models.

Once you start to wrap your head around the core ideas of 3D printing, and break it down to its component parts: A material to be fused, a way of fusing it, and computer control of the fusing process, the number of ways the idea can be remixed are limitless. For now, FDM, with its syringe of molten plastic, is what’s available at hobbyist prices. But the horizon looks promising indeed.

The 3D Print and Play industry is just starting. Hobbyists who have 3D printers want things to print, and we’re starting to see some games to fill that gap. The game designer provides the 3D models files and the rules. The hobbyist downloads them and prints them off at home.

Pocket Tactics got some headlines for this recently:
http://www.wired.com/design/2012/08/watch-your-back-hasbro-3d-printed-games-have-arrived/

Also, if you’re in the market for a 3D printer right now, pardon me a moment while I pimp my friends:

Type A Machines won Best-In-Class for their “Series 1” printer in Make: magazine’s special-issue rounding up 3D printers. It’s be hard to go wrong with them for budgets between one and two thousand dollars. On top of that, they just got an Editor’s Choice blue ribbon at MakerFaire this last weekend for their newest model. (Not even on the website yet: Last Saturday was the big reveal.)

I’m biased, because their office is the next door down from mine and because they’re incredibly nice, smart people.

http://www.typeamachines.com/


Jun 10 2013

3D Printing for Games

Part 1: Should I 3D Print My Game

The short answer: For a prototype? Maybe! For mass market? Nooooo…..

With current costs and technology, 3D printers for a mass-market board game aren’t even close to practical.

The current kind of 3D printer you can buy completed or as a kit for under $2,000 is an “FDM” printer. It builds up plastic models in layers, laying down a single thread of plastic to slowly build up shapes. It’s an awesome tech with many uses, but it has several major limitations that make it useless for mass producing a game, or most anything else:

a) The cost of the plastic is very high: ~40$/kg Home filament makers like the “Filastruder” may bring this drastically down in the coming year.

b) The resolution is visible to the naked eye, and requires fine tuning to optimize, including retuning with each new roll of plastic loaded.

c) The prints are slow. A single chess pawn might take 15 to 30 minutes to print on a typical FDM printer. That’s a full day to print a single chess set. Conventional injection molding machines could turn out hundreds or thousands of sets in a day.

d) Hand labor is still needed to clean up many shapes of print after the fact. If your shape has an overhang in it, there needs to be a support “raft” under the overhang that you trim away after the print is done. FDM printers can’t lay down shapes floating in open air: They have to lay the shape down onto something. Say you want to make a model of a man pointing off into the distance, his arm straight out? You’ll click the “support” box on in your printer software so it can build a raft under the outstretched arm, and then you’ll trim it off by hand when the print is done.

Slight overhangs are fine: Anything up to ~ a 45 degree angle the printer can build on the layer before. But a sharp overhang demands a raft, and that means hand labor to fix up after the print is done.

e) FDM printers need frequent maintenance to unjam the extruder heads, etc.

For these and other reasons, injection molding for plastic components, with its high up-front cost will likely remain the technology of choice for the foreseeable future.

How long is the foreseeable future? Like, at LEAST 6 months. 😉

FDM printing is an awesome technology, but it has its limitations to be aware of. For now, it’s best for prototyping components and making sure your models look good, balance right, play right, etc. As expensive as the tooling costs for injection molding are, it gets the job done for mass production. FDM printing might be appropriate 10 to 50 sets for beta testing or an extremely limited release. But even then, you might be better served by using off-the-shelf & repurposed components.


Feb 25 2011

Thornhenge LLC is an Oakland California based company that makes games. Our first game is “Lyssan”, a strategy boardgame for 2 to 4 players. Check it out at Lyssan.com.

And thanks for stopping by!