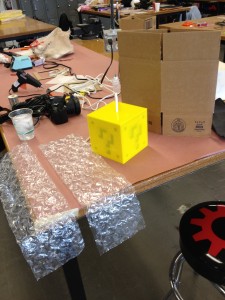
Assembling a Mario Lamp
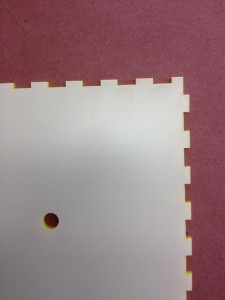
Step 1: Place the “top” piece of the box down, as shown (be consistent about which side is face up or you may have to rework the way other things are put together later.)
Then, peel back the safety sheet coating just this side and place a mylar sheet over the plastic. Be careful to place the mylar exactly where it belongs.
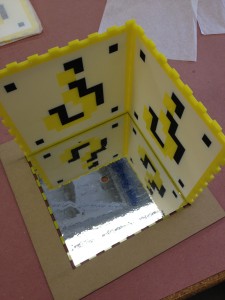 Step two: Place the top panel in the cardboard jig, and start to fit the side panels into it.
The silkscreened side faces INWARD on the lamp. Be careful not to scrape it – it’s fragile.
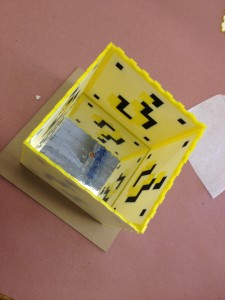 Step 3: Finish placing all sides around the box, as started in step 2.
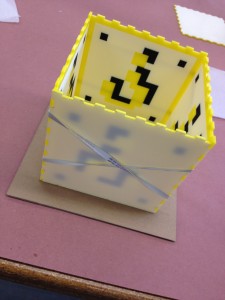 Step 4: Secure the box with an doubled-over big rubber band.
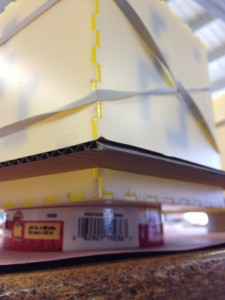 Once the rubber band is placed over the box, stand the box on a roll of tape . This will keep the acetone (glue) from wreaking as much havoc if it leakes through.
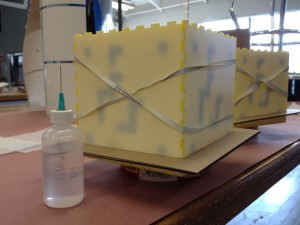 Pour a bead of acetone up the fore side joins, and the top-to-side joins.
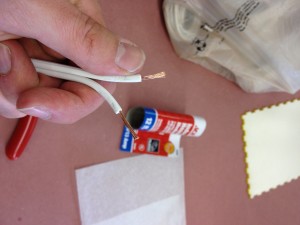
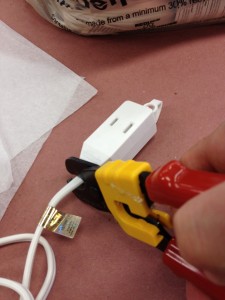 Step 7: cut the end off an extension chord and split/strip the wires.
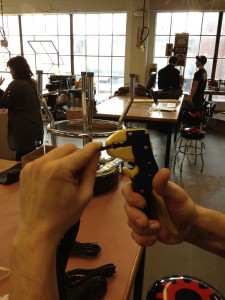 Alternate version of 7&8: Use this wire stripping tool instead.
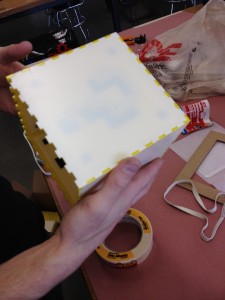 Step 9: Ditch the rubber band, jig, and stand-off tape.
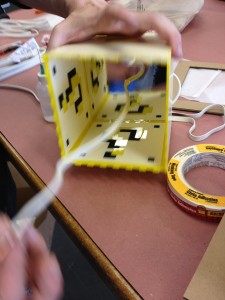 Step 11: String the newly trimmed end of the power chord through the hole at the top of the box.
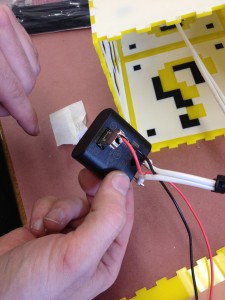
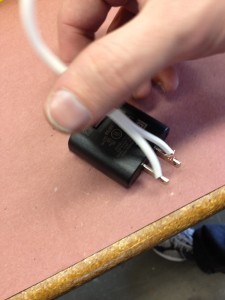 Step 12: thread the newly stripped ends through the holes at the end of a power-to-USB block, such that the wire passes back over the block.
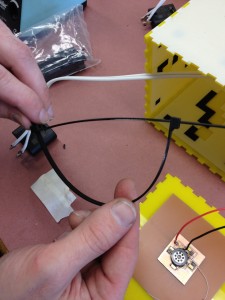 Step 14: Connect two zipties together.
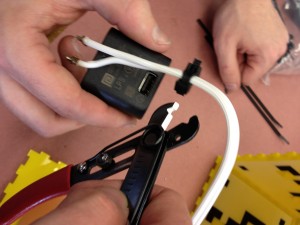 Step 14: Pull the zipties over the end of the block & cord, tighten it down REALLY HARD – ’til it gets as tight as as it can. This is important: This double-ziptie is the stopper that holds the weight of the lamp body eventually.
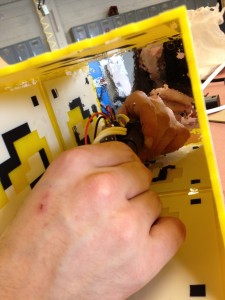
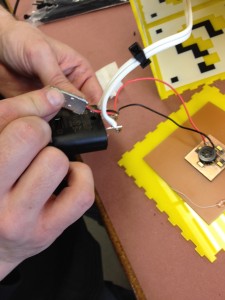 Step 15: Take one of the bottom sized of the box. String the USB plug in between the split leads of the extension cord wire.
Step 17: – Hot glue the power block into place at the top of the box. Be careful to center as best you can. Otherwise, the bo may not hang level in space.
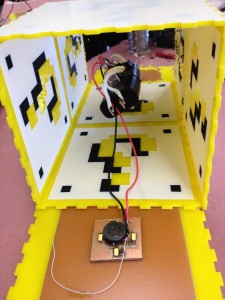 Step 18: If everything’s tight, like it should be, you won’t be able to plug in entirely without slipping part of the underside under the rest of the box.
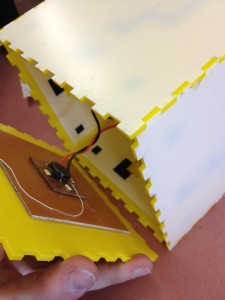 Step 19: Twist the bottom side four full rotations before trying to glue it down, to use up the slack in the line.
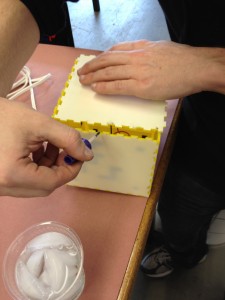 Step 20: With a brush, paint a do of superglue into the troughs facing the bottom of the box.
Take this moment to plug in the lamp and test its functions. Also take this moment to remove the scratch-protection sheets that were on the sides.
Checklist for packing: Finished lamp.
Two pieces of bubble wrap.
One ULine 7″cubed box.
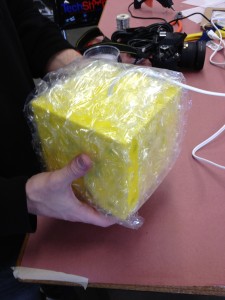
Step 21: Wrap the box in two pieces of bubble wrap. The two pieces fold over the bottom and top respectively, with the cord escaping a top corner. Cross the two bubble wrap pieces relative to each other so all sides get covered.
Step 22: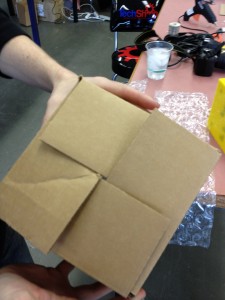 Fold the box into shape, holding the bottom with the all lips over each other trick
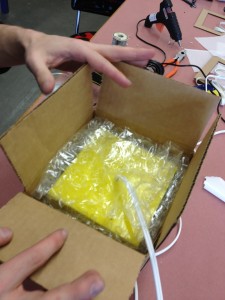 Step 23: Slide the covered lamp into the box, with the cord escaping one corner. Seal the package.
