How Games Are Made: The Box
Let’s take a moment to really drill down, and explore what goes into making a single component of a board game: The box.
The box comes together from two major parts:
- The label, the part you see, that wraps around the outside. The label makes it pretty, and reinforces the shape.
- The greyboard structure, that gives it structure and strength.
Part 1: The Label
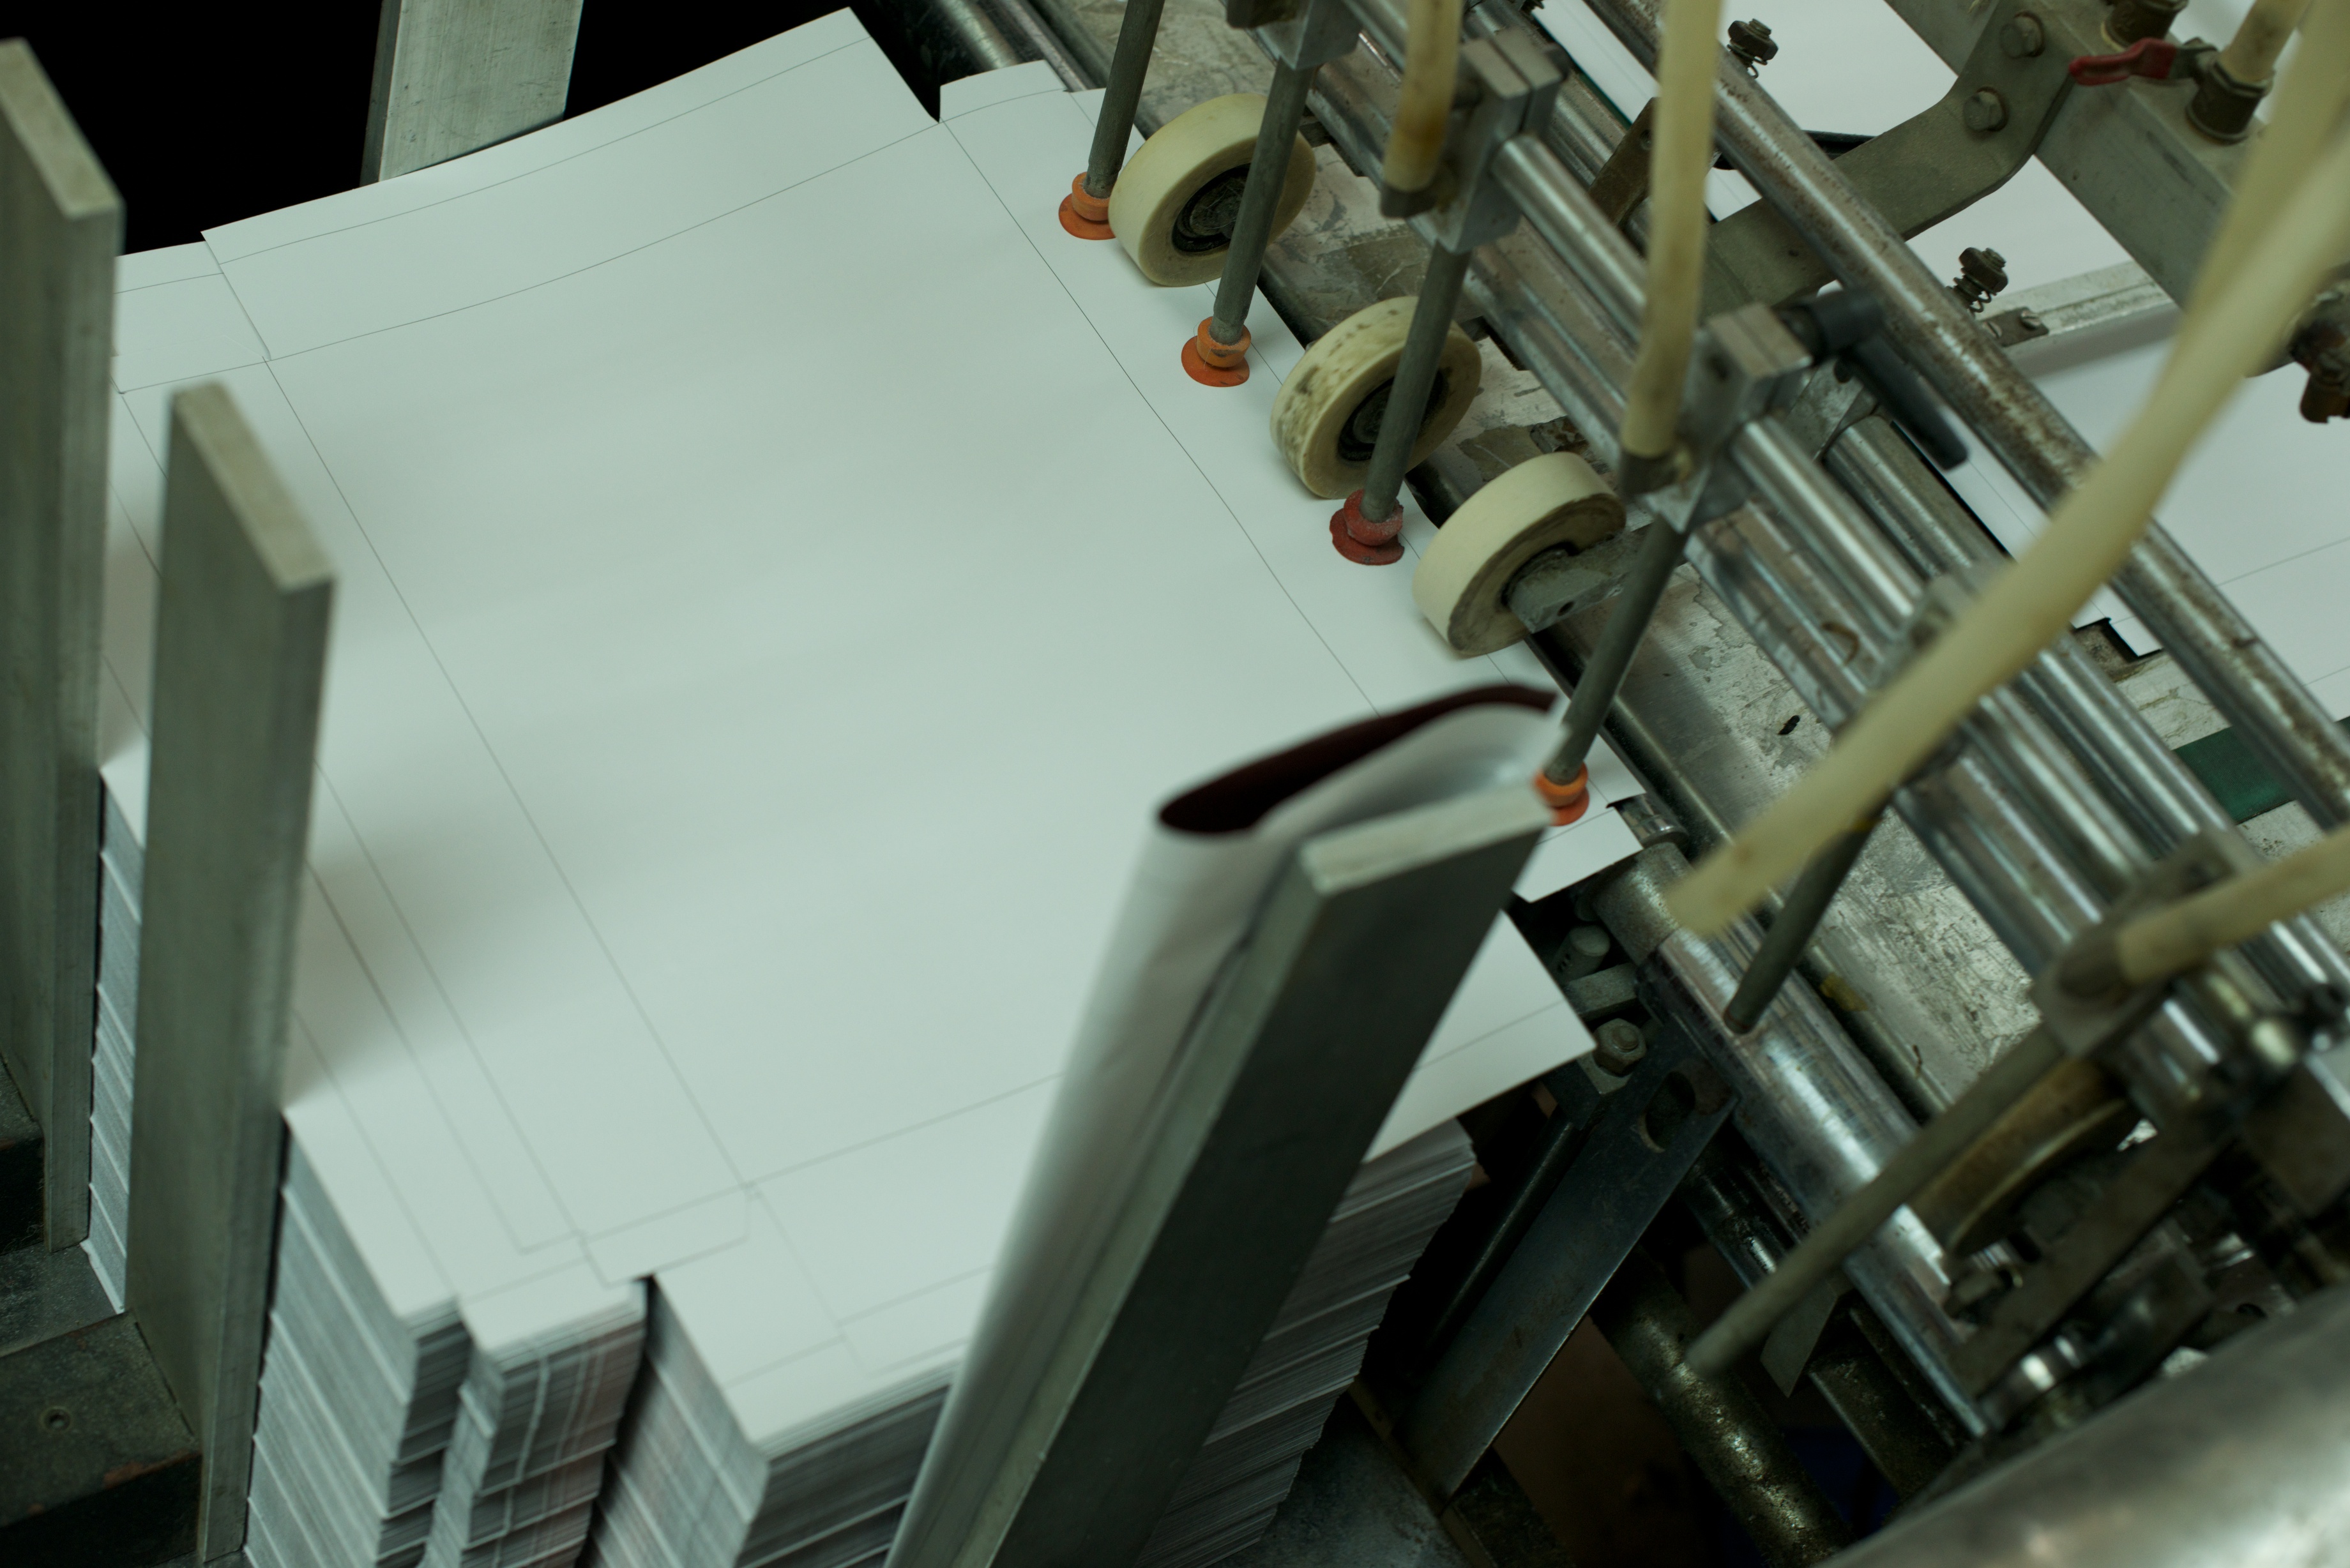
The label starts life as sheets of blank paper and tubs of ink. These are brought together by an offset printer.
The workhorse of the game printing industry is the Heidelberg Speedmaster printer. When it’s running at full clip, one of these will turn out between ten and twenty thousand sheets of paper into labels in an hour. One component, one side, for a starting print run of a game (2,000 copies) is the work of less than 10 minutes for one of these machines when it’s up to speed.
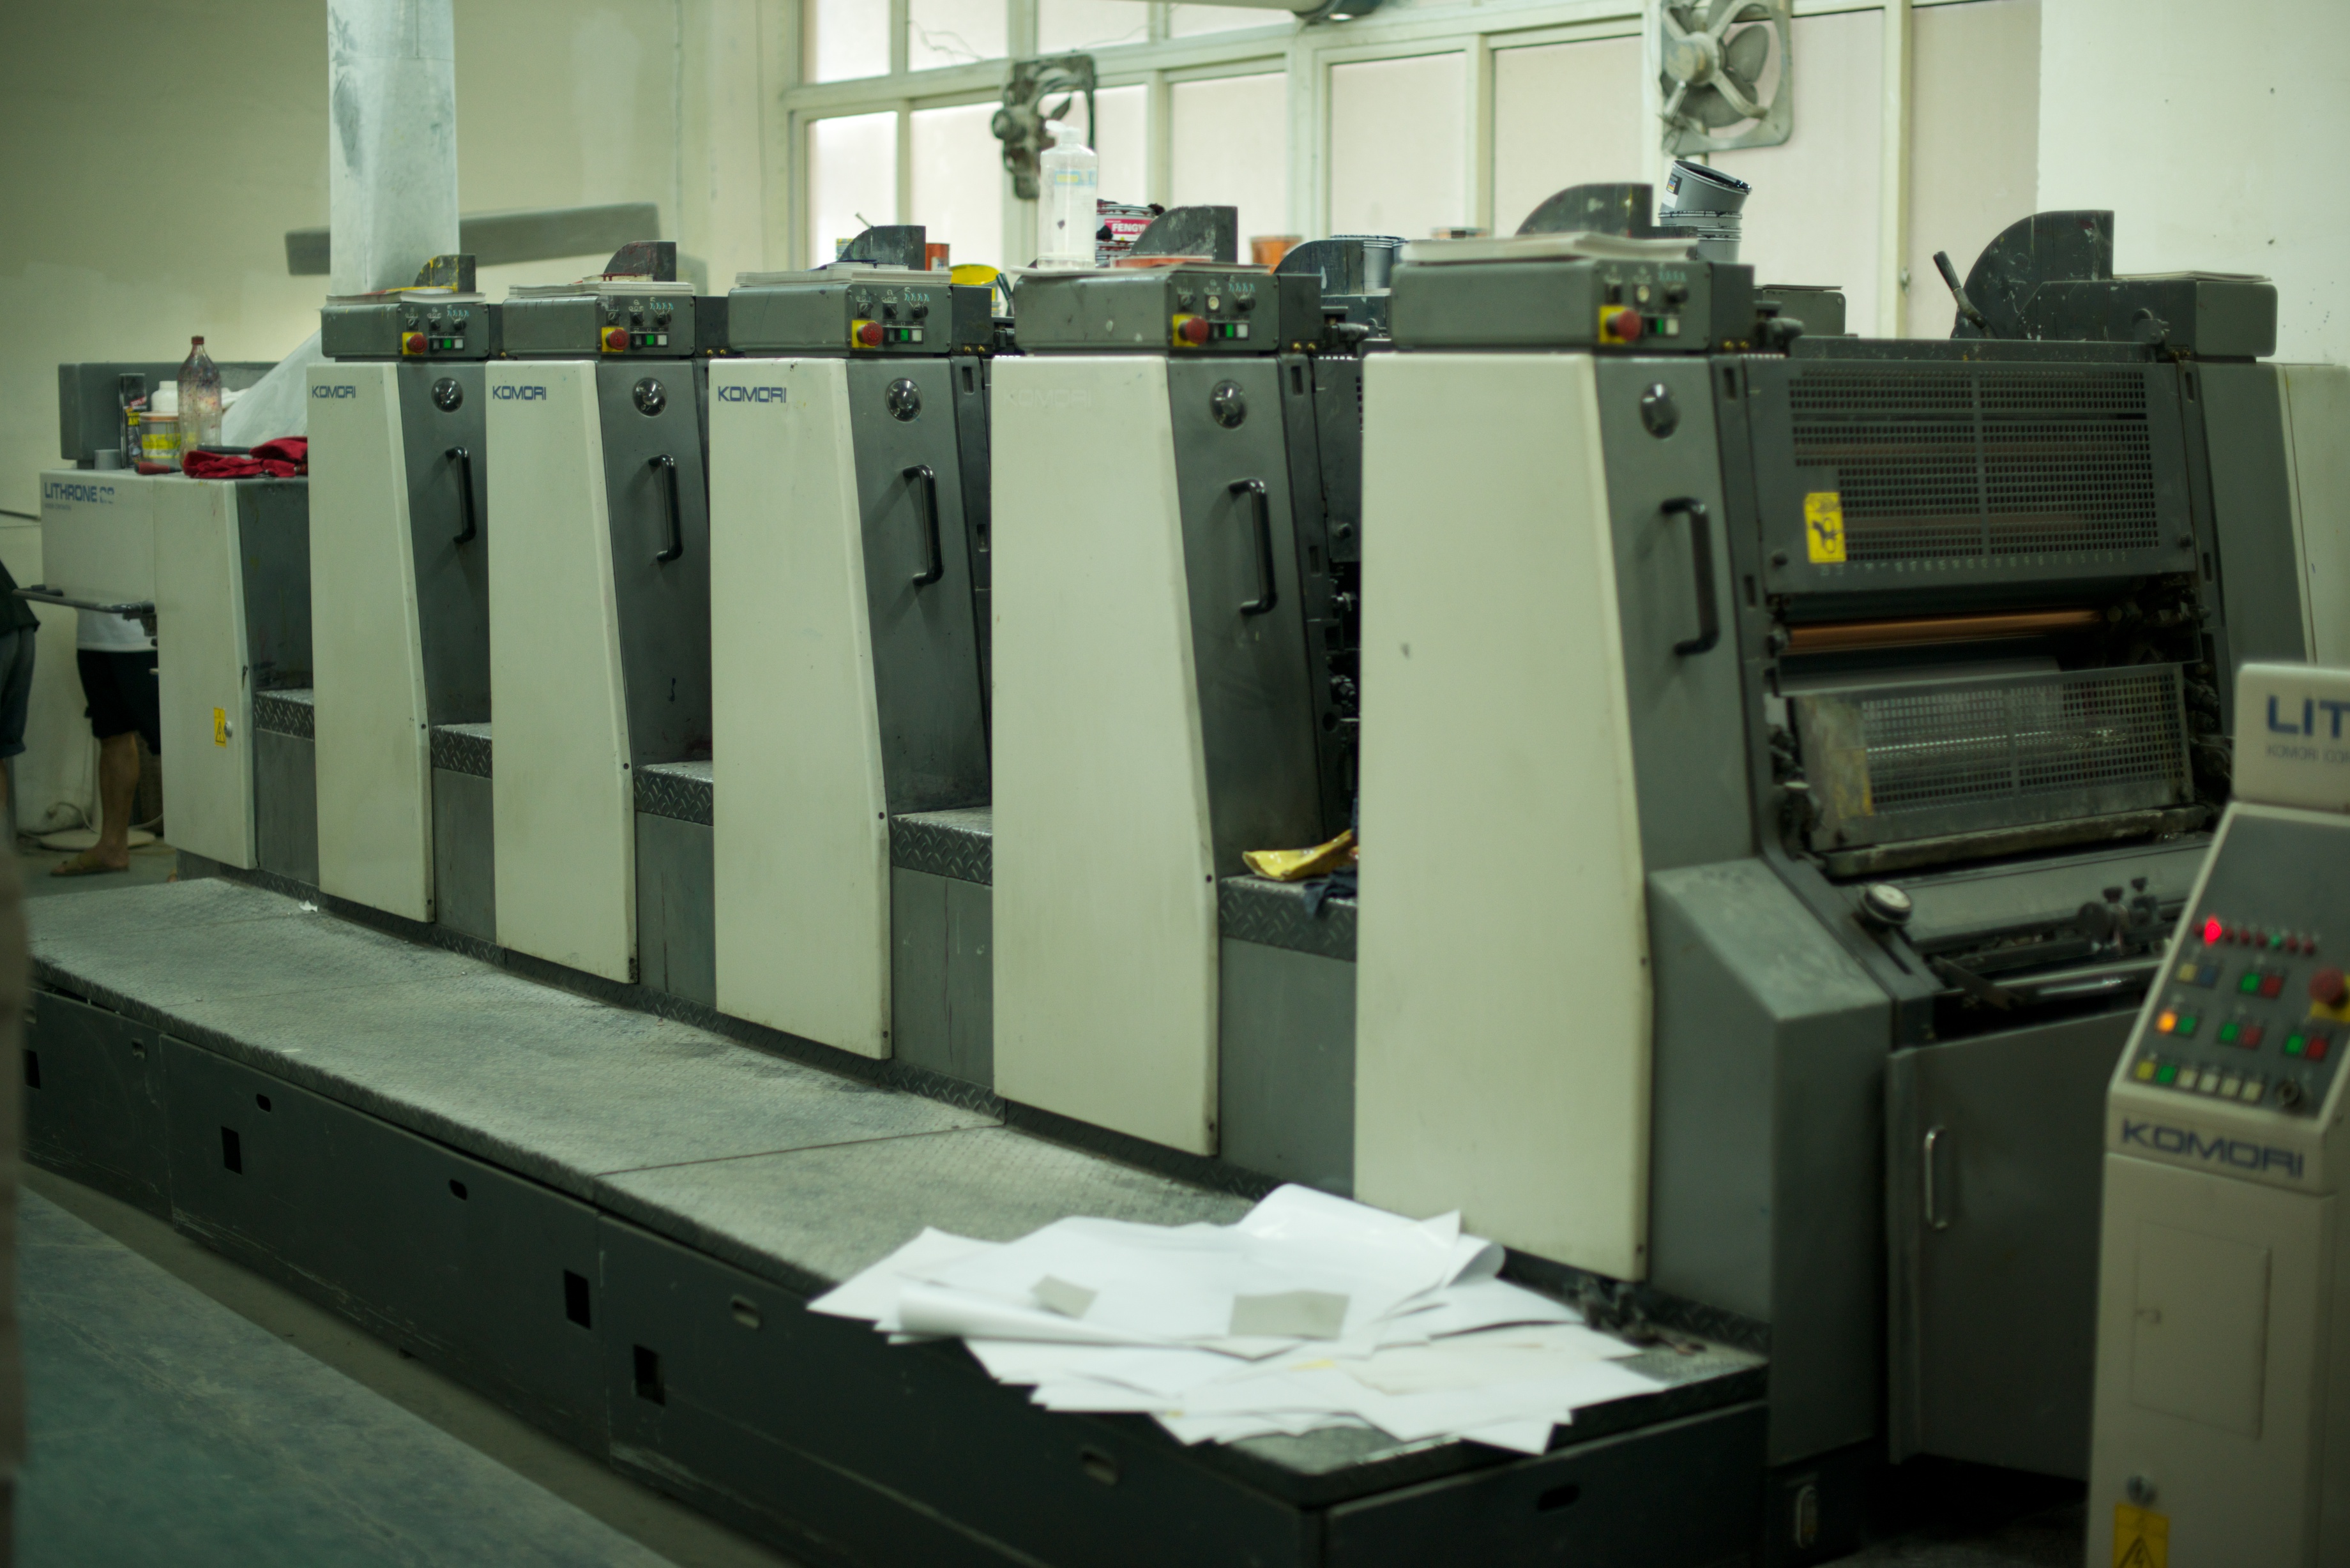
A 5-color offset printer.
Before that can happen, the master plates have to be printed. These are enamel-coated metal sheets that are loaded, one each, into the 4 or more stacks of the offset printer. Each one picks up the single color of ink that will be printed at that station of the printer: typically Cyan, Magenta, Yellow, and Black. If the printer has a fifth stack, it may be set aside for spot gloss, or a pantone shade.1
These master plates come out of a special printer that’s pretty much the same as your home desktop printer, except that it’s bigger than you, removes enamel from metal rather than printing ink, it’s loaded a single sheet (plate) at a time, and it runs very slowly. (Minutes per plate.) So actually, it’s not much like your home printer except that it takes its input straight from the computer. Typically there’s a room set aside for this printer, where a single graphic designer will be turning out master plates. They get the image you, the game publisher have sent them, and then split it into the 4 (or more) colors it will be printed in: Cyan, Magenta, Yellow, and Black. They then print one plate for each, and run those plates through a rinse to clean them up. The plates may then be punched with screw-holes that will hold them in place before use.
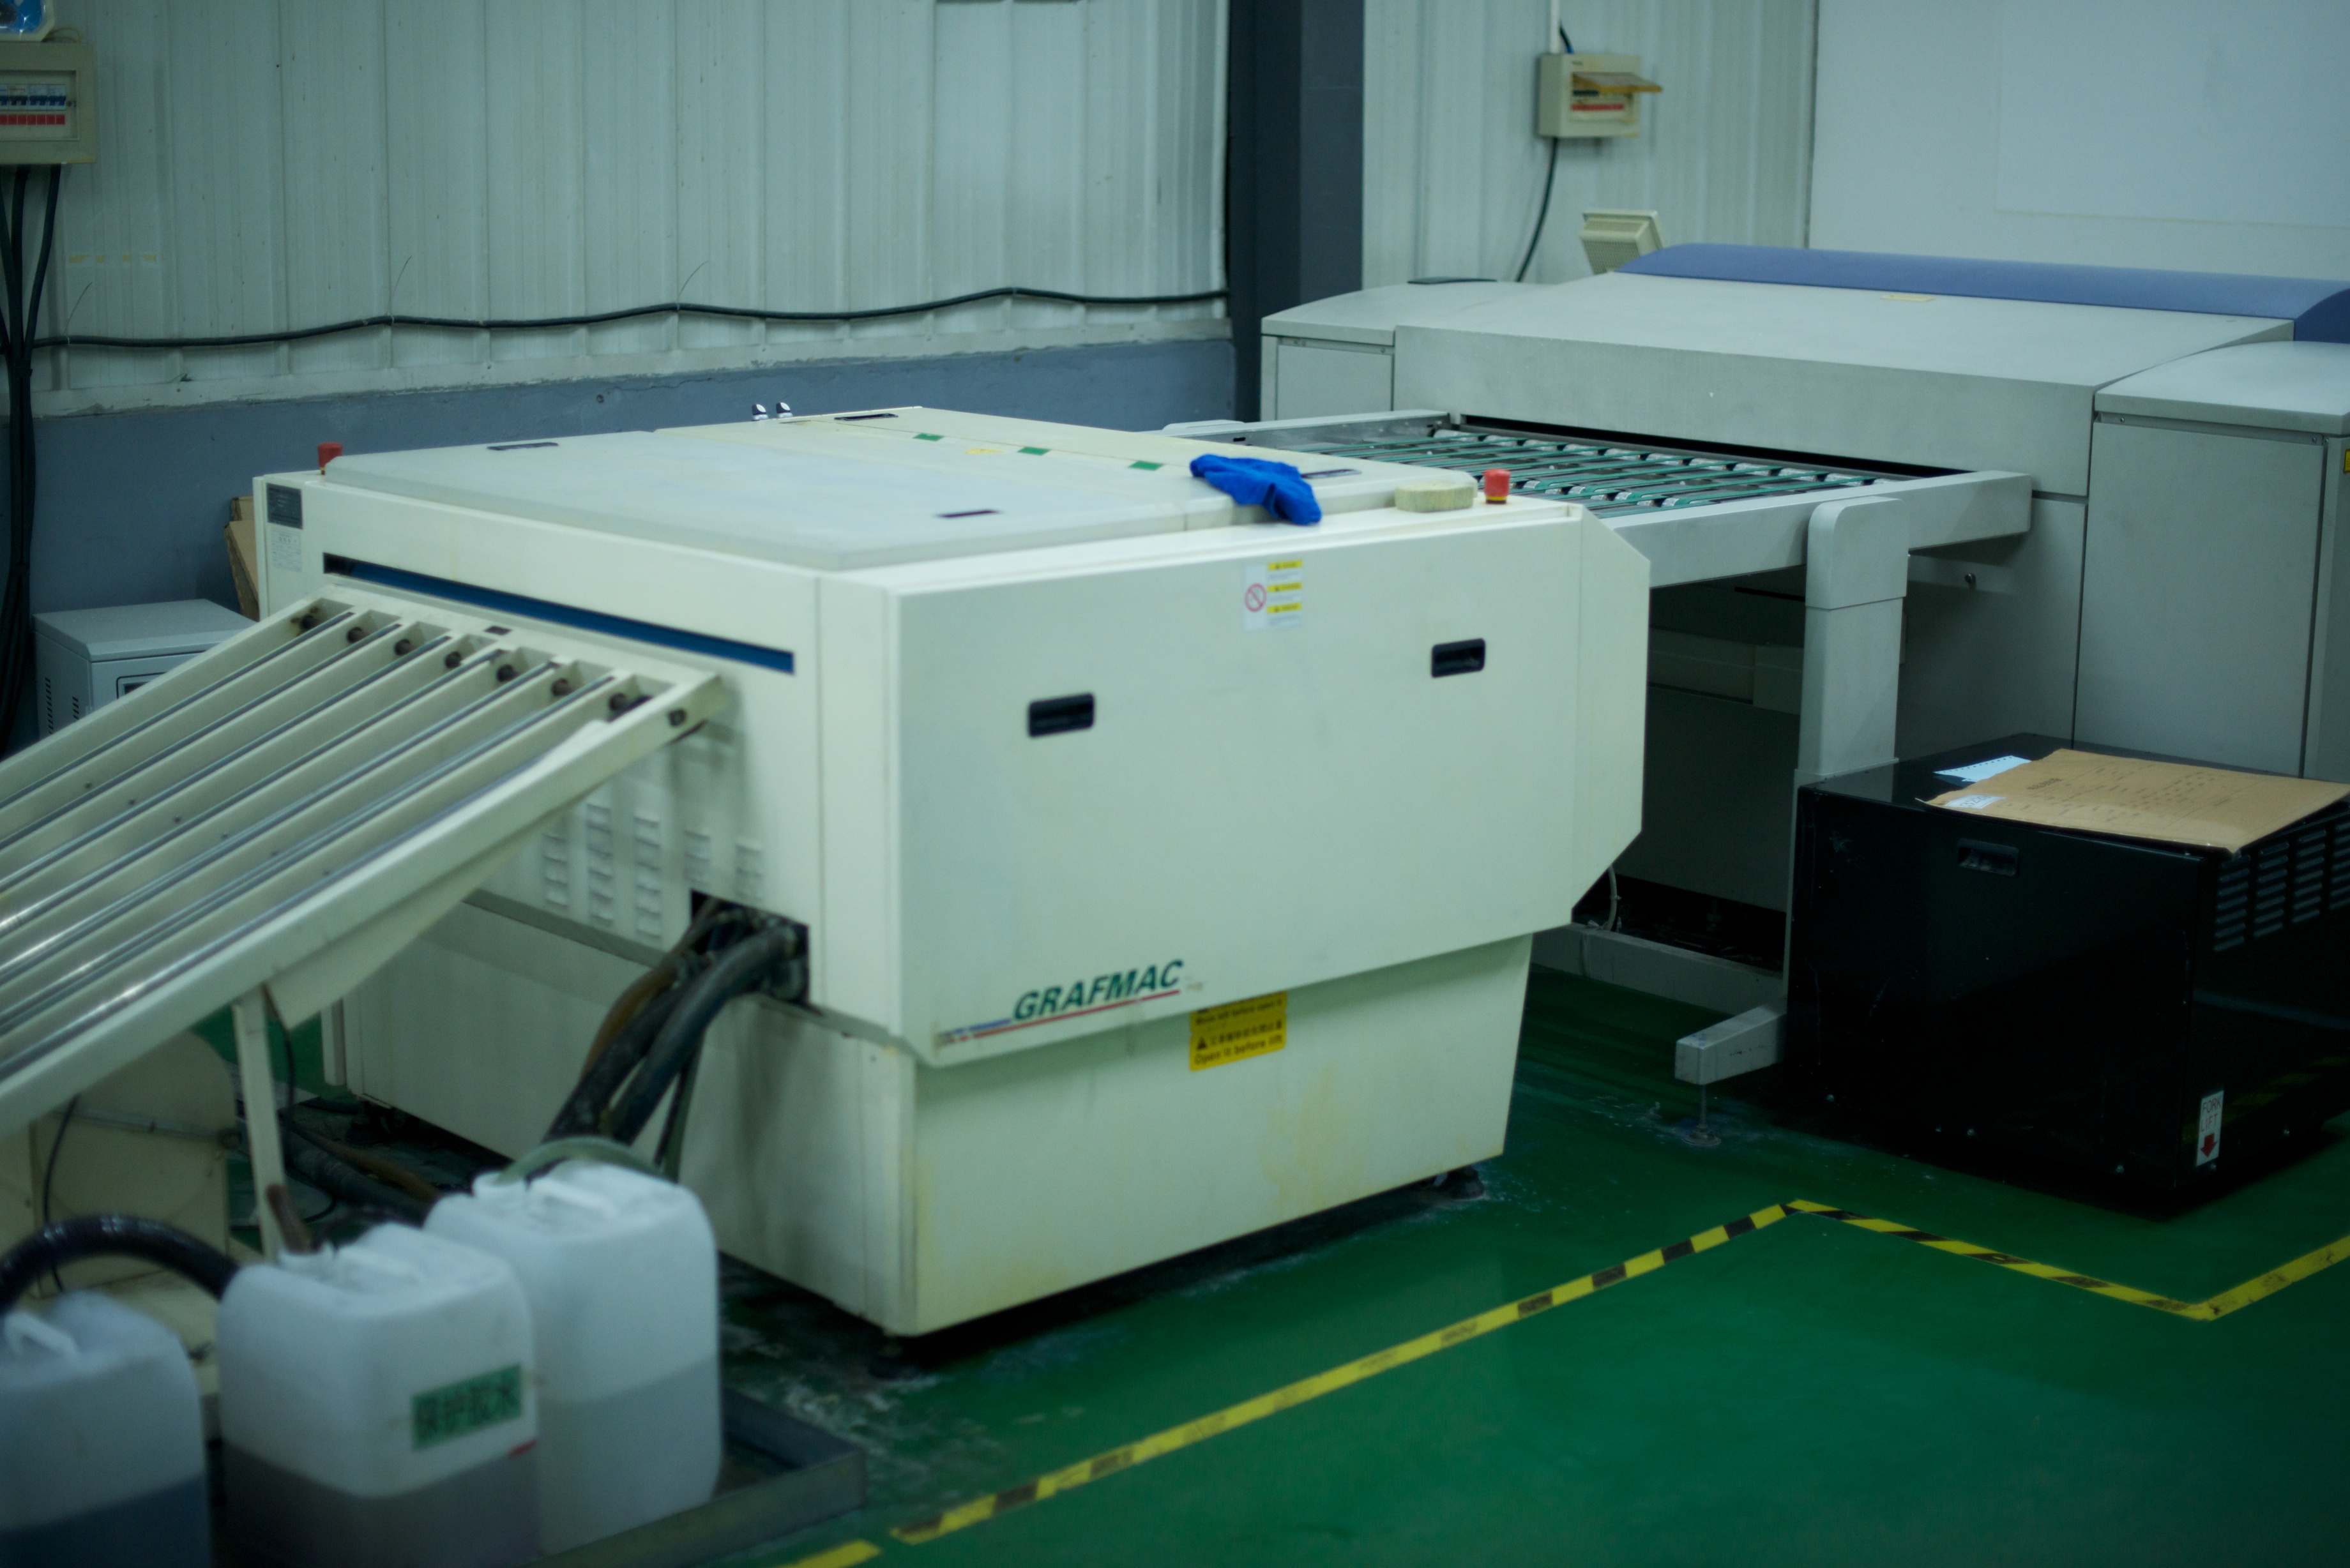
Computer To Plate: This rig is more advanced than most, with the printer feeding straight in to the rinser.
Everywhere the enamel remains on a plate, the offset printer will lay down ink. So if a spot is enameled on the cyan master plate, it will get cyan ink in that spot on the sheet. If a spot is green on the final sheet, it will be enameled on both the cyan master plate, and the yellow master sheet. (Remember kindergarden? Yellow and blue make green.) It will be bare metal on the master plate for magenta and black, so none of those inks will be applied.
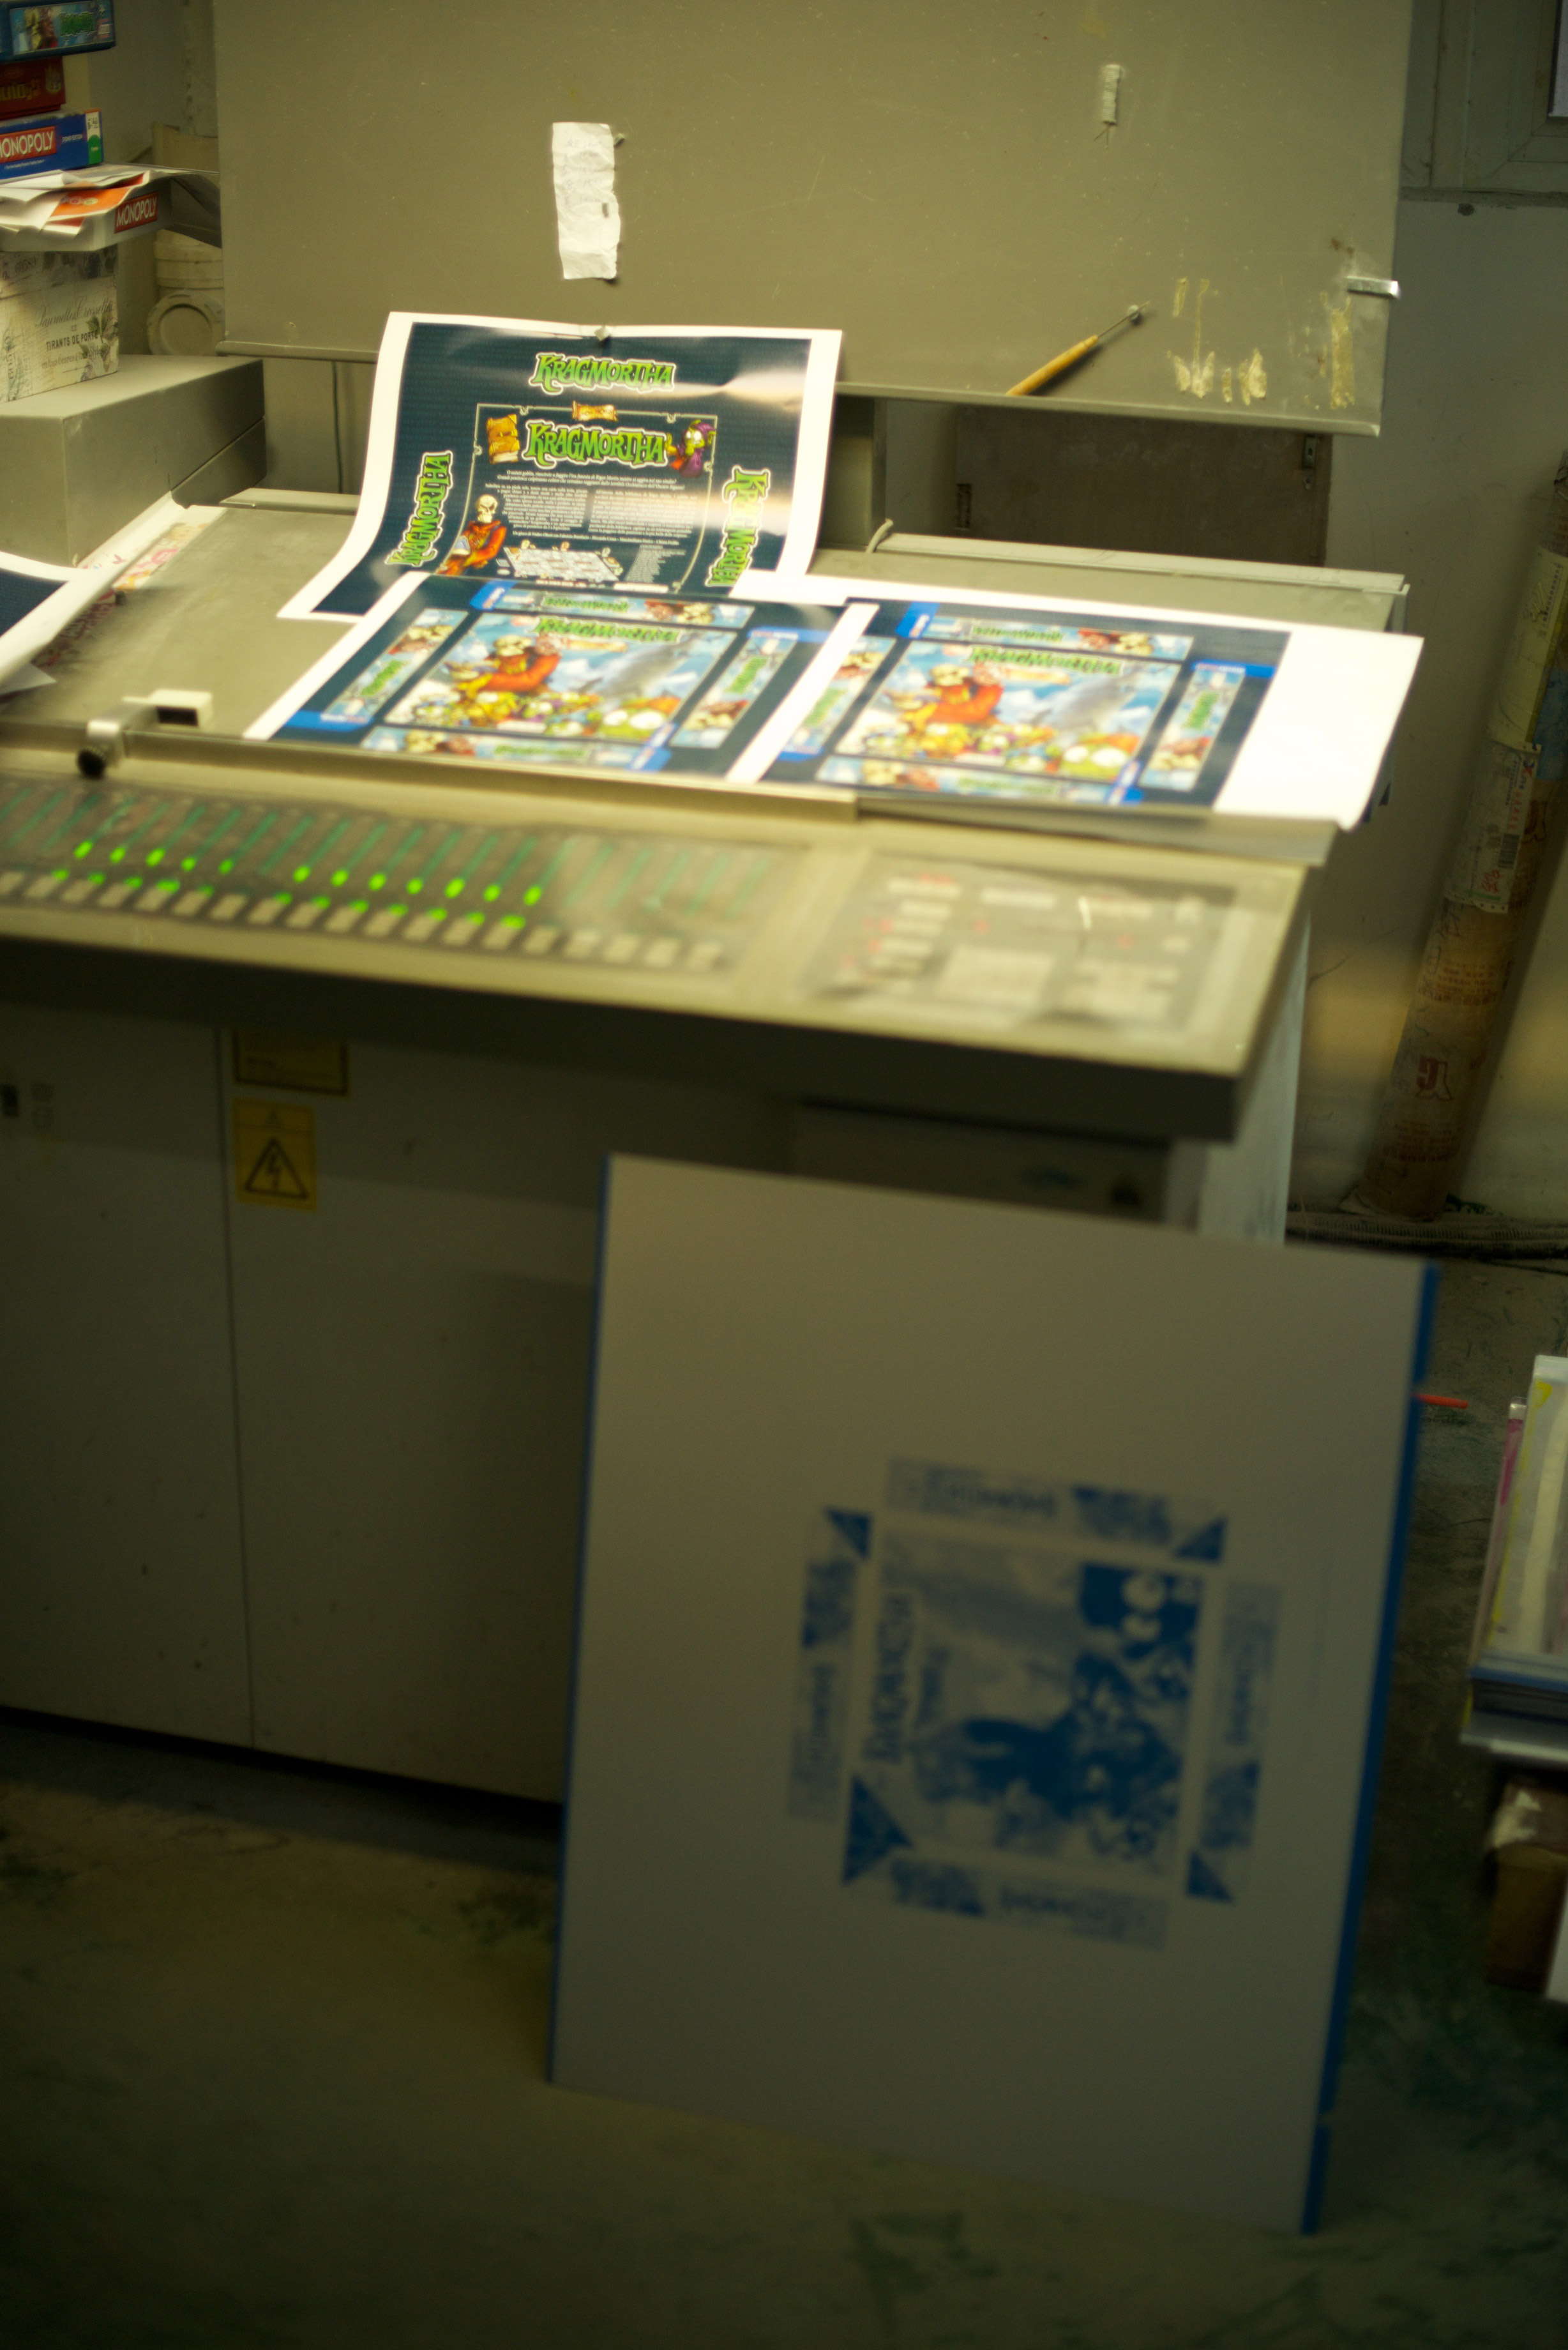
A proofing station, showing both the finished prints, and one of the master plates below. The blue areas on the master plate are the enamel.
Now when these sheets are loaded into the offset printer, odds are, the four (or more) plates aren’t lined up perfectly from stack to stack, and the yellow is printing a little to side of everything else. Or the whole thing is coming out too light or too dark. Or something’s a little squirrely with the cyan today, and this batch of magenta’s running a little dark, too. Or something else.
Any of a dozen things could need fine tuning. So between the time when the plates get loaded and the printer comes up to speed and churns out the X-thousand sheets for your game, the printmaster runs single sheets through, and checks the results on the other side. Digital tools may be used to check the colors. A magnifying glass or jeweler’s loupe is likely somewhere on the proofing table, for spotting alignment problems that elude the naked eye. The print company will have taken every step they can to reduce the number of tuning prints they need to do per job, since this setup time increases the cost of every job. Still, on a bad day where everything is going wrong, it might take more than 100 test prints to iron out all the issues before turning the printers up to speed. Usually they get it knocked out much faster than that.
Once all the fine tuning is locked in, a guy lugs giant stacks of paper from a pallet to the maw of the machine. In just a few minutes or hours, the entire job is done.

Labels, printed, stacked, and ready to be cut for Eminent Domain boxes.
Interlude: Die Cutting
Perhaps nothing is so universal to the modern board game as die cutting. You’d be hard pressed to find a game that didn’t include any die-cut parts, whether they were tokens, tiles, or the box we’re talking about now. For boardgame boxes, both the label and the greyboard will be die-cut.
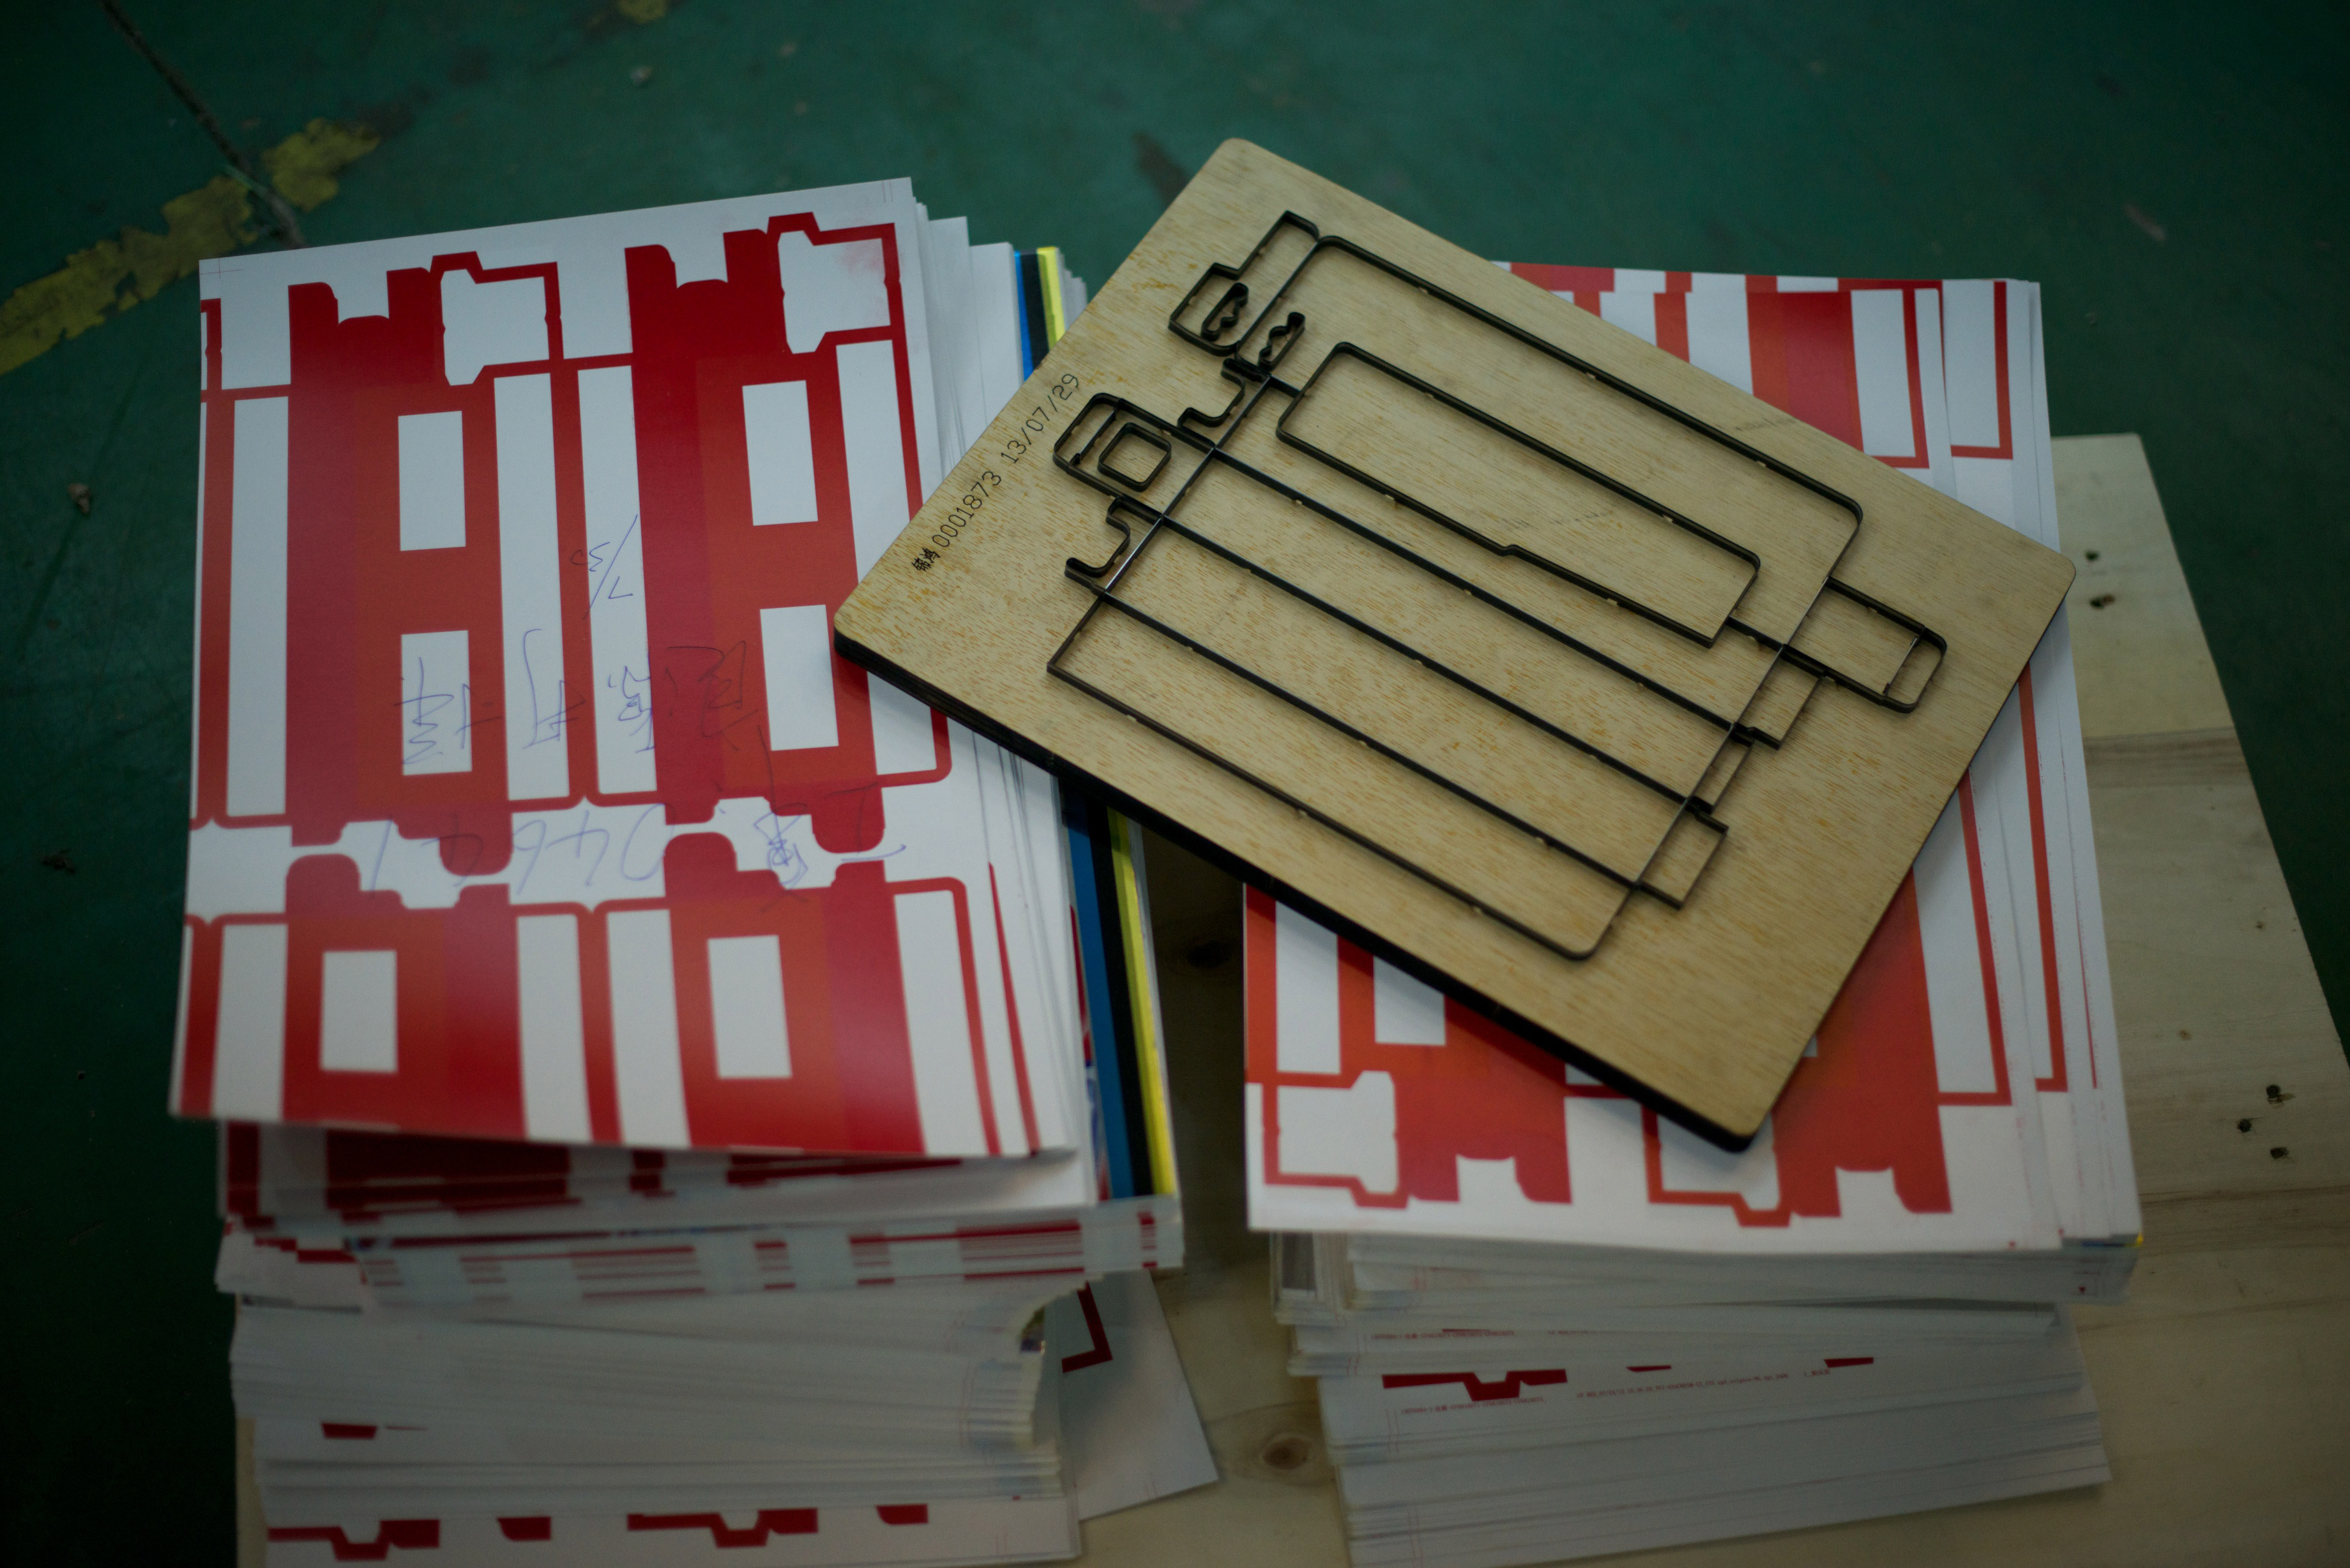
A die, shown atop the print it will cut. This die hasn’t yet had the padding installed around it that will prevent prints from getting caught in it.
In die-cutting, typically, a plywood sheet will hold blades in place: The complete set of blades that will make all the punches through that sheet of greyboard or paper. If you have a hex-shaped token on your punchboard, you’ll have a blade bent into that same hex shape on the die. Typically, the blades are surrounded by padding, so that cut material won’t get stuck in them.
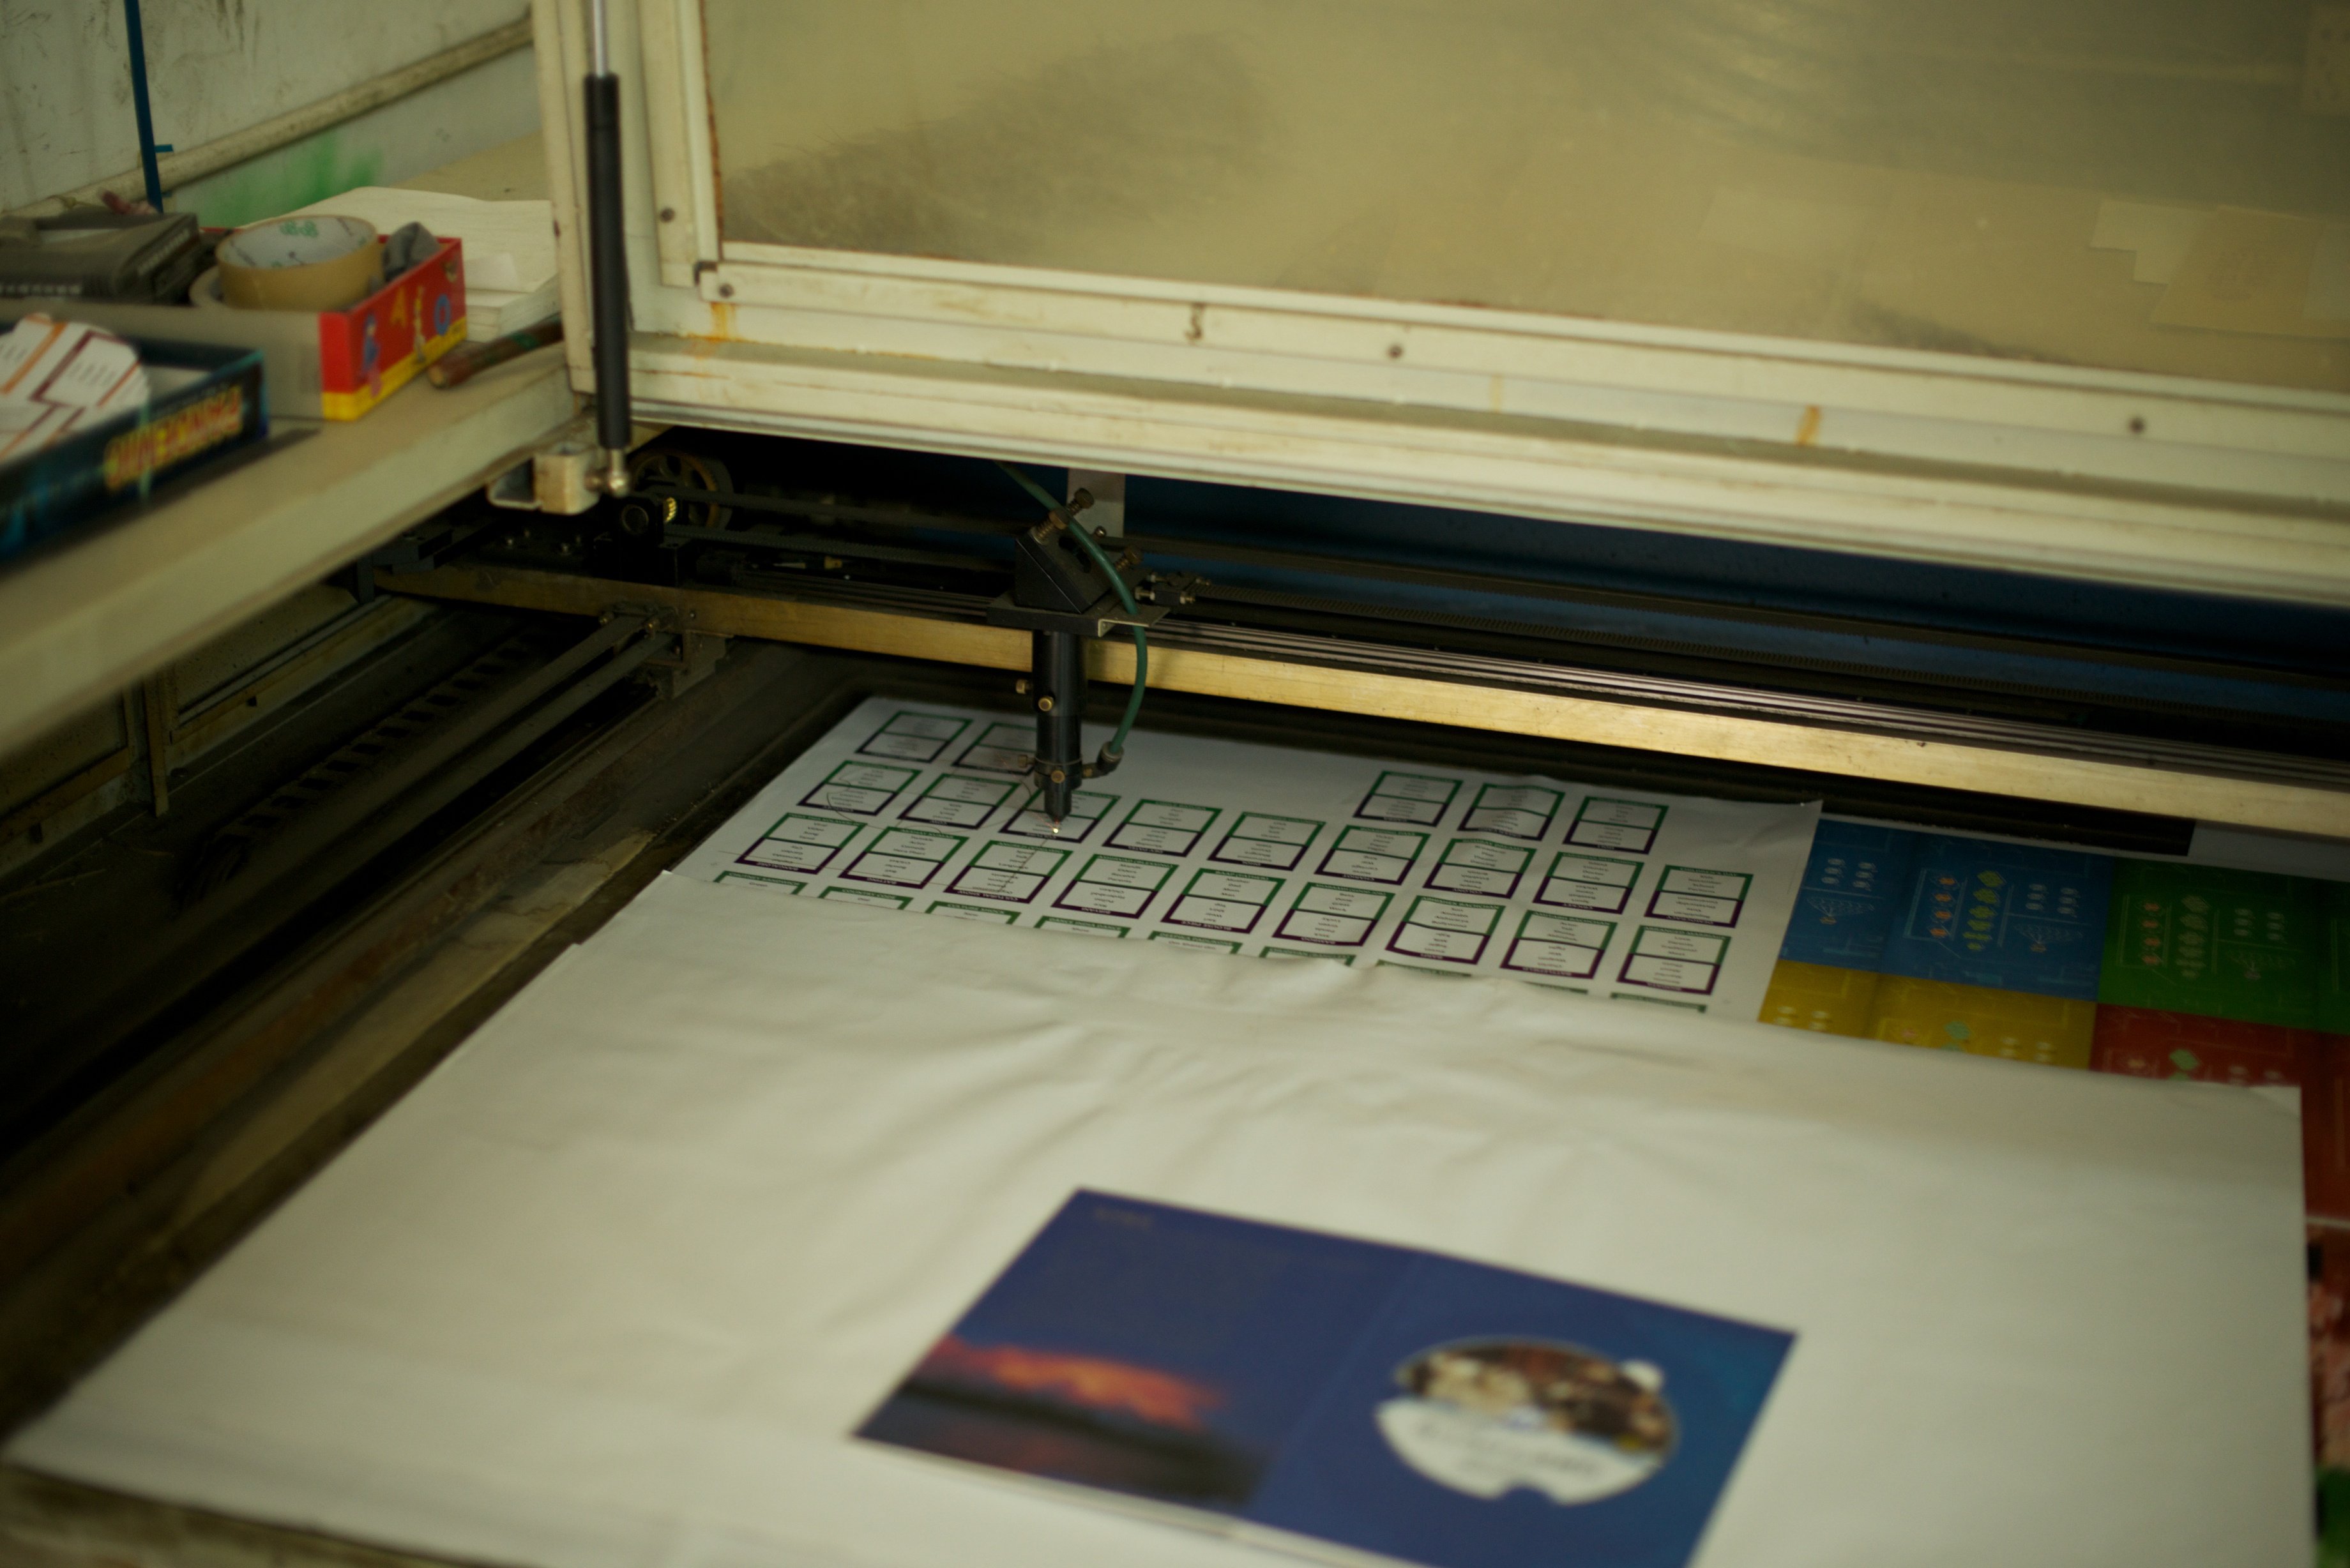
Many companies will contract out the die creation to an offsite specialist, but some do it in-house. In this picture, a CNC laser cutter burns grooves into a plywood board that the die blades will then be pressed into. The plywood is protected by a leftover sheet from another game’s printing, so the soot from the laser-burn doesn’t blow back onto it. Laser cutting offers precision down to a thousandth of an inch for going from computer blueprint to actual cuts in the board that will hold the blades.
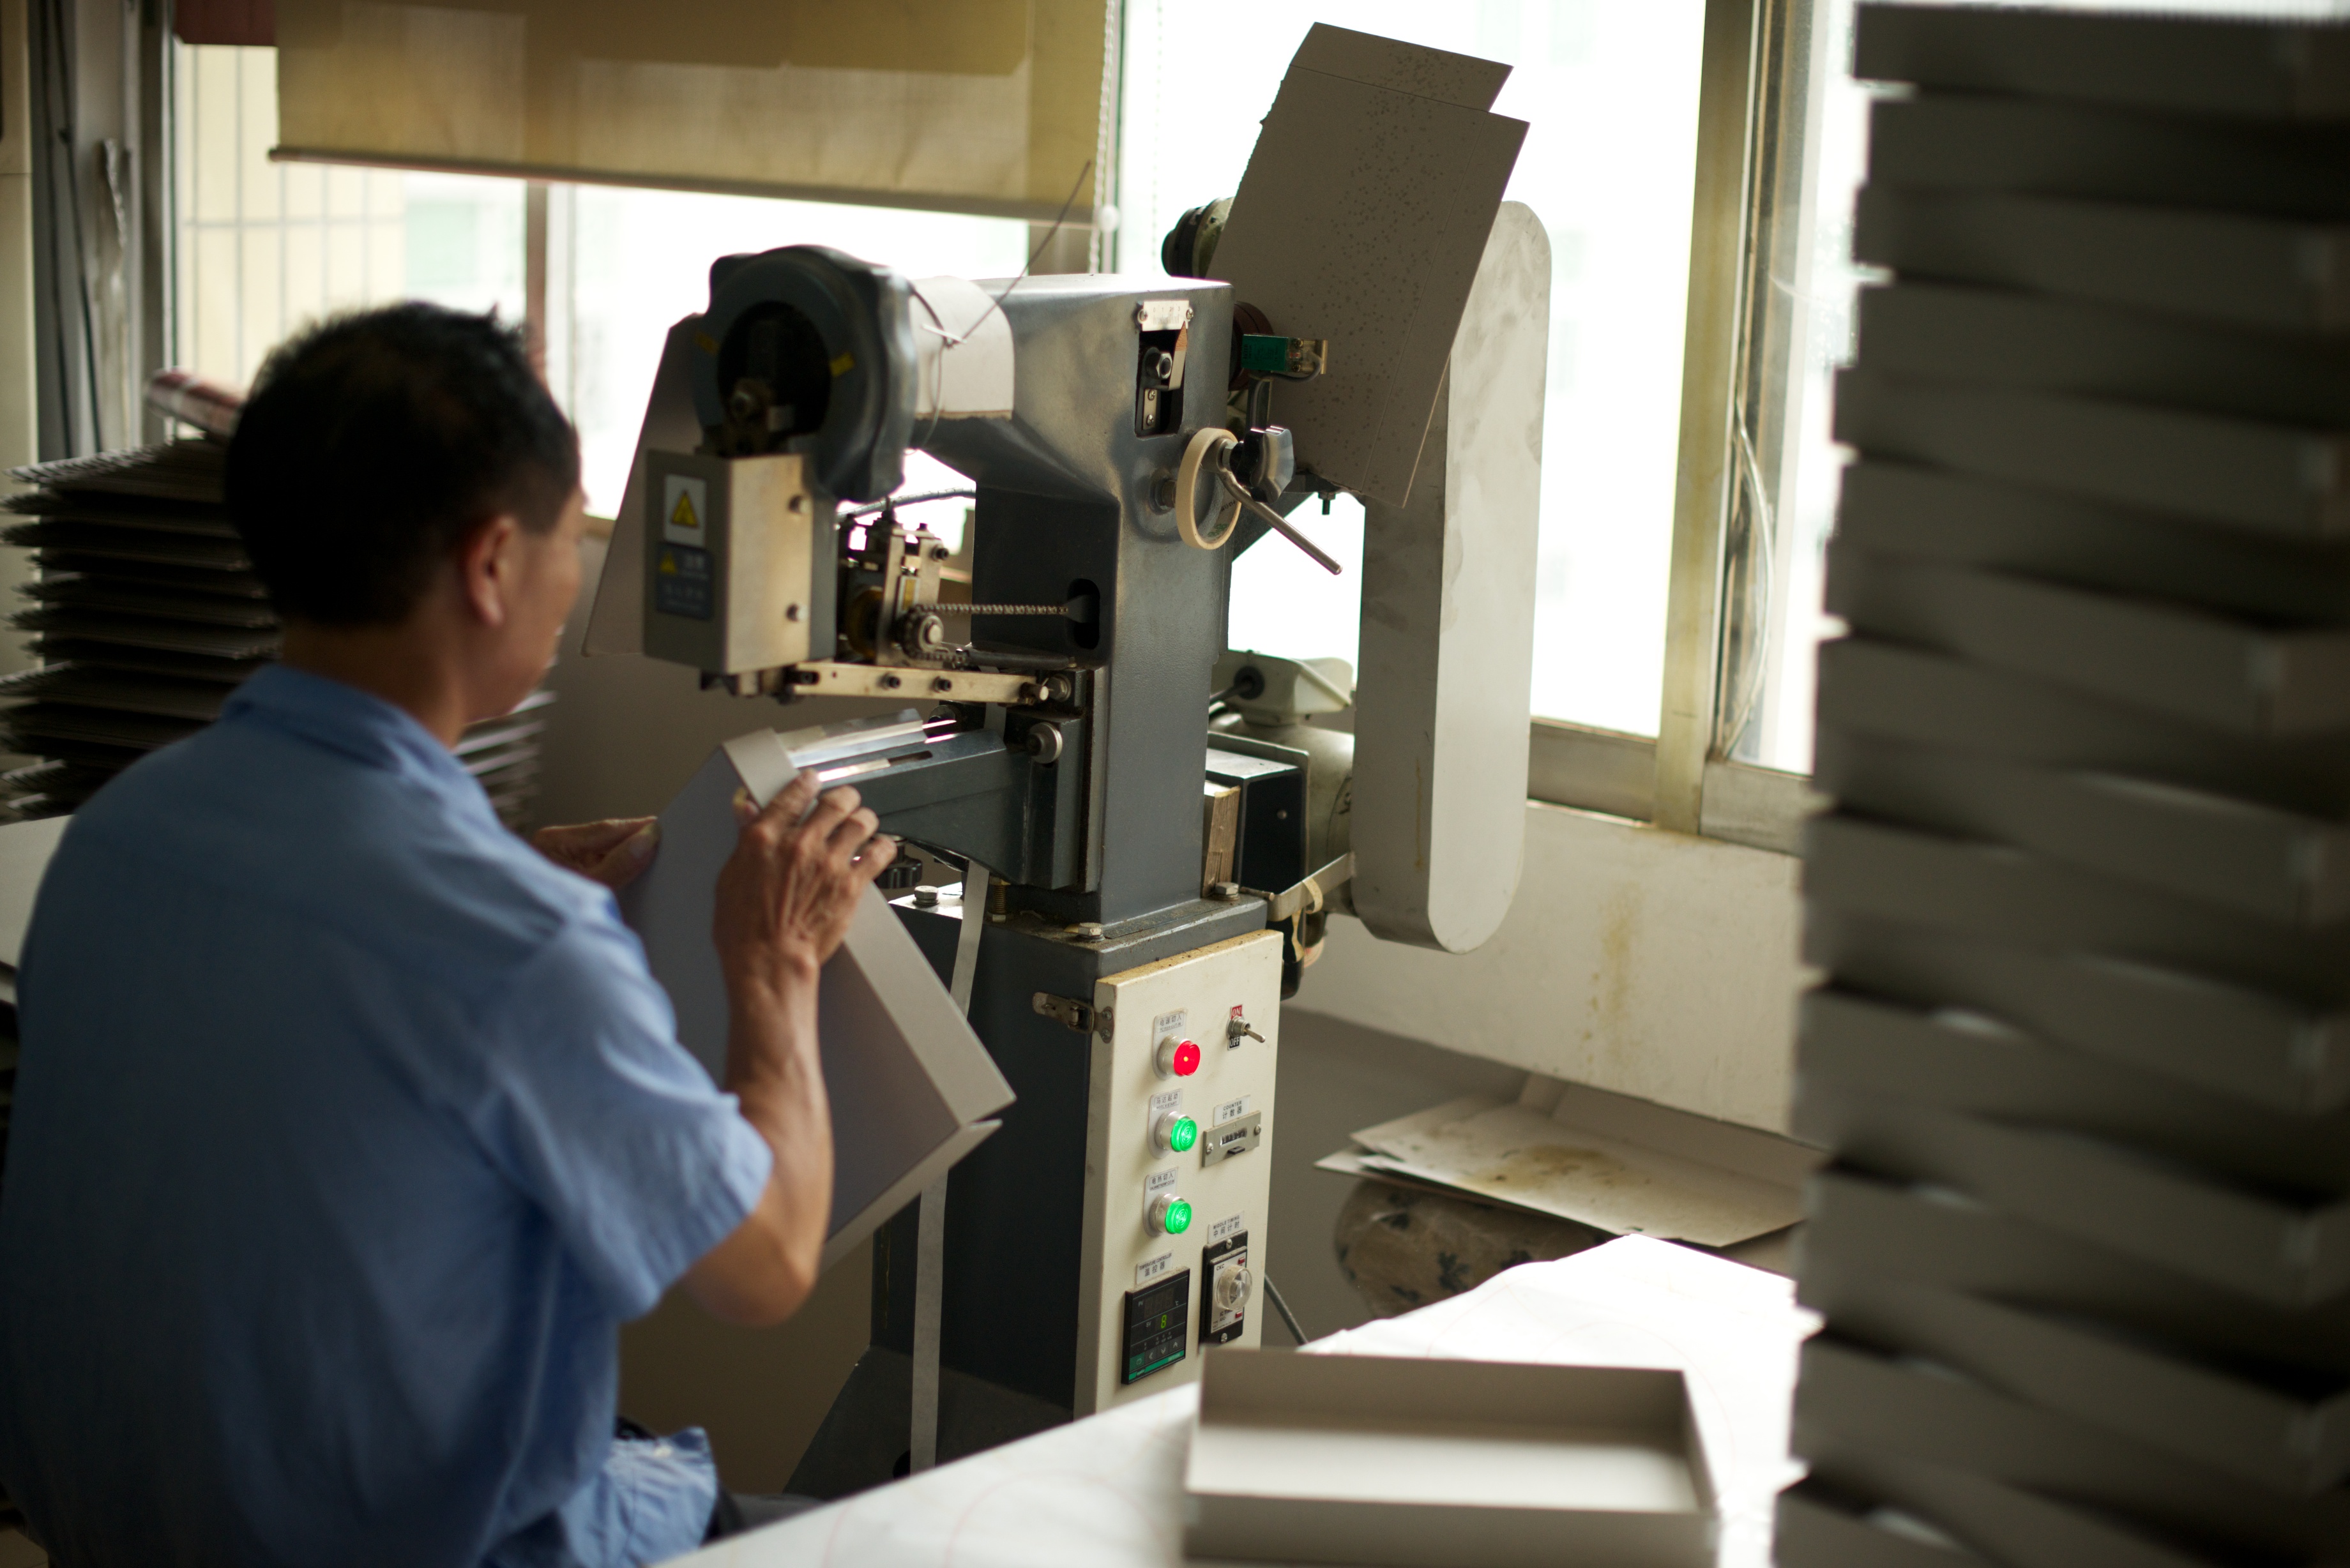
The finished die will be loaded into a machine that slams it into sheet after sheet of material to be cut. For print runs up to a few thousand, a one-man operated machine is typical. This thing looks a bit like pac-man rolled up onto his back. Pac-mans jaws regularly open and close. Each time the jaws open, the worker pulls out the last sheet cut and drops the next sheet into place. Each opening and closing of the jaws takes a little over a second, letting a single worker cut a couple thousand of sheets in an hour.
A typical one-man die-cut station.
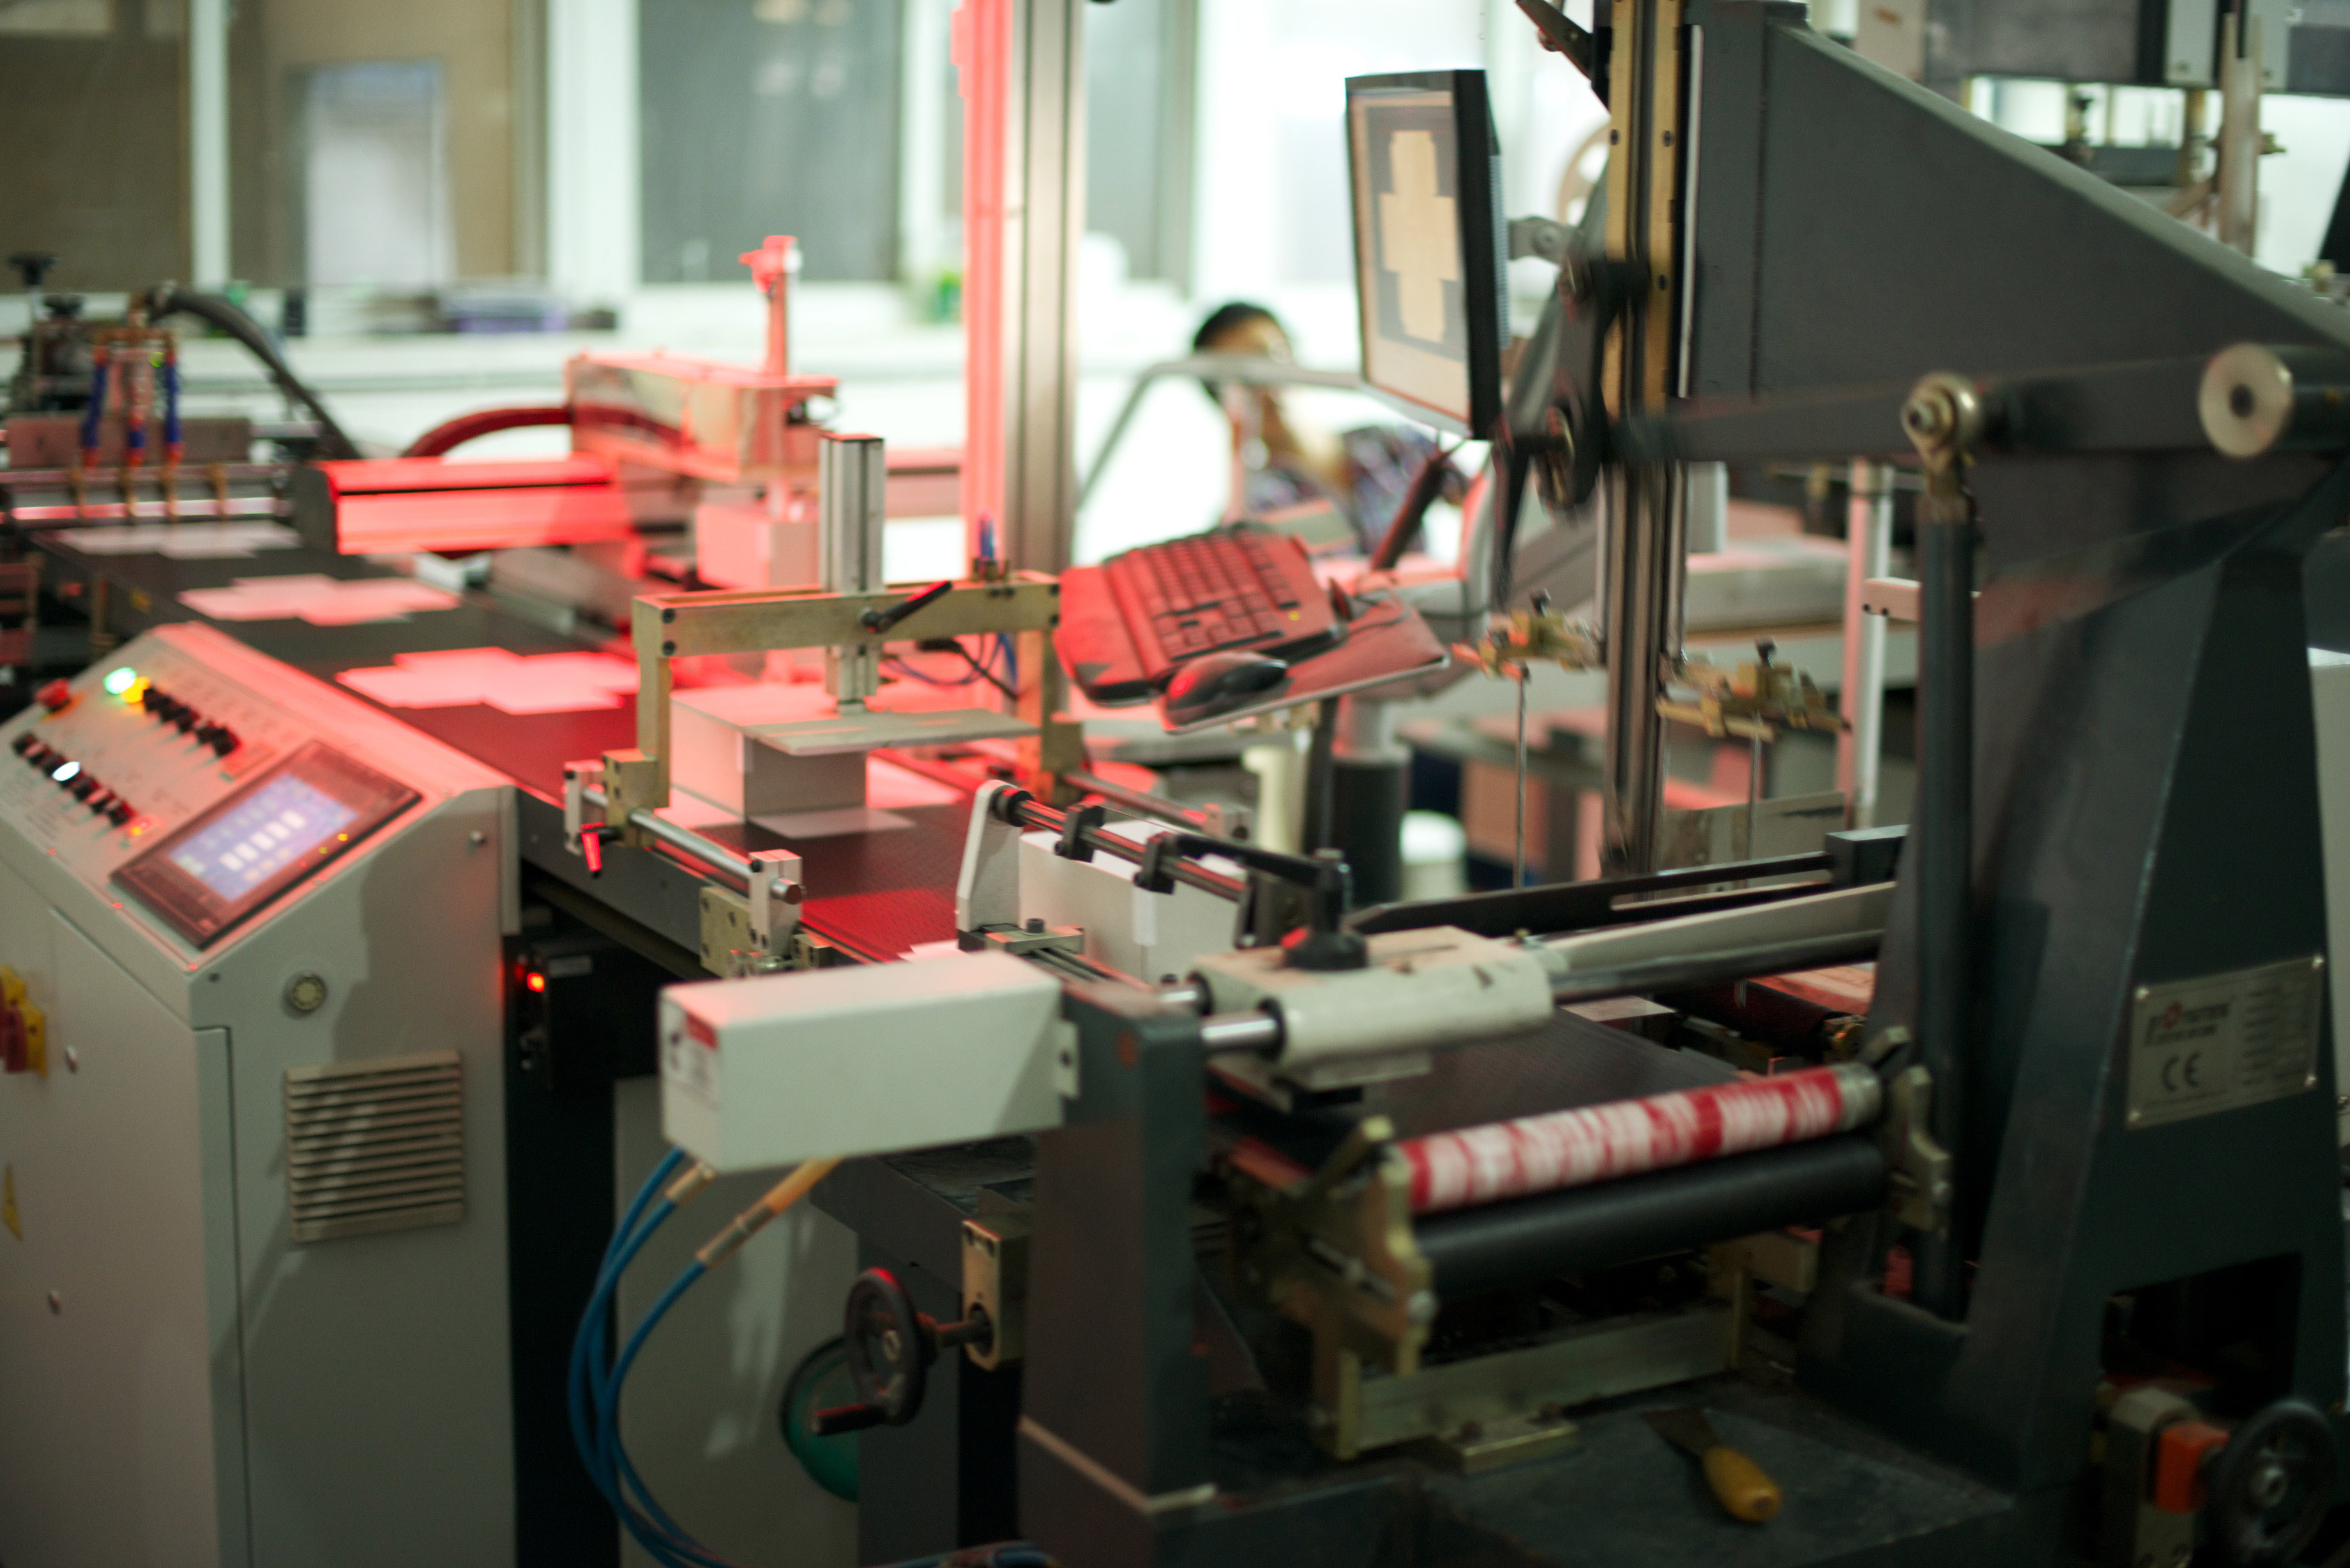
Larger jobs may demand larger, faster machines that can chew through tens of thousands of sheets in an hour. These machines are the size of a delivery truck and like most big machines take more workers and time in the setup. Then once everything is all locked in and the results are coming out correctly, the machine converts piles of material into product at a pace no human could match. Unless you have a very successful game (One that is being reprinted in batches of more than 5,000) your game isn’t likely going through one of these.

This monster die-cut machine can stamp through 10 sheets of cardstock a second.
Of course, the one-man pac-man munchers have setup, too. The worker will secure the die to one side at the start of a job, and tape raised guides against the other side to drop the sheet-to-be-cut into. For printed materials, the position of the guides or plate will be tweaked to line the print up with the die. At the end of the job, the die is taken out, the guides removed, and the faces scraped down to remove any leftover tape from the guides.
Part 2: The Greyboard
The greyboard (or chipboard, as we usually call it on this side of the pond) is what gives the box its strength and structure.
The greyboard first gets die cut. A single cutting step punches through the outline of the box and scores the folds where the greyboard will be bent up to form the box’s sides. From here, we get different levels of automation. For the rest of this article, we’ll look at one of the more manual processes. Conversely, I’ve seen fully automated assembly lines that took up a small room and did all the following steps with little to no human intervention.
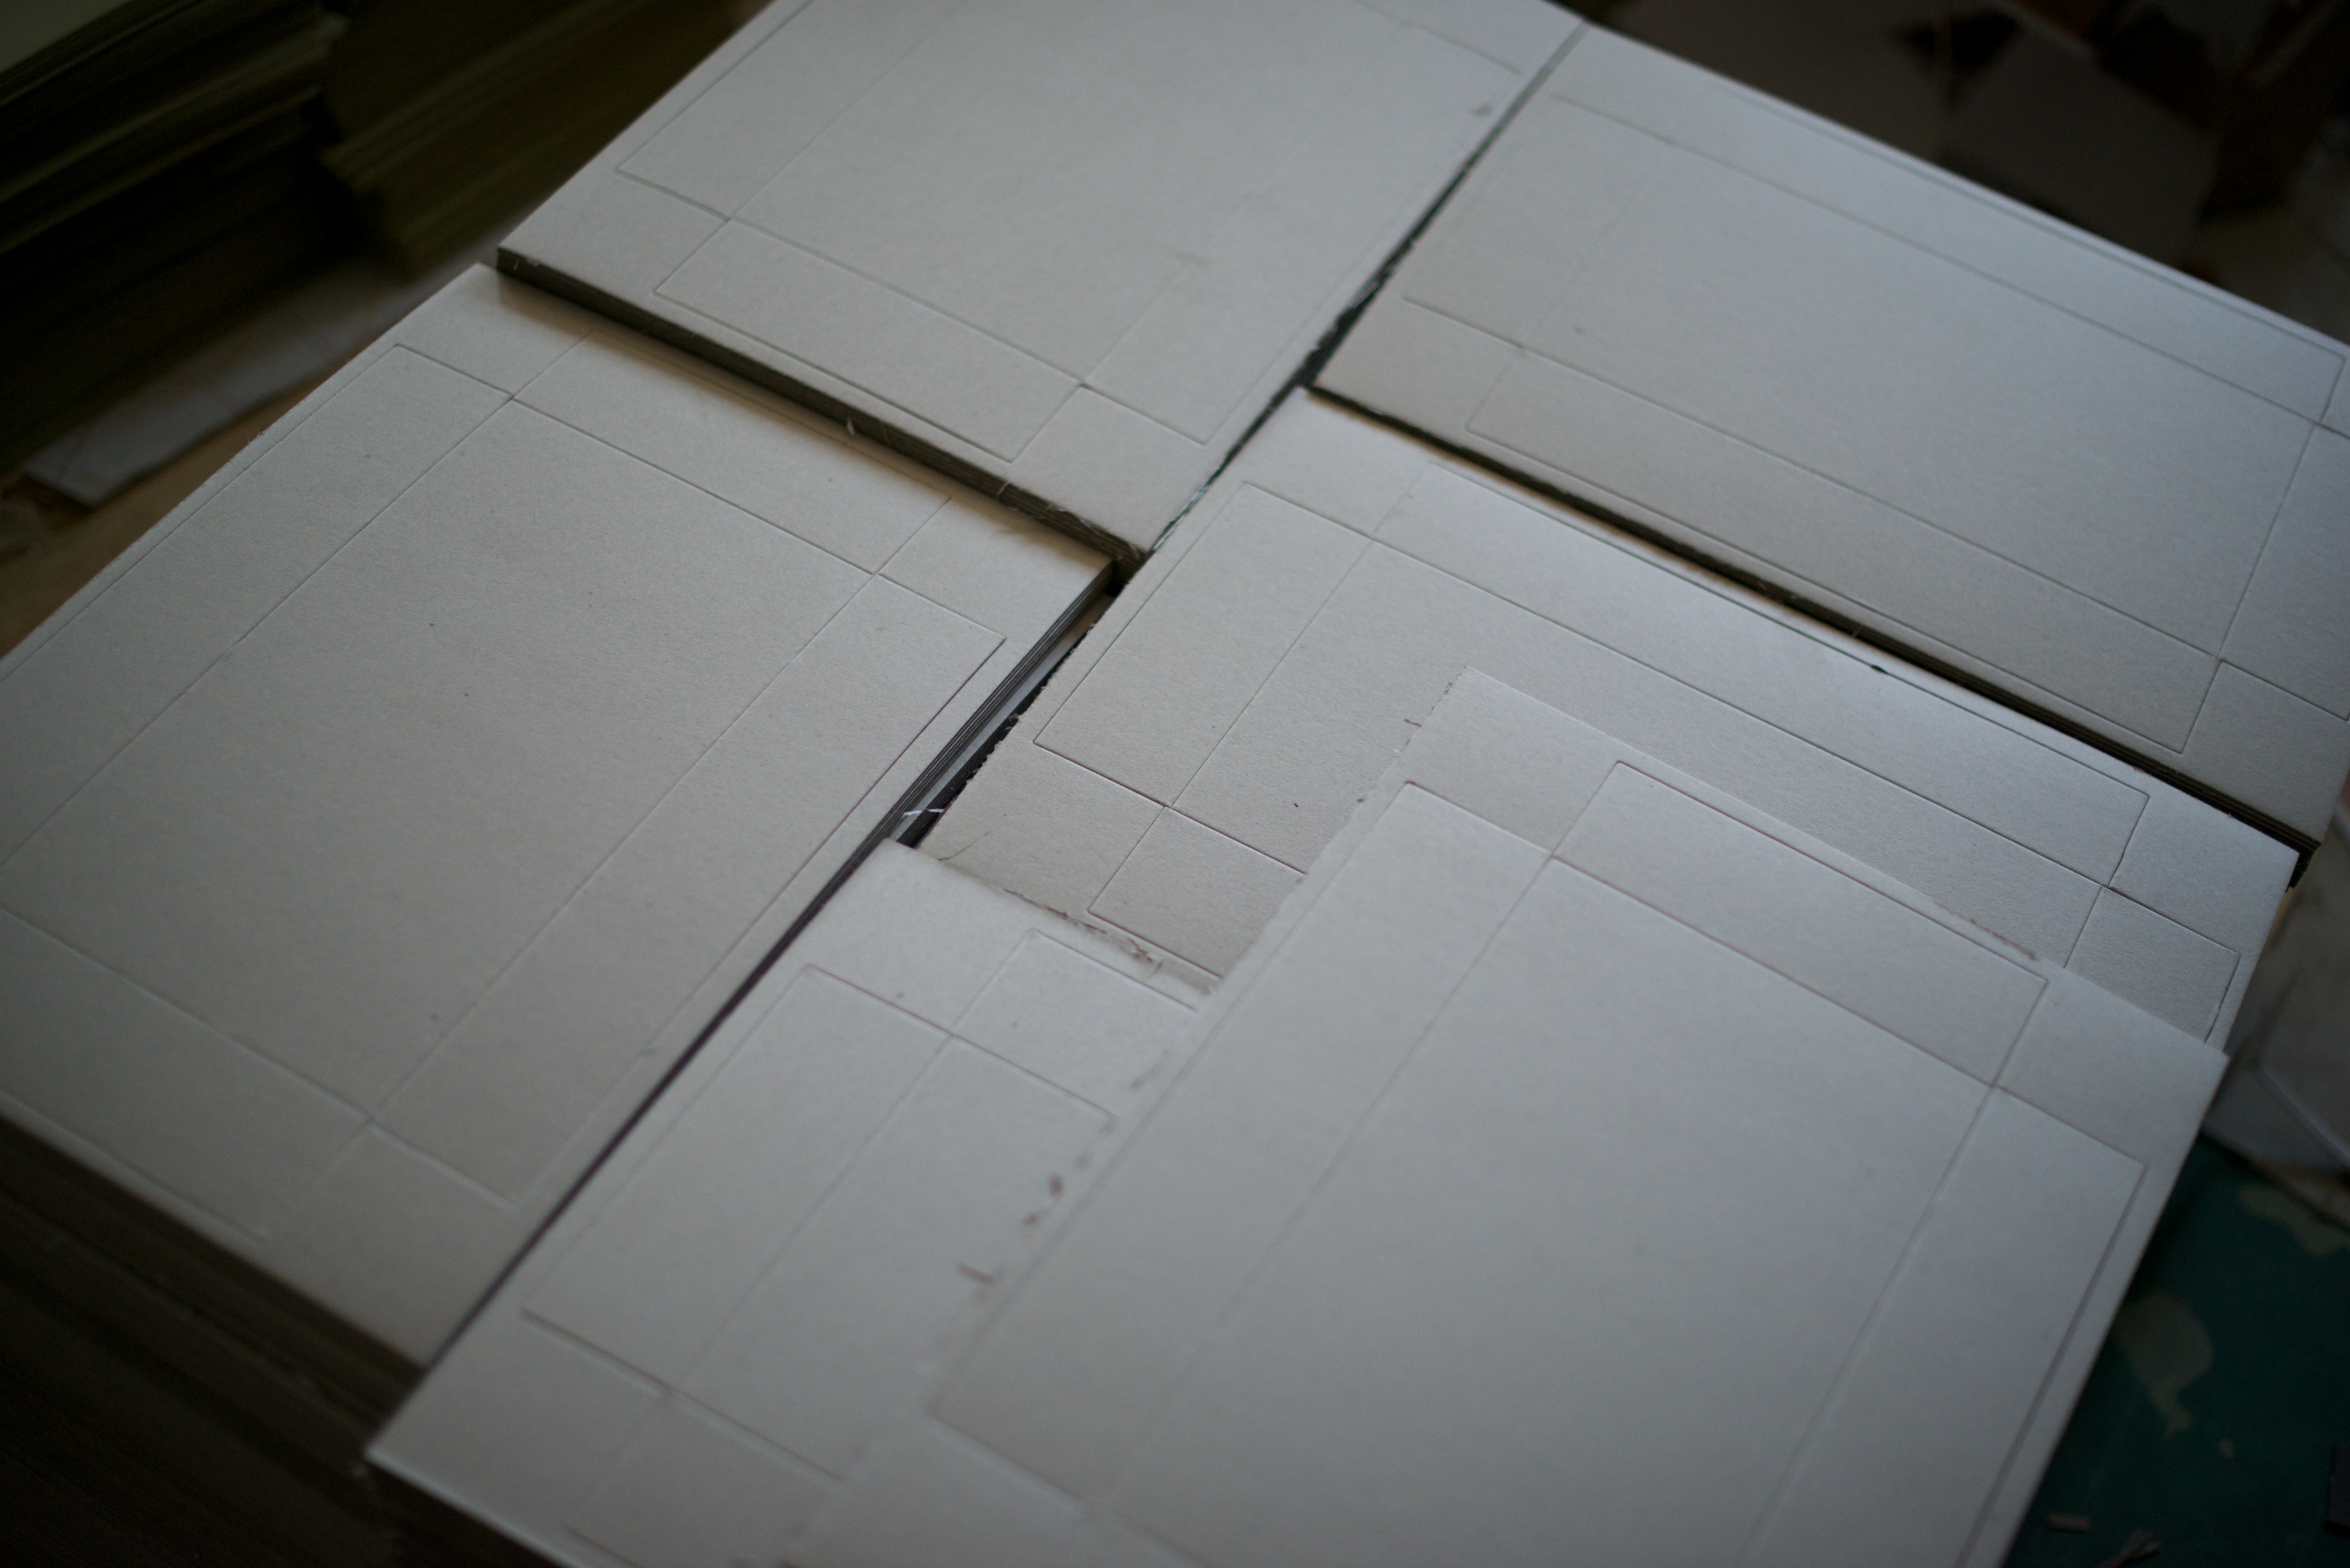
Greyboard sheets die-cut as box tops.
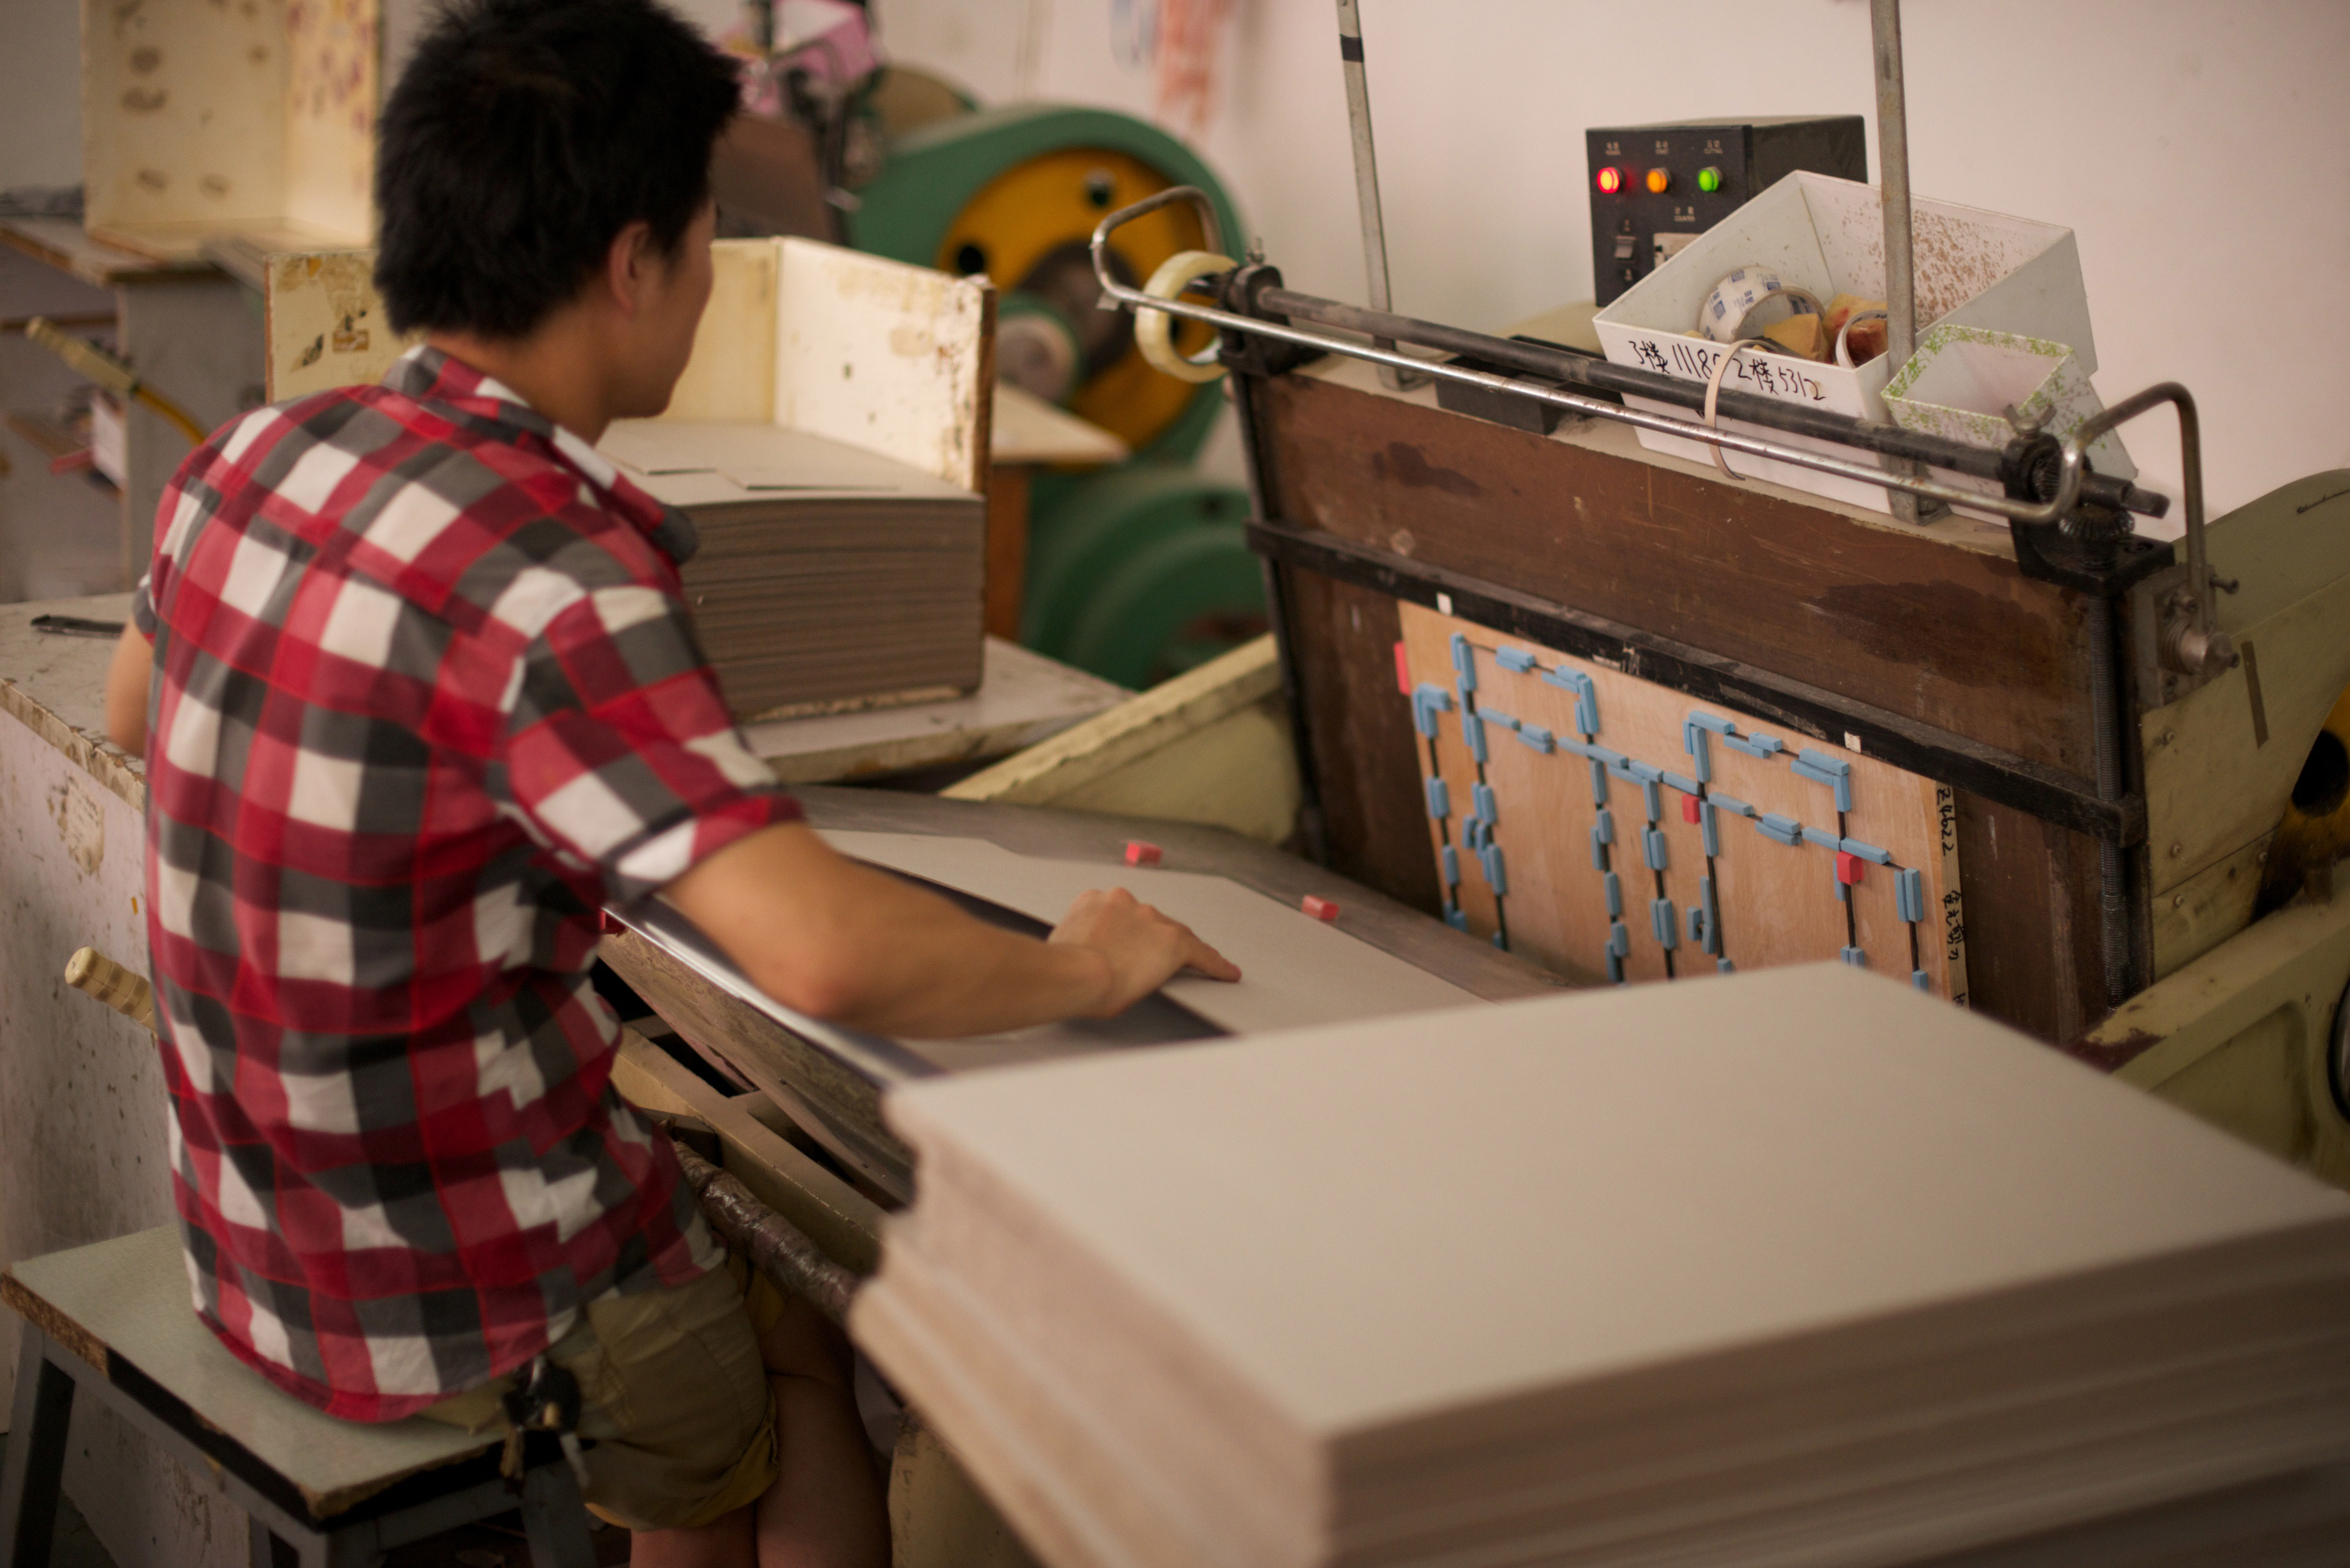
The punched sheets of greyboard, a few thousand to a pallet, go to a worker at a cornering machine. Here the worker folds the sides of the box up and the machine applies a tape2 to each corner, holding it up in place. After spinning the box to each of its four corners for the machine, the worker sets the box atop a stack, reaches down pick up the next unfolded sheet, and repeats.
Cornering the boxes.
Part 3: Putting It Together
We’ve reached the final assembly line. At one end, we have a stack of cut labels, face down. These are picked up one at a time, and run between rollers that applies glue to the (unprinted) top side.
Suction cup arms pick up the top label of the stack and start it on its path to glue, greyboard, and glory.
The label then rolls on a conveyor belt past a worker who has the stack of greyboard box forms from the cornering machine. She carefully places a box at the center of label as the belt carries it past.
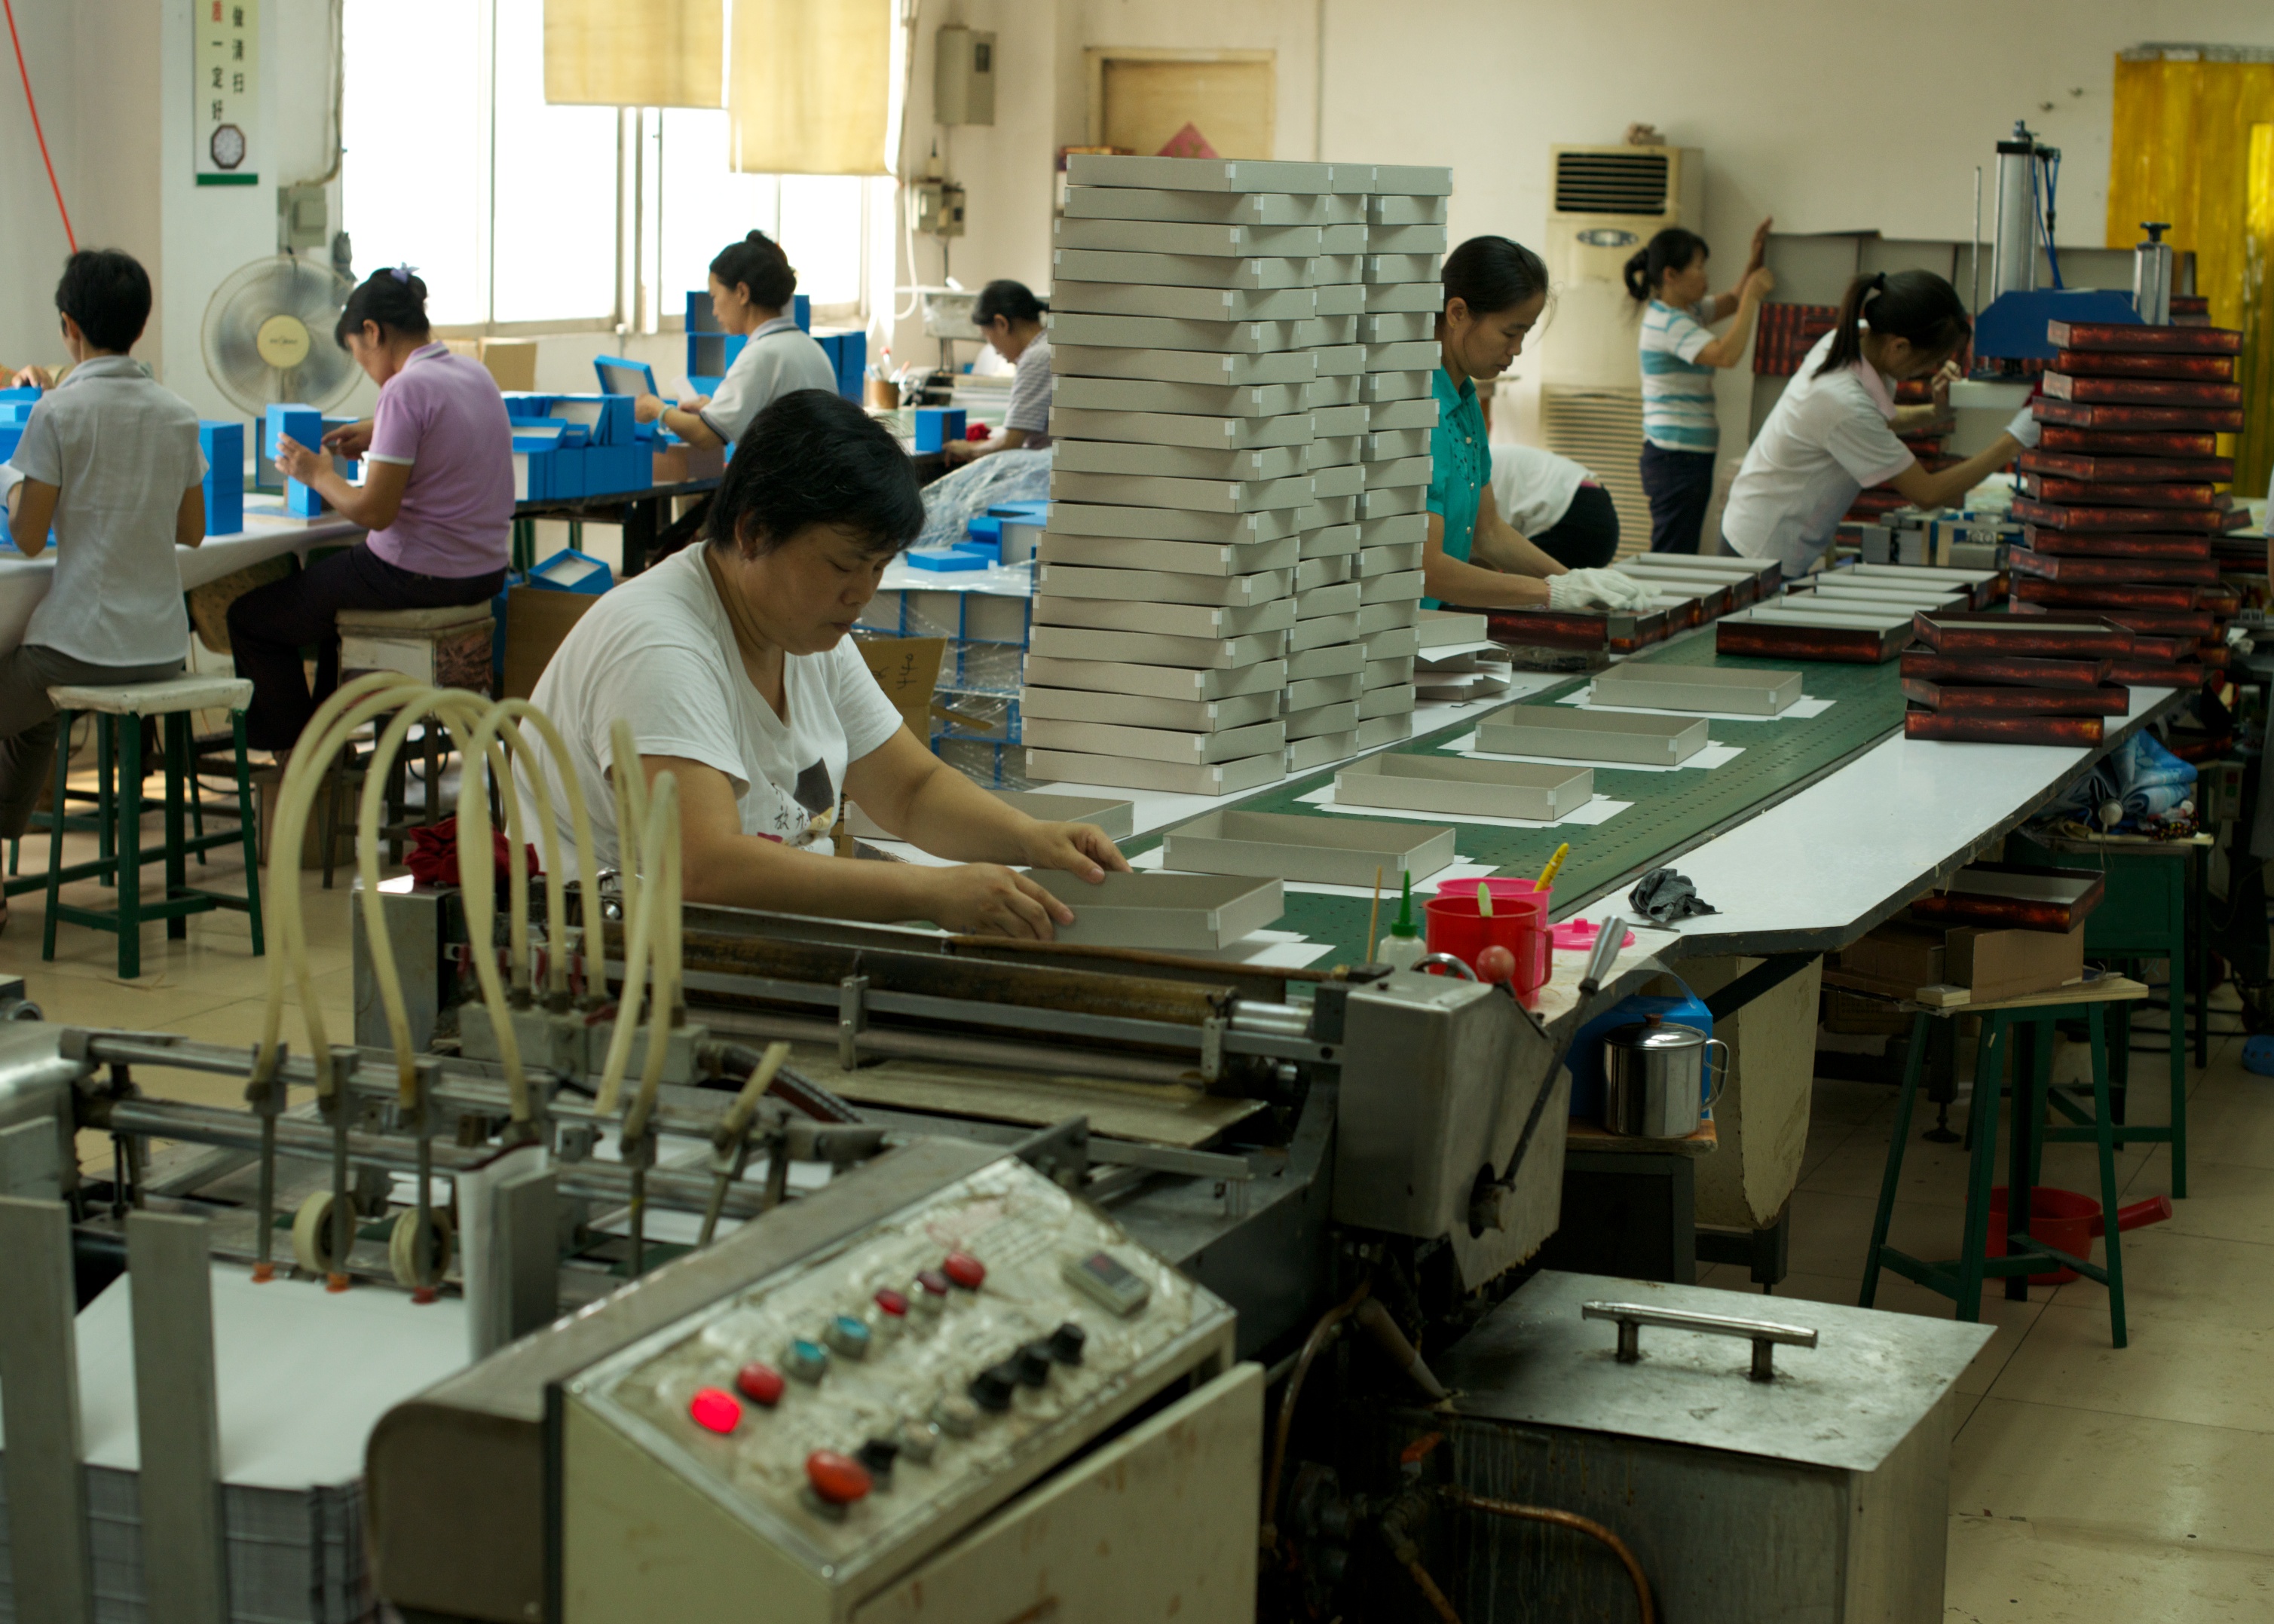
The first woman on the line places the greyboard box atop the label.
The box then comes to the attention of the next lass on the line, who picks it up, and flips it over onto a post that will hold its shape. She folds down the side flaps, including folding the excess ends of the sheet over the lip to the inside, and the overlapping bits at the corner. In an ideal world, this happens in two quick motions, as she runs one hand down each side to press the label down to the box side, bending it at the corner and folding the inside up on the return stroke: Once for the two sides of the box, and the second motion for the top & bottom sides. She flips the box back onto the assembly line.
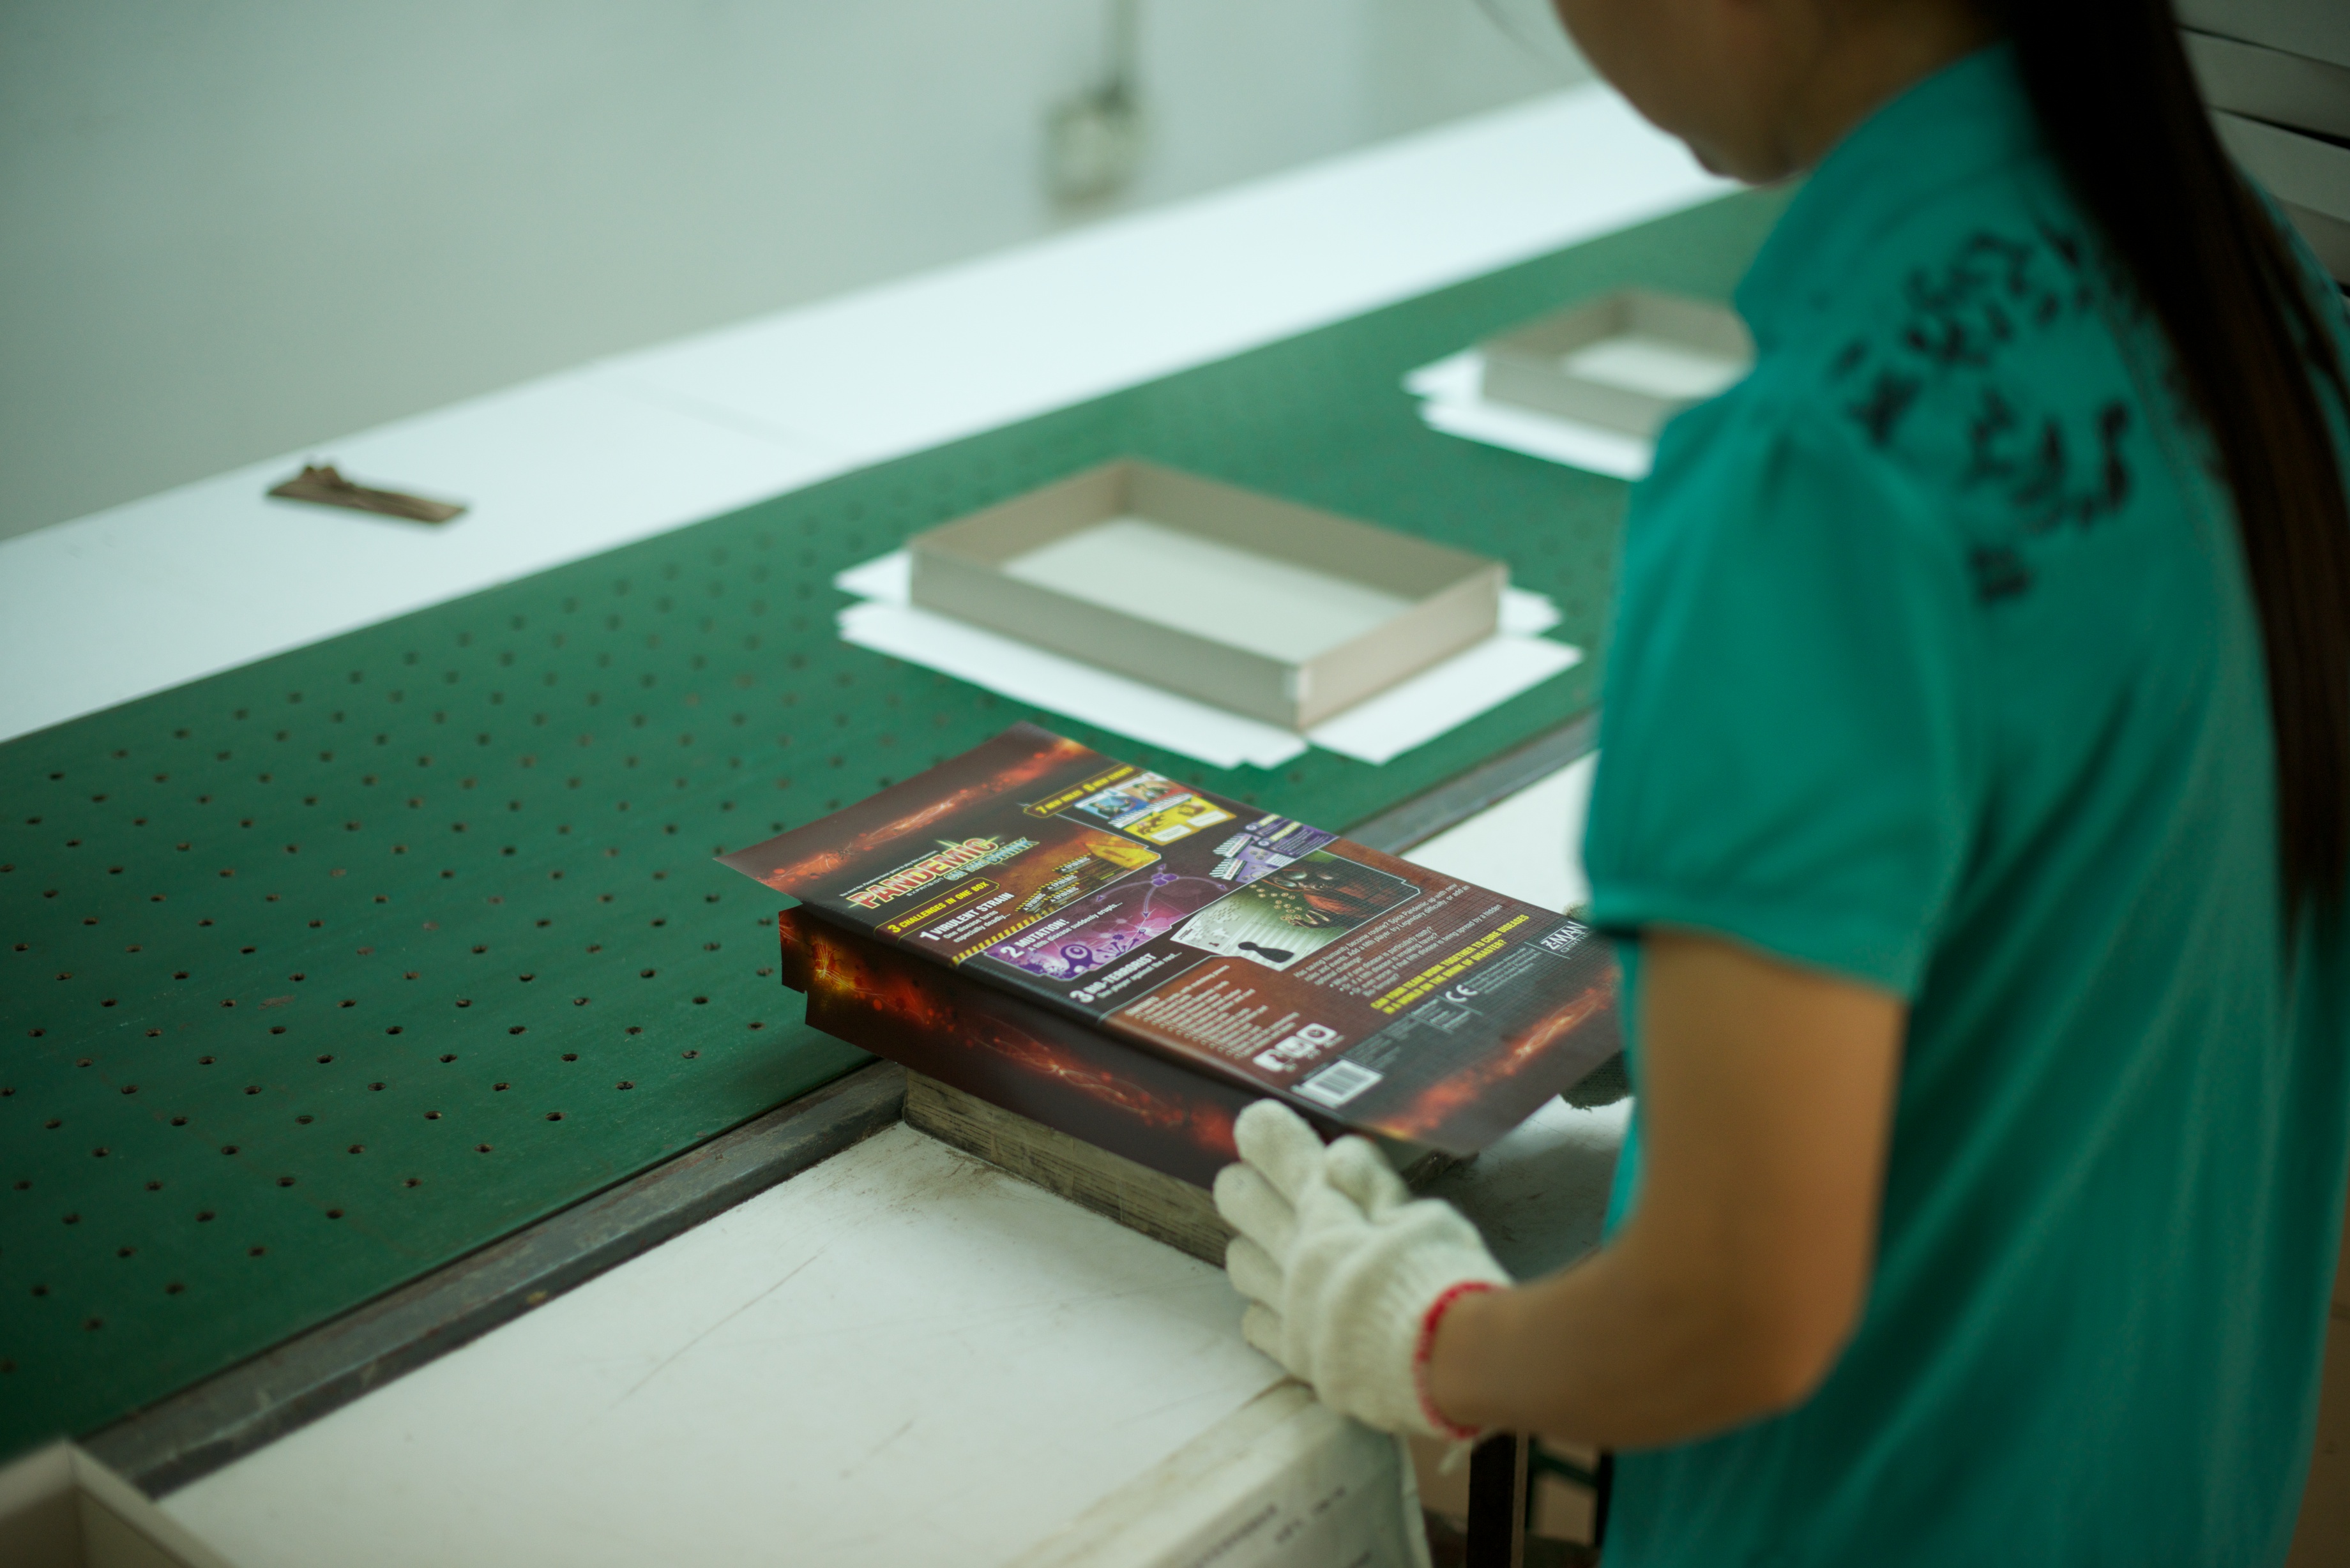
Tucking the side-label corners before folding down the top and bottom sides.
The third worker picks up the box and drops it into a machine that holds the box with a block the same size as the inside. Plates come in from the four sides as the machine presses the bottom against a plate at the same time. The box is held in this way, pressed from five sides at once, for a few seconds, ensuring that the glue has made good contact with all surfaces. Then the plates pull away, the worker retrieves the finished the box from the holder, and puts it on a stack.
And that’s how a box top or bottom is made. Repeat for the other side. Then put it on an assembly line where a belt carries it past workers who will drop in the other finished parts: the punchboards, cubes, meeples, dice, decks, and whatever else is in your game. Drop the top of the box on that, weigh it to be sure nothing was missed, stack it on a pallet and send that pallet to the shrink-wrap machine.
And that’s where games come from, from the view of one part: the box.
Notes
This process is an agglomeration of the box-making processes I saw at the five different factories I saw in touring Shanghai, Ningbo, and Shenzhen China in the summer of 2013. No single factory used this exact process: Each had their own variation. This version illustrates just how many steps go into making a single component, and shed light on which steps might be the same between boxmaking and other steps in game making; making the game board and punchboards of tokens have much in common with boxmaking.
This fully automated line removes manual labor from the last half of the boxmaking process.
Thanks
I’d like to thank the four printers, and the workers there, who were so open and informative in how our games are made:
For more about each of these companies and their particular strengths, click on the links above.
Similarly, I’d like to thank the game companies who gave permission for their games, pictured under construction above, be used in this report. They are:
- Tasty Minstrel (Eminent Domain)
- Z-Man (Pandemic)
- Stratelibri (Kragmortha)